
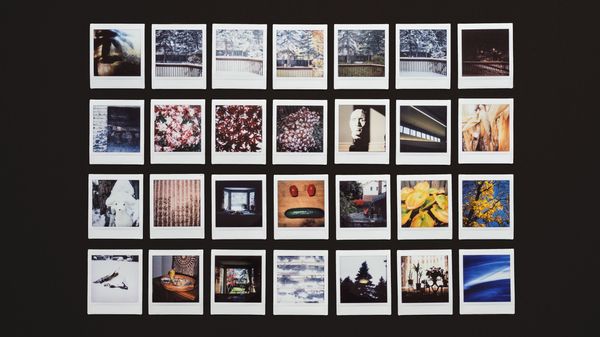
In September, I decided to get an Instax SQ6 camera and play around with instant film. I wanted to use instant film as a way to document every-day scenes that I don't want to bother shooting with a camera and then editing. These scenes are kind of like visual notes and cues around my life that I found interesting.
So far, it's been a ton of fun! However, there are some annoyances with the SQ6 that makes it very difficult to use at times. Most notably, these issues are viewfinder parallax, viewfinder framing inconsistencies, and inaccurate exposure sampling. Many people stress online about how one should accept the imperfections of instant film and there can be beauty in the mistakes. Well, I'm not about that. I'll be discussing how to handle each of these issues of the SQ6 so that you can achieve the best results possible. I won't be touching too much on exposure since that's something harder to control.
*The TL;DR for guidelines can be found at the bottom of the post.
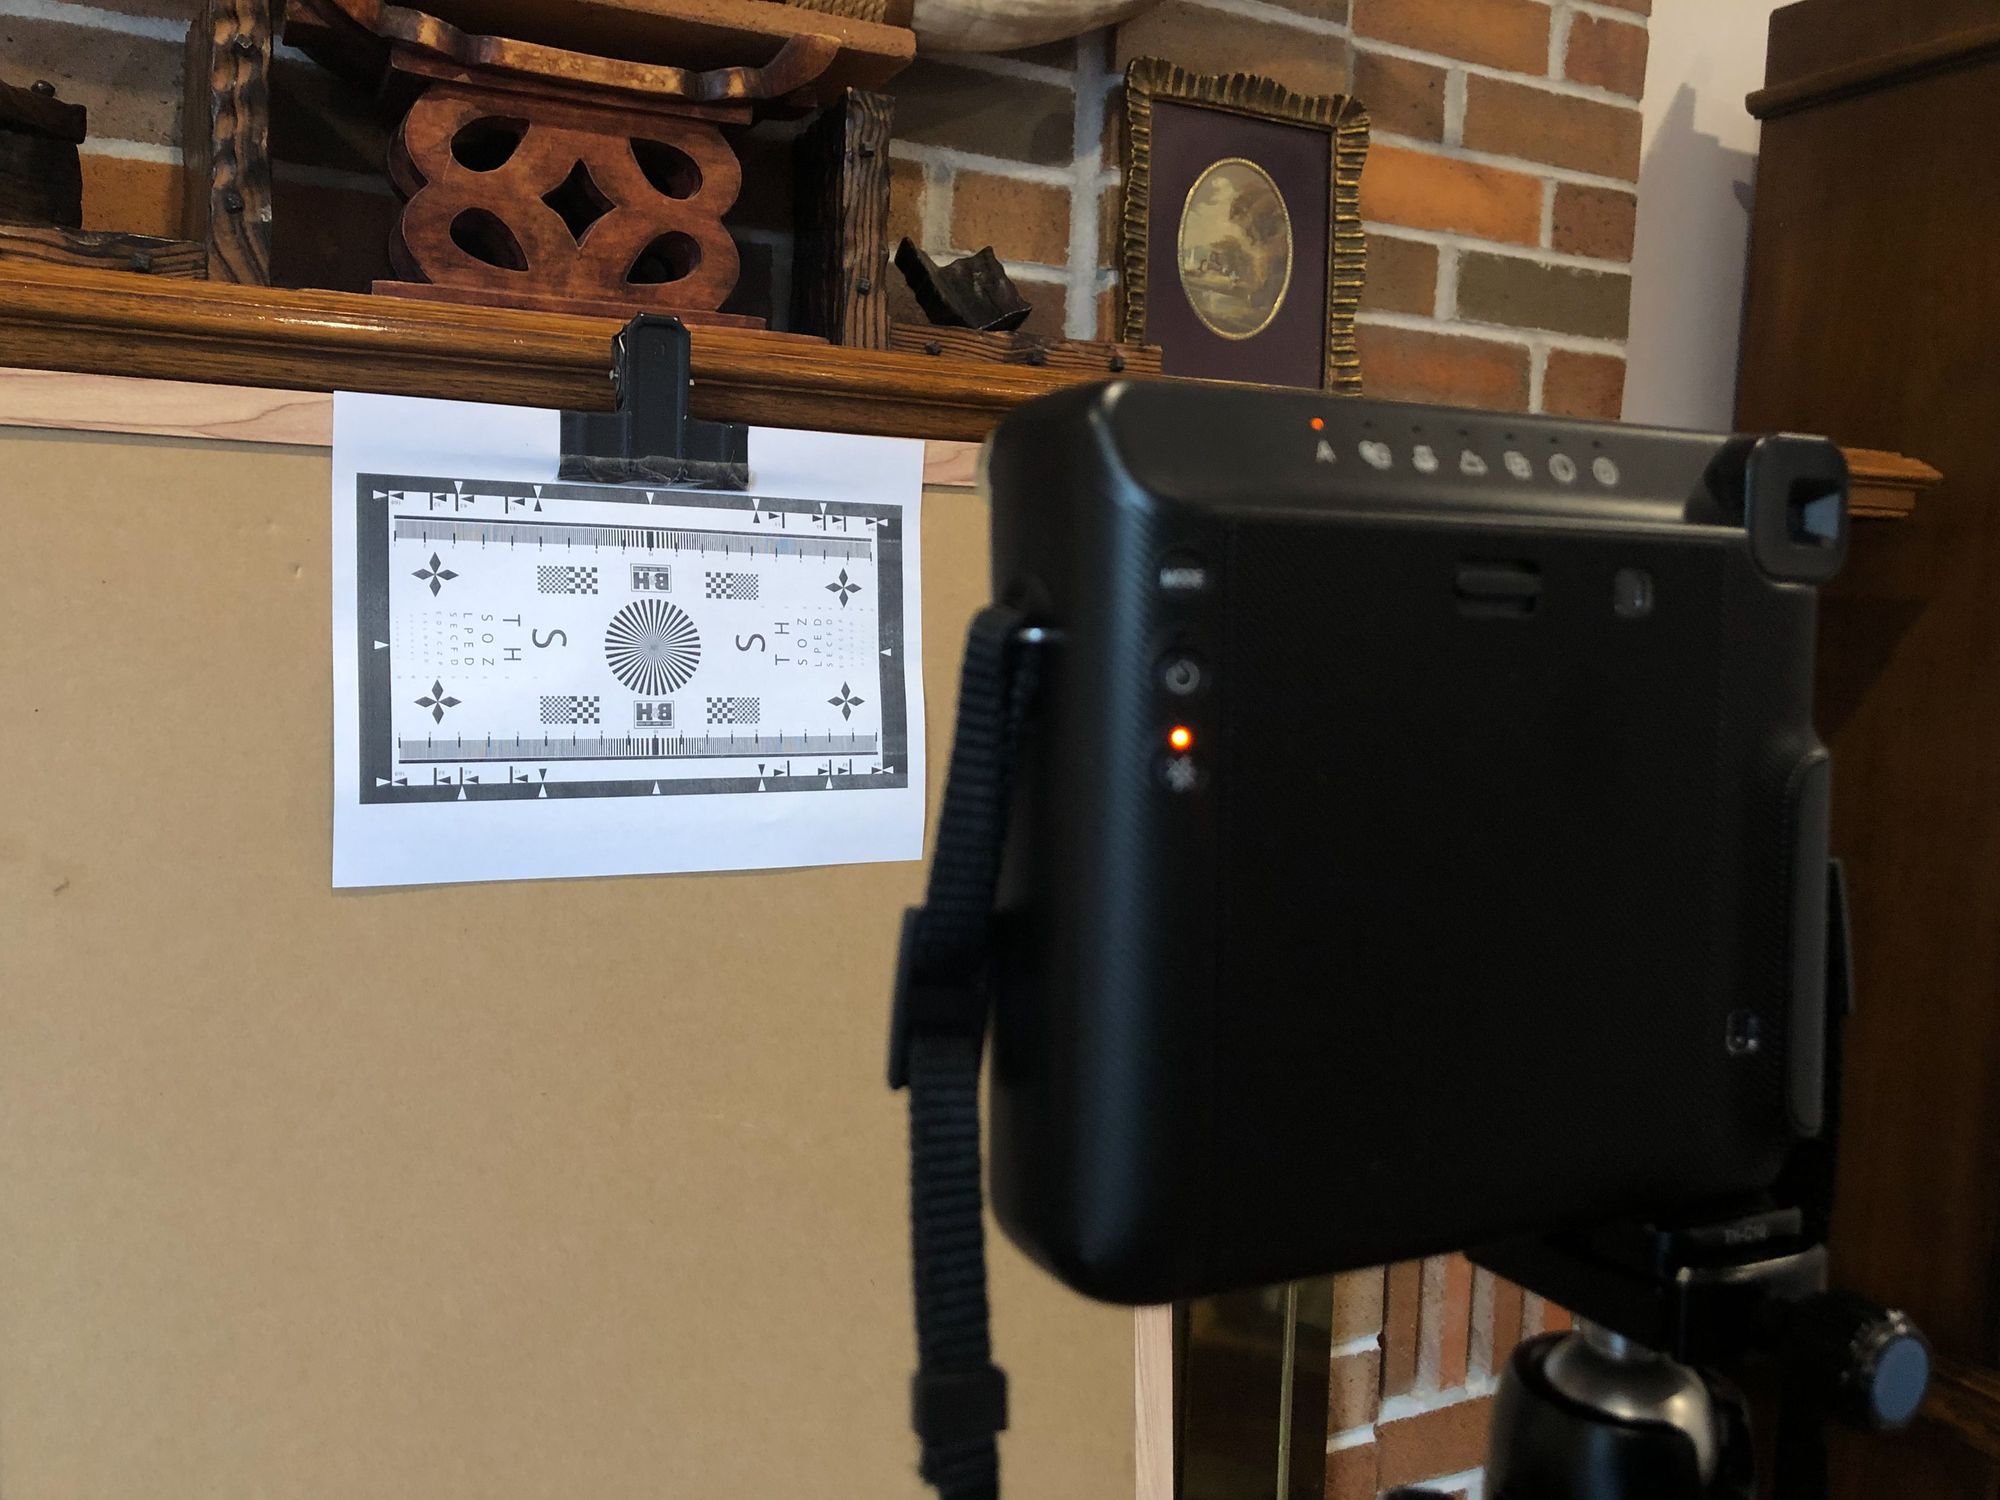
Experiment Set-Up
I shot an entire pack of film to try to create real-world examples of how the parallax affects the result based on different distances. The distances I picked were based off on the focusing ranges of each of three modes - macro (0.3m - 0.5m), normal (0.5m - 2.0m), and landscape (2.0m - infinity). For more details, you can find the official specifications on the Fujifilm website.
Viewfinder Parallax
Let's first talk about the most annoying one of them all - parallax. Parallax is the difference in an object's position when viewed by two different lines of sights.
For the SQ6, you can see that the viewfinder is slightly top right of the lens, which means what the viewfinder sees is not exactly what the lens will see since they are in two different line of sights. If you take a photo expecting the lens to capture what you see in the viewfinder, in many cases you'll be terribly disappointed to find that parallax will have effectively ruined your photo. This problem is more apparent for certain subject distances.
Someone on the internet mathematically calculated the parallax which was super helpful for my experiment here. In short, my experiment below produced similar results to his calculations as well.
Viewfinder Framing Inconsistencies
I noticed after a while that in addition to the parallax, the focal length of the viewfinder is different than the focal length of the lens, resulting in two different fields of views. More specifically, the viewfinder is slightly tighter than the final photo on the film. As a result, if you frame a shot through the viewfinder, expect edge elements to creep into the final film. I have many examples of this which gives you an idea of what I'm talking about.
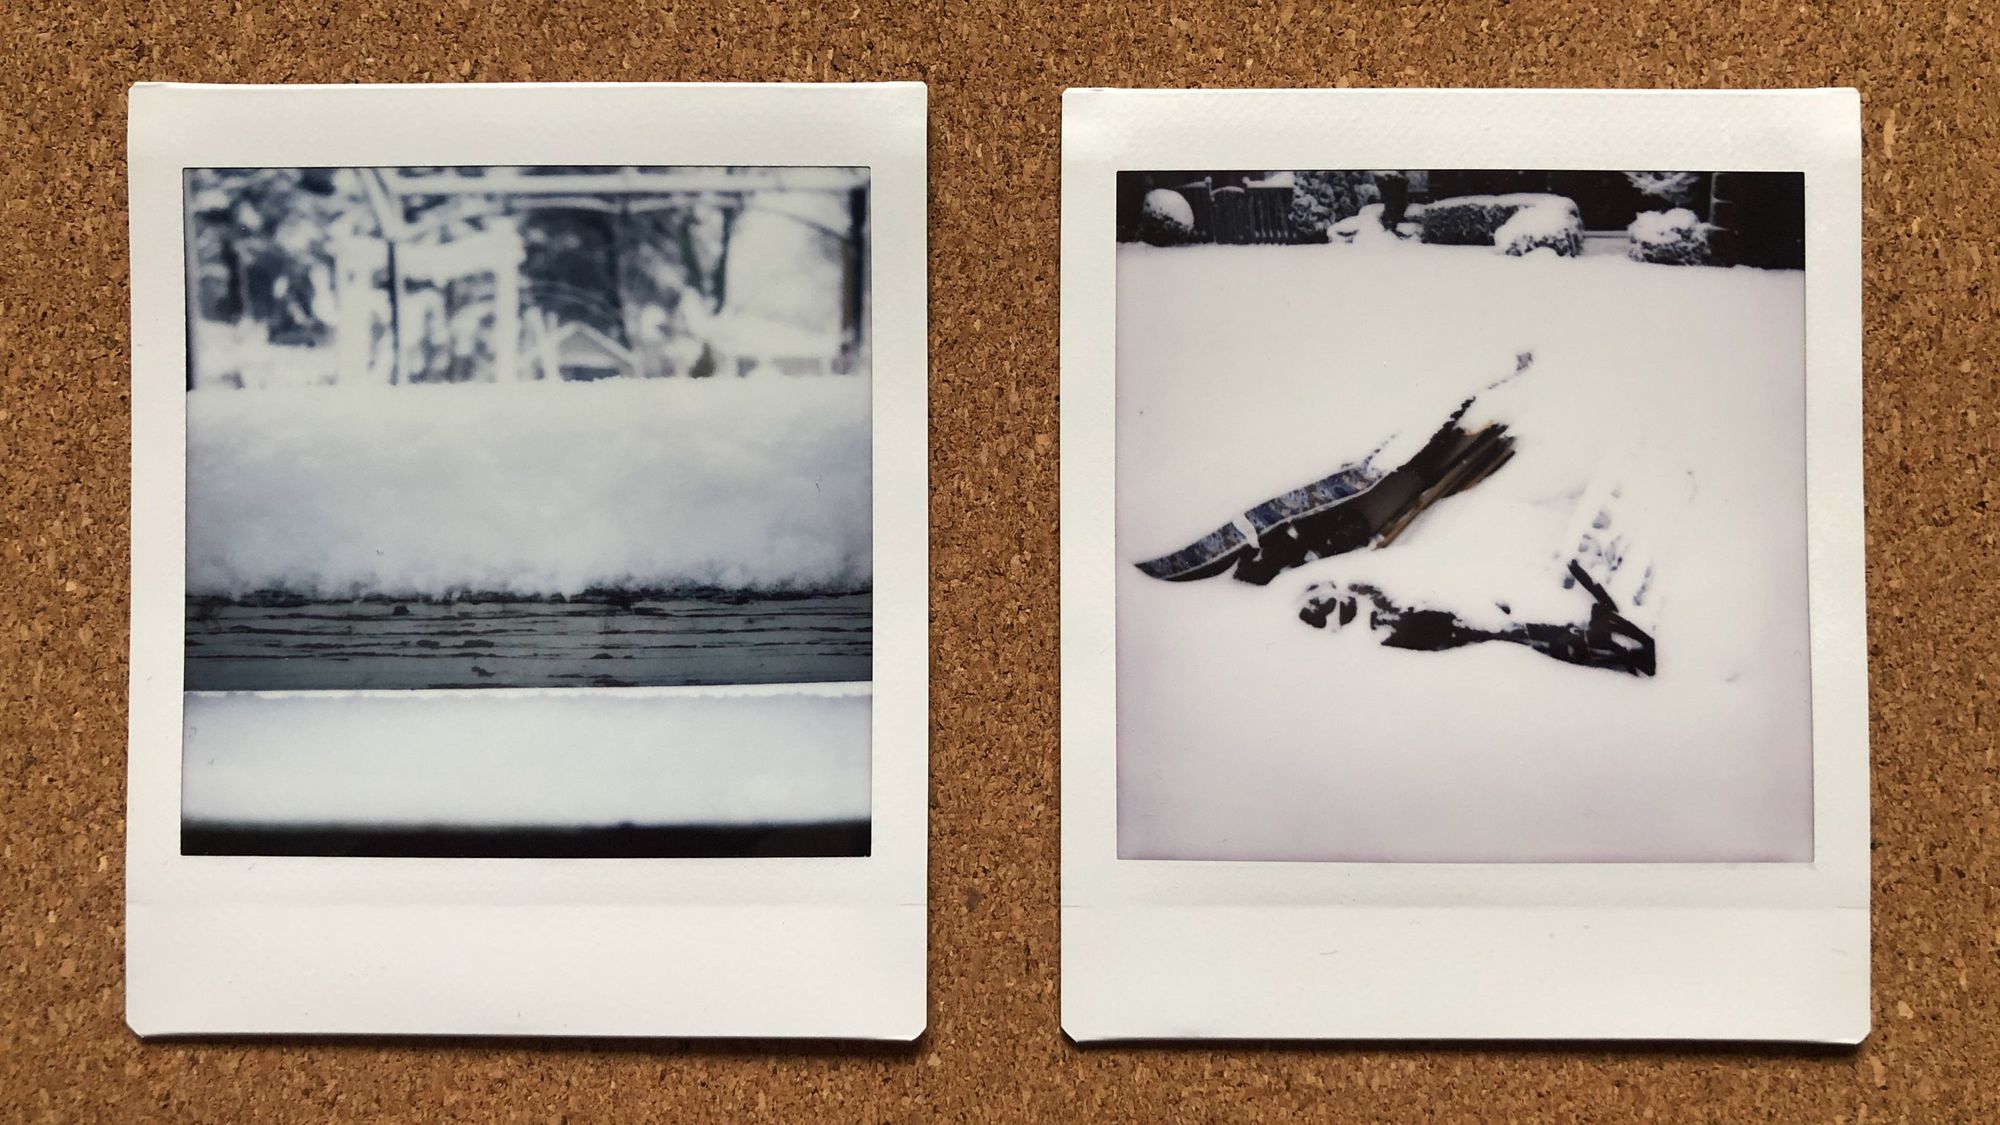
In the left one, we see a black bar on the bottom of the frame. When I was framing this shot, I made sure the black shadow was well below the bottom edge in the viewfinder. However, I still missed it by a little. In the left one, I tried to make sure the furniture was surrounded only by snow. A combination of bad parallax compensation and viewfinder error resulted in the house creeping into the frame on the top edge. Also, it's interesting to note that temperature affects the development results of the film. The right shot was taken outdoors, hence there's a weird purple tint across the entire photo.
Inaccurate Exposure Sampling
The last thing I want to go over is inaccurate exposure sampling. I read that the light meter tries to get an average of 50% grey from an article here. The result is that it won't be able to balance contrast correctly. Dark subjects in bright environments will be underexposed, bright subjects in dark environments will be overexposed. There isn't really any way around this, the user just needs to be cognizant of the limitations. In fact, this also opens up creative opportunities once you have a good grasp of this.
With the imperfections explained, let's study the experiment so we can obtain more concrete guidelines on how to frame shots correctly with the SQ6 in the future. There's a TL;DR at the bottom of this post summarizing the findings.
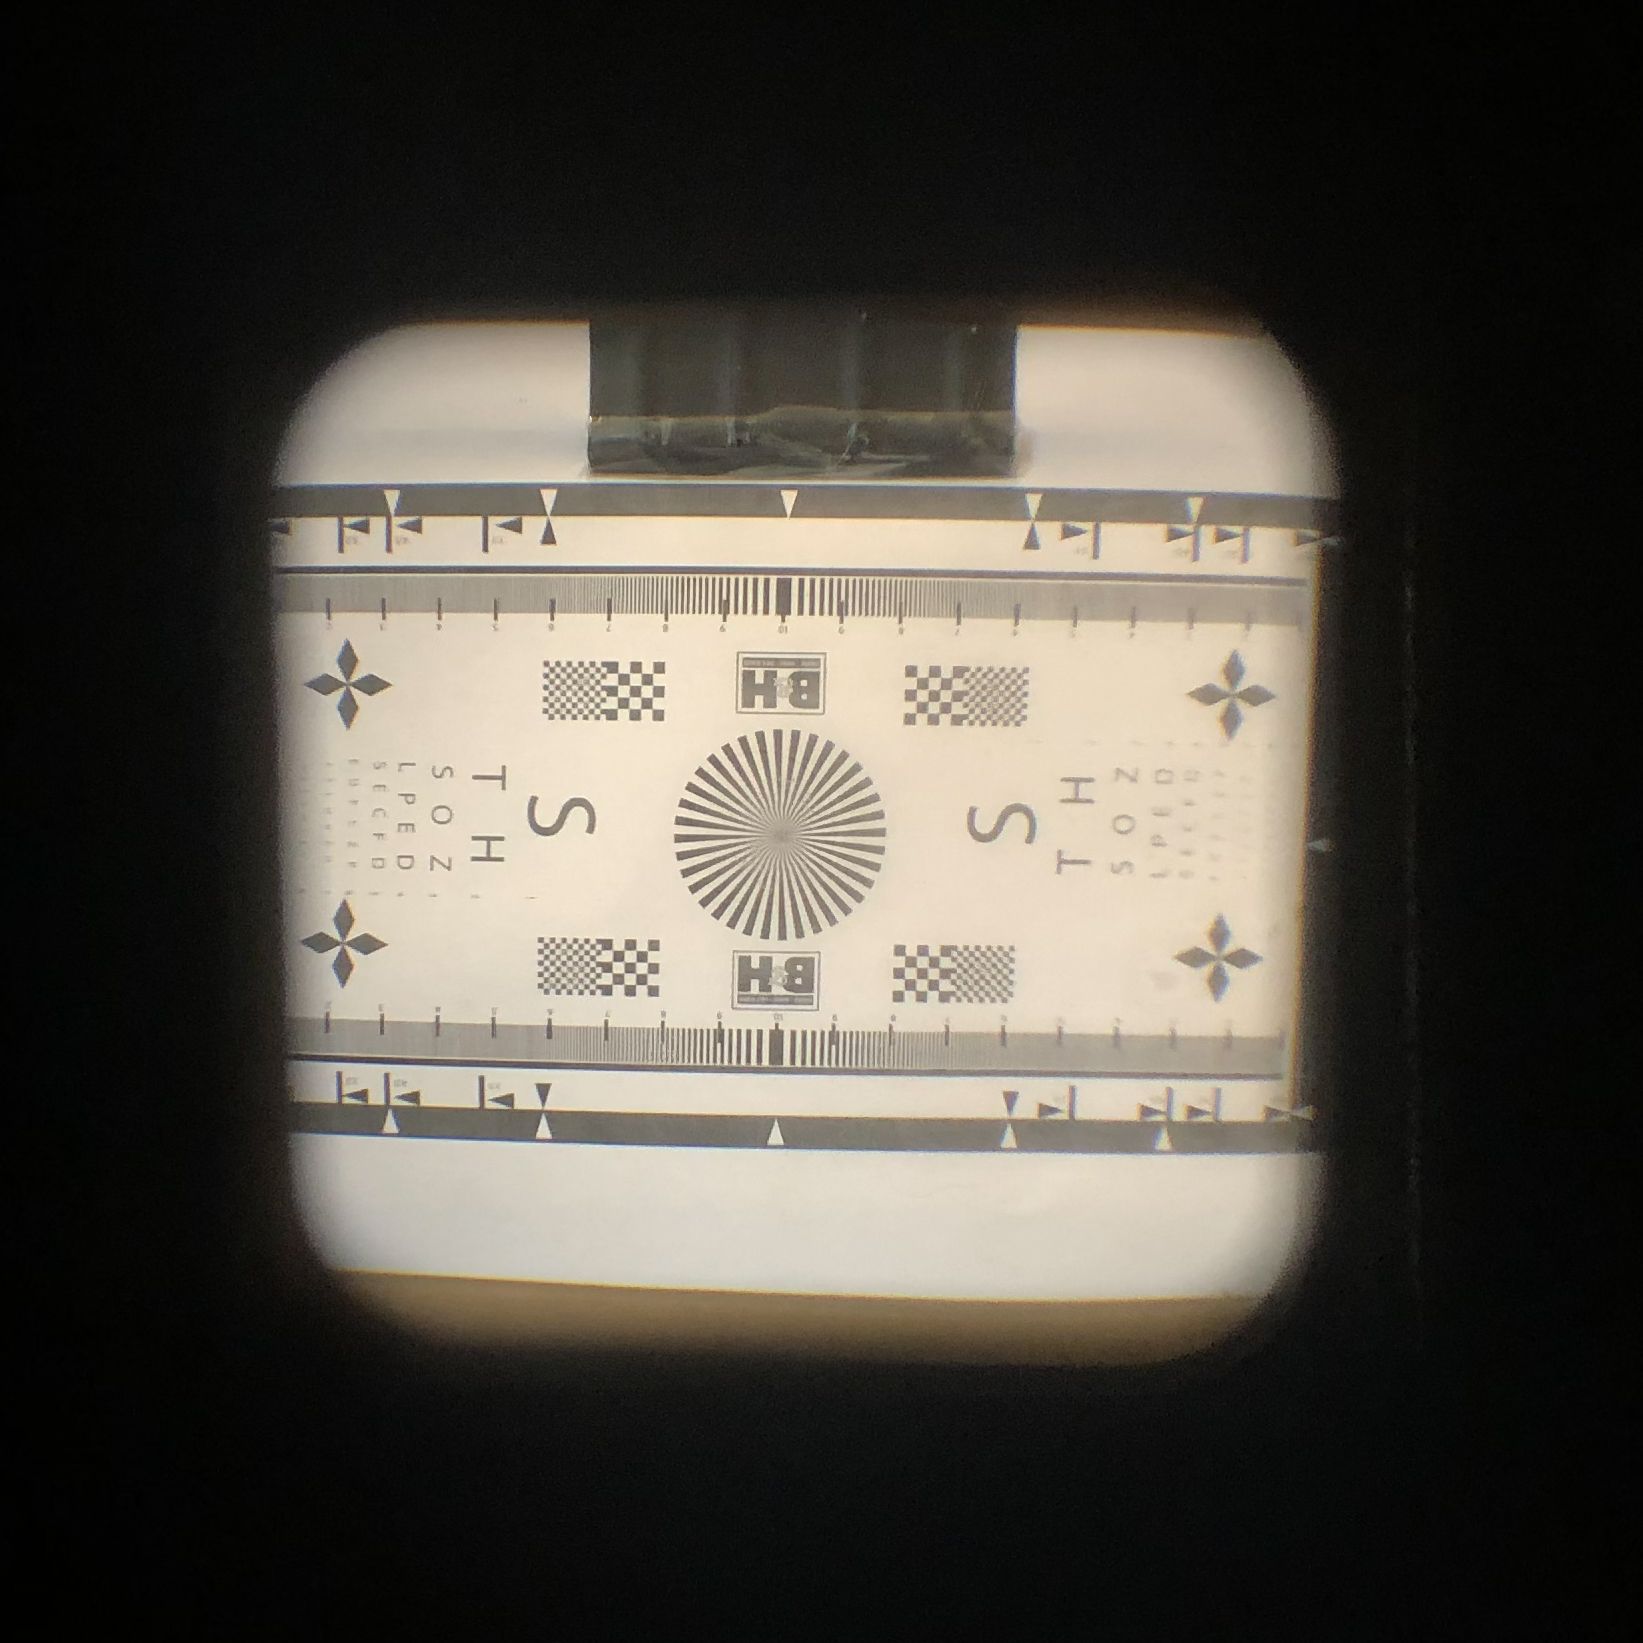
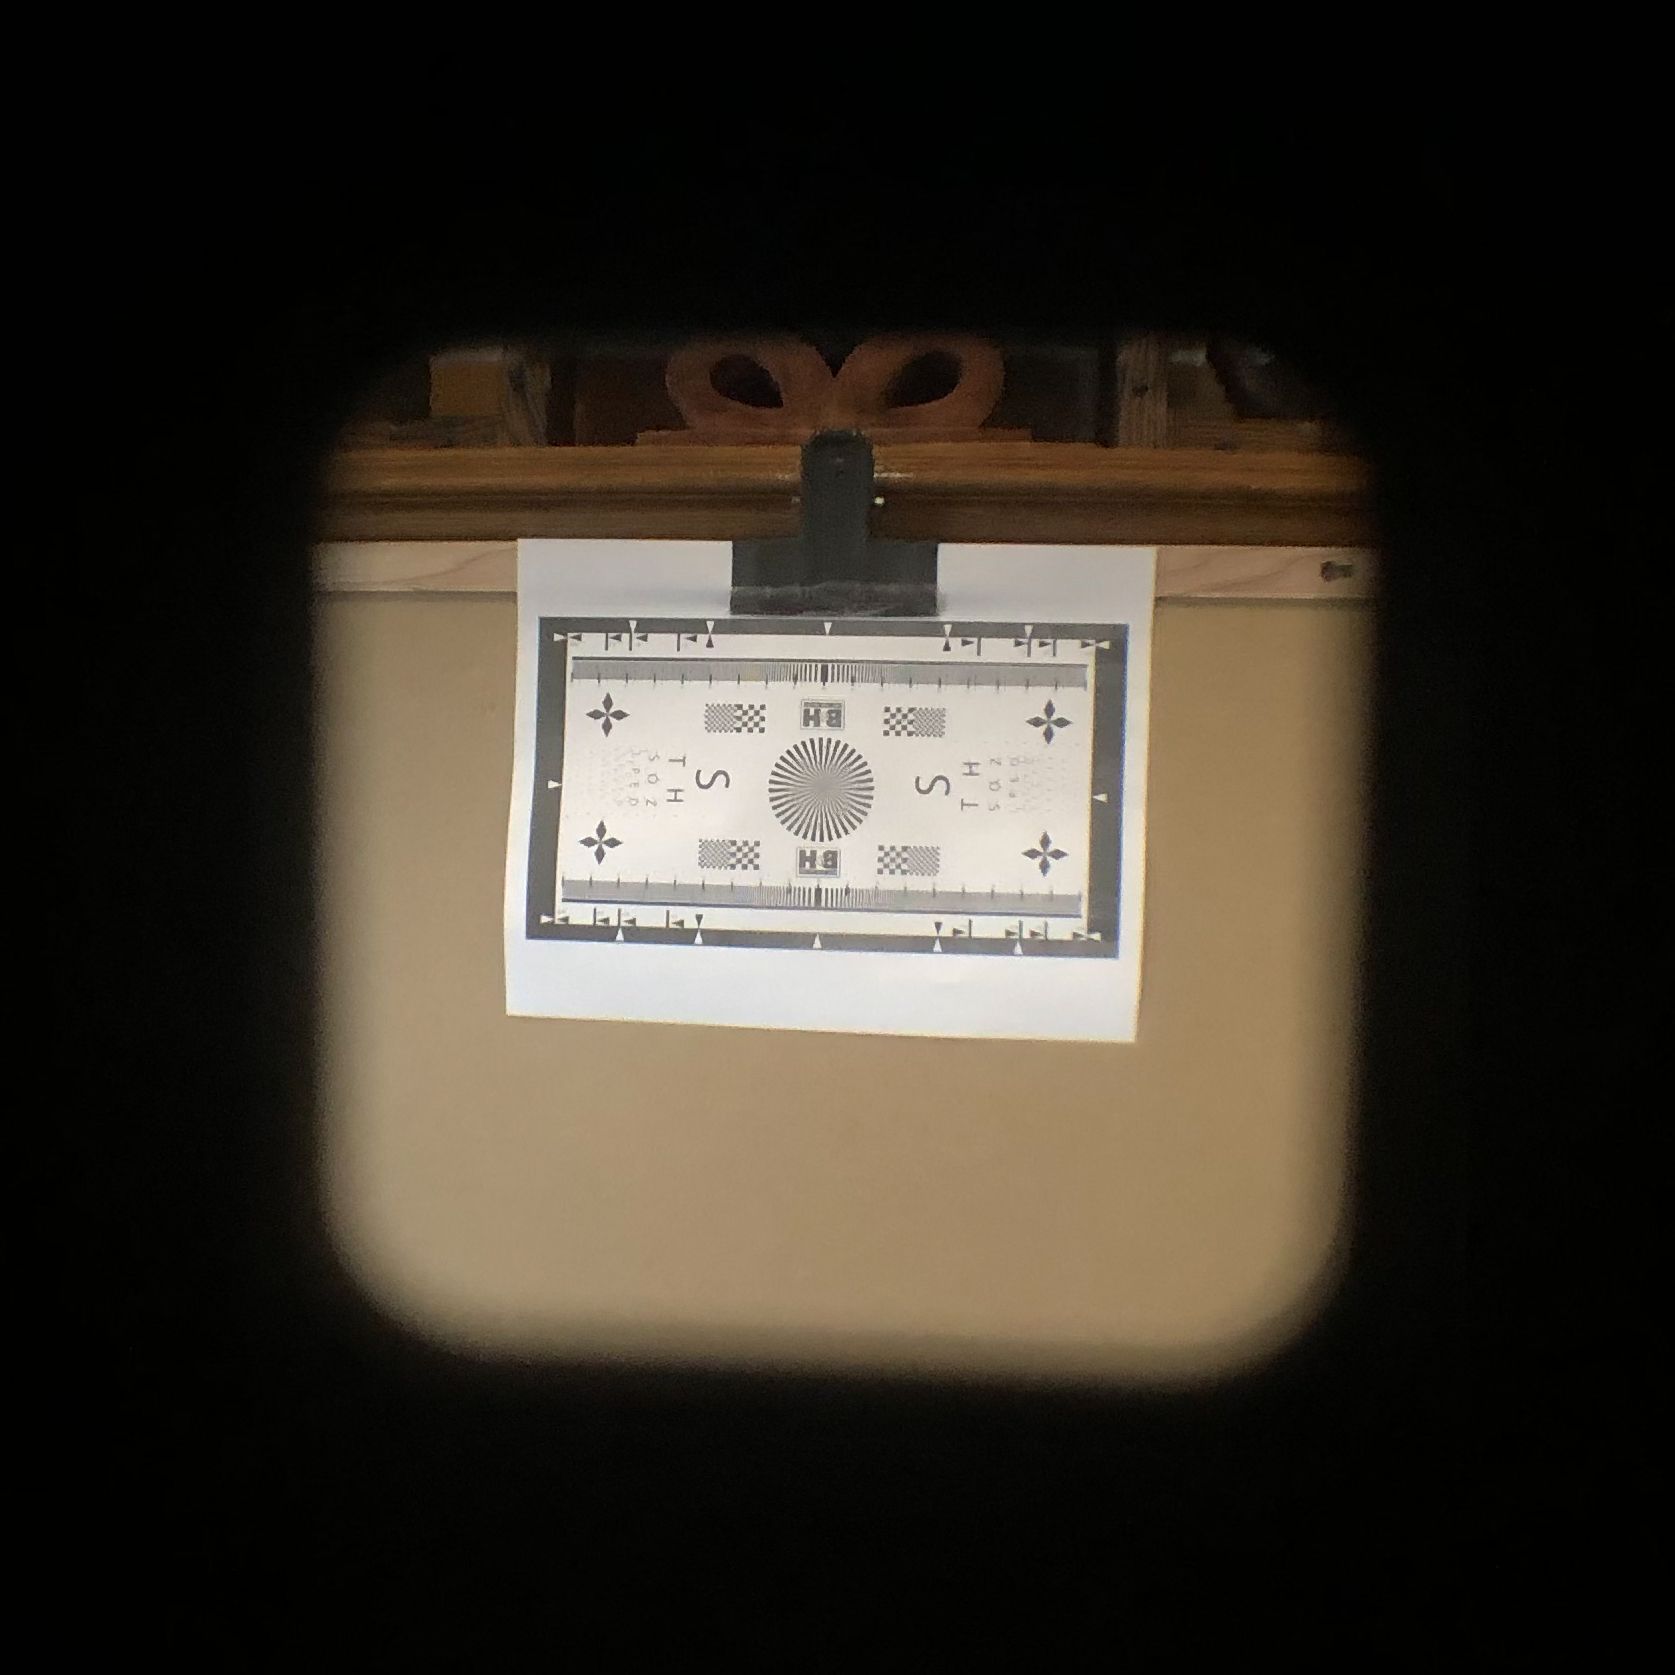
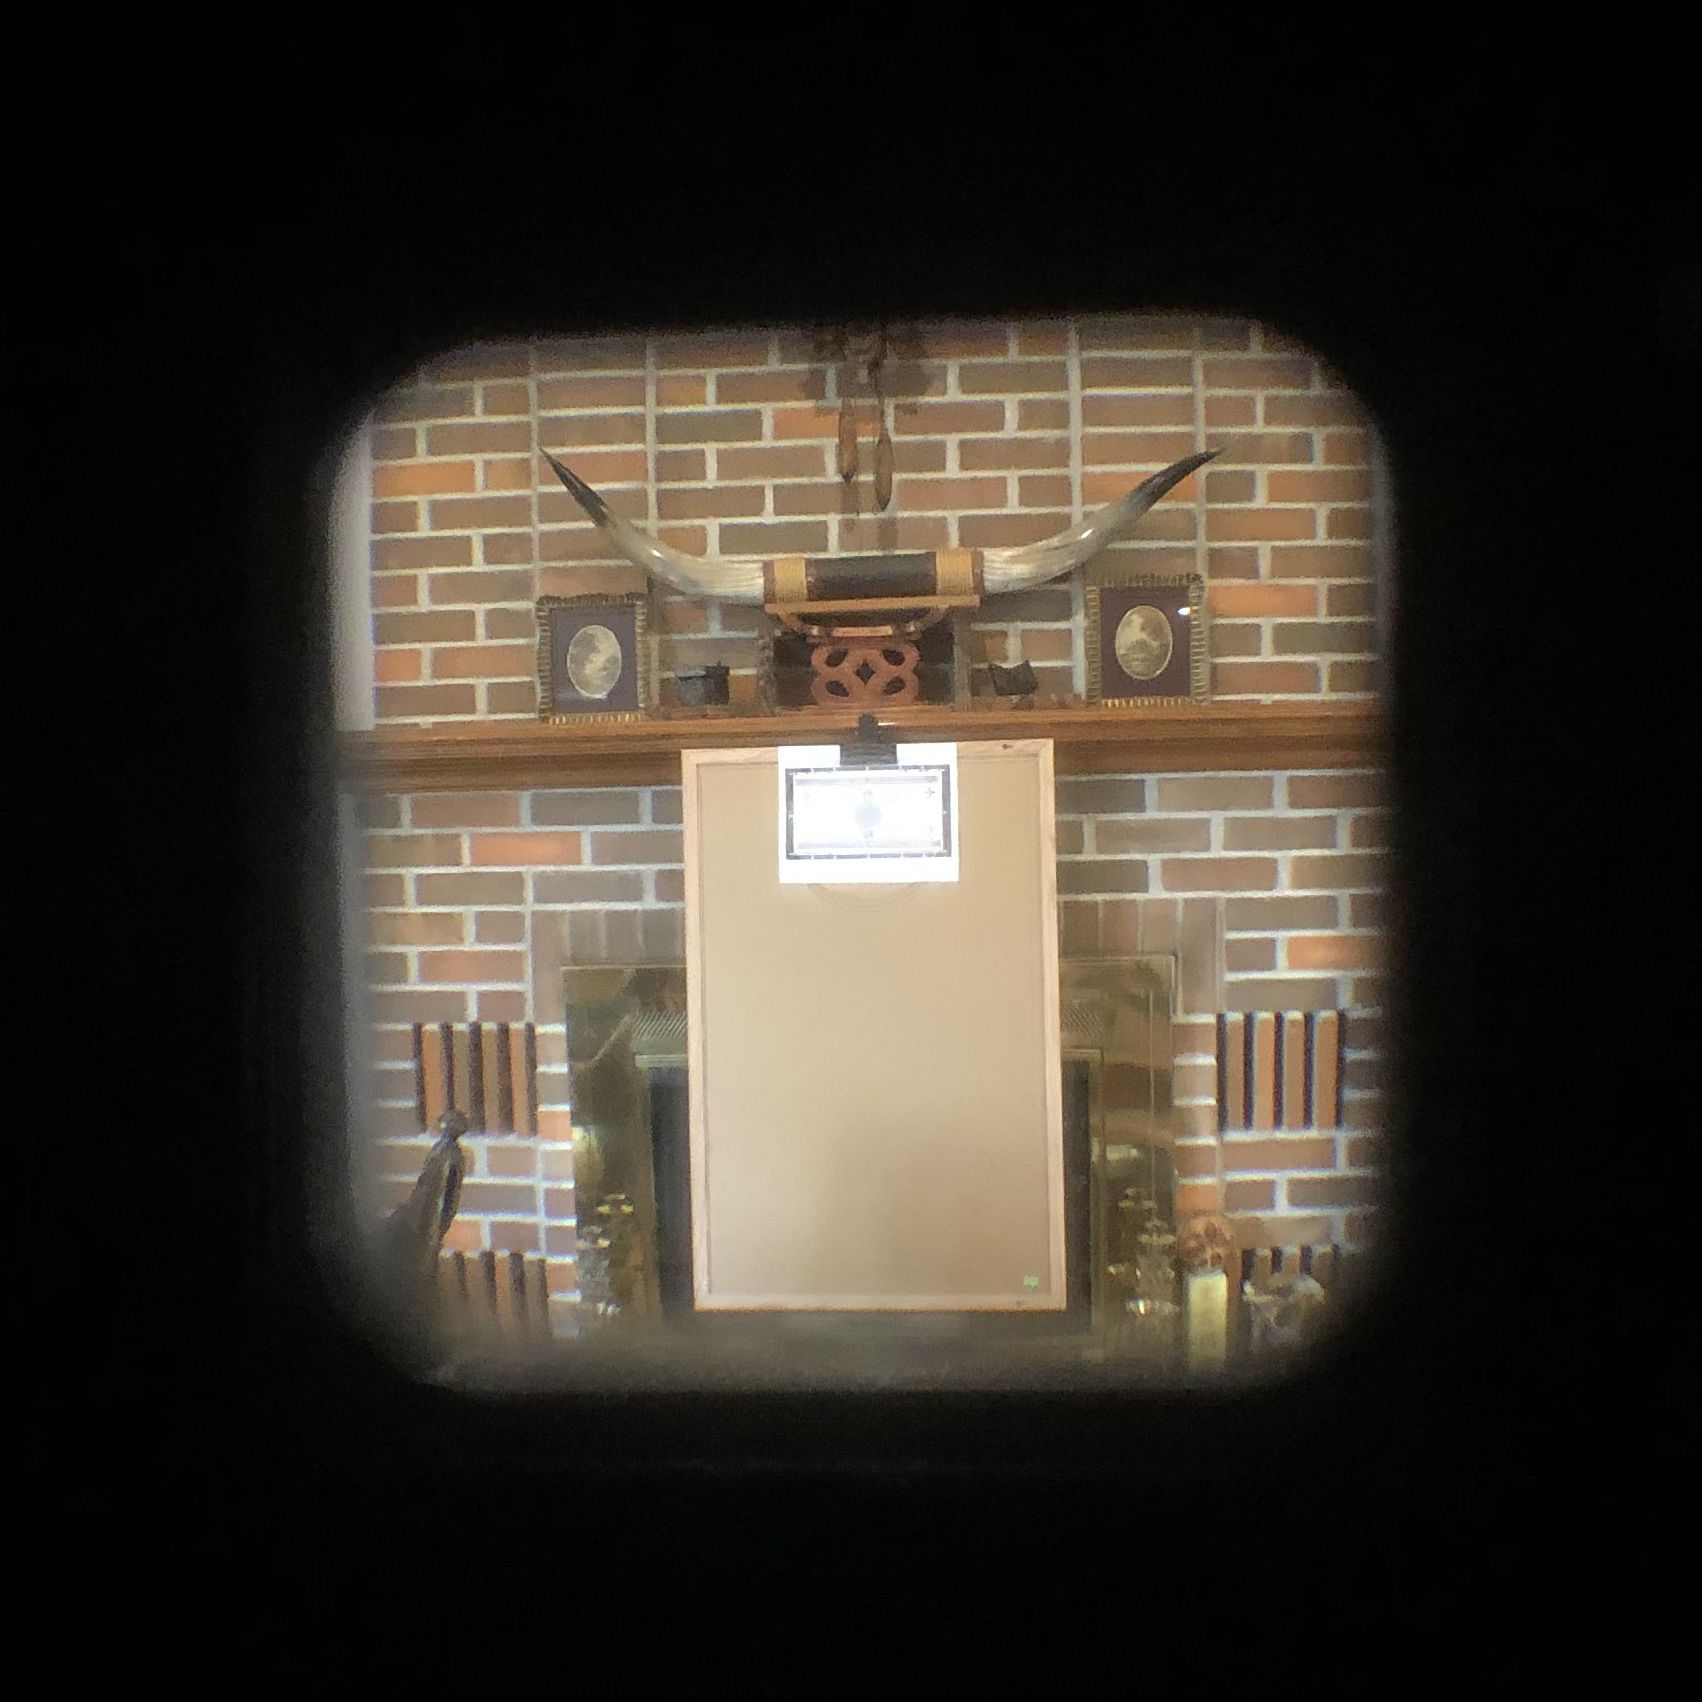
Disclaimer: In the viewfinder photos, iI tried my best to take a photo of what's inside the viewfinder. However, it's incredibly difficult to get it accurate. Even shifting your eye position a tiny bit will affect what you see through the viewfinder. Hence, take the viewfinder photos with a grain of salt - it's mostly there for visual guidance and supplementary info.
0.3m
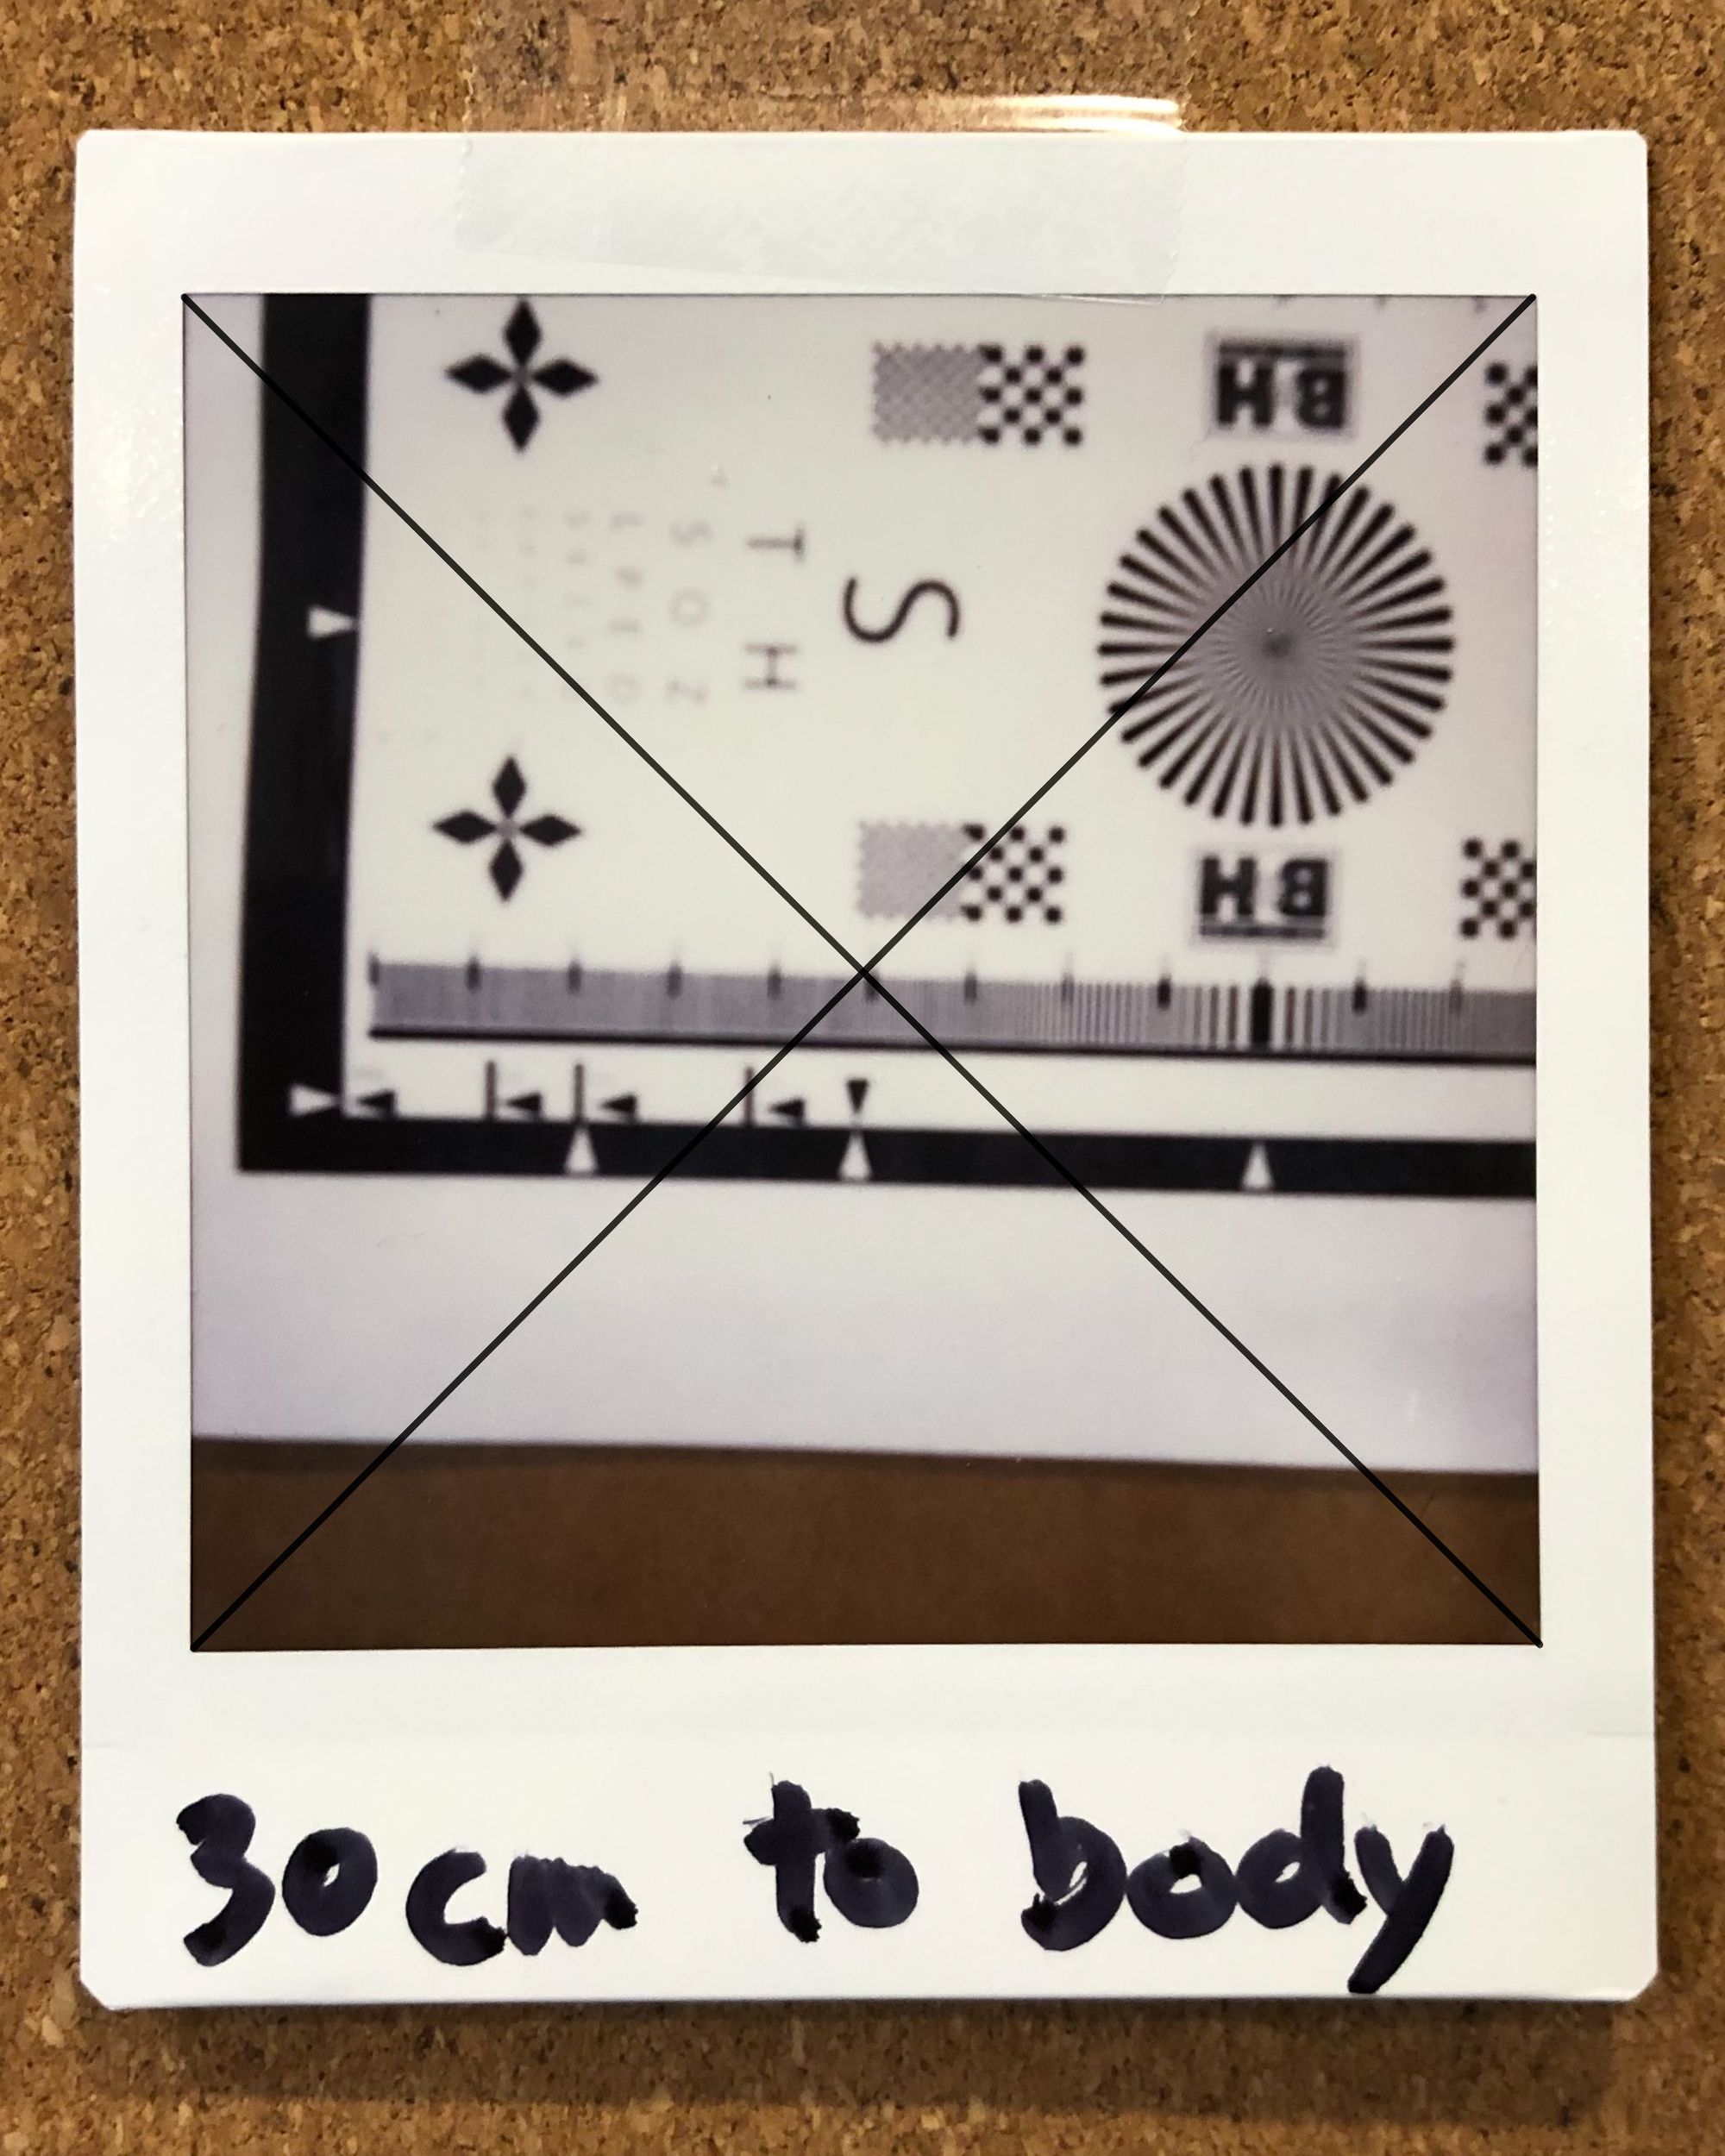
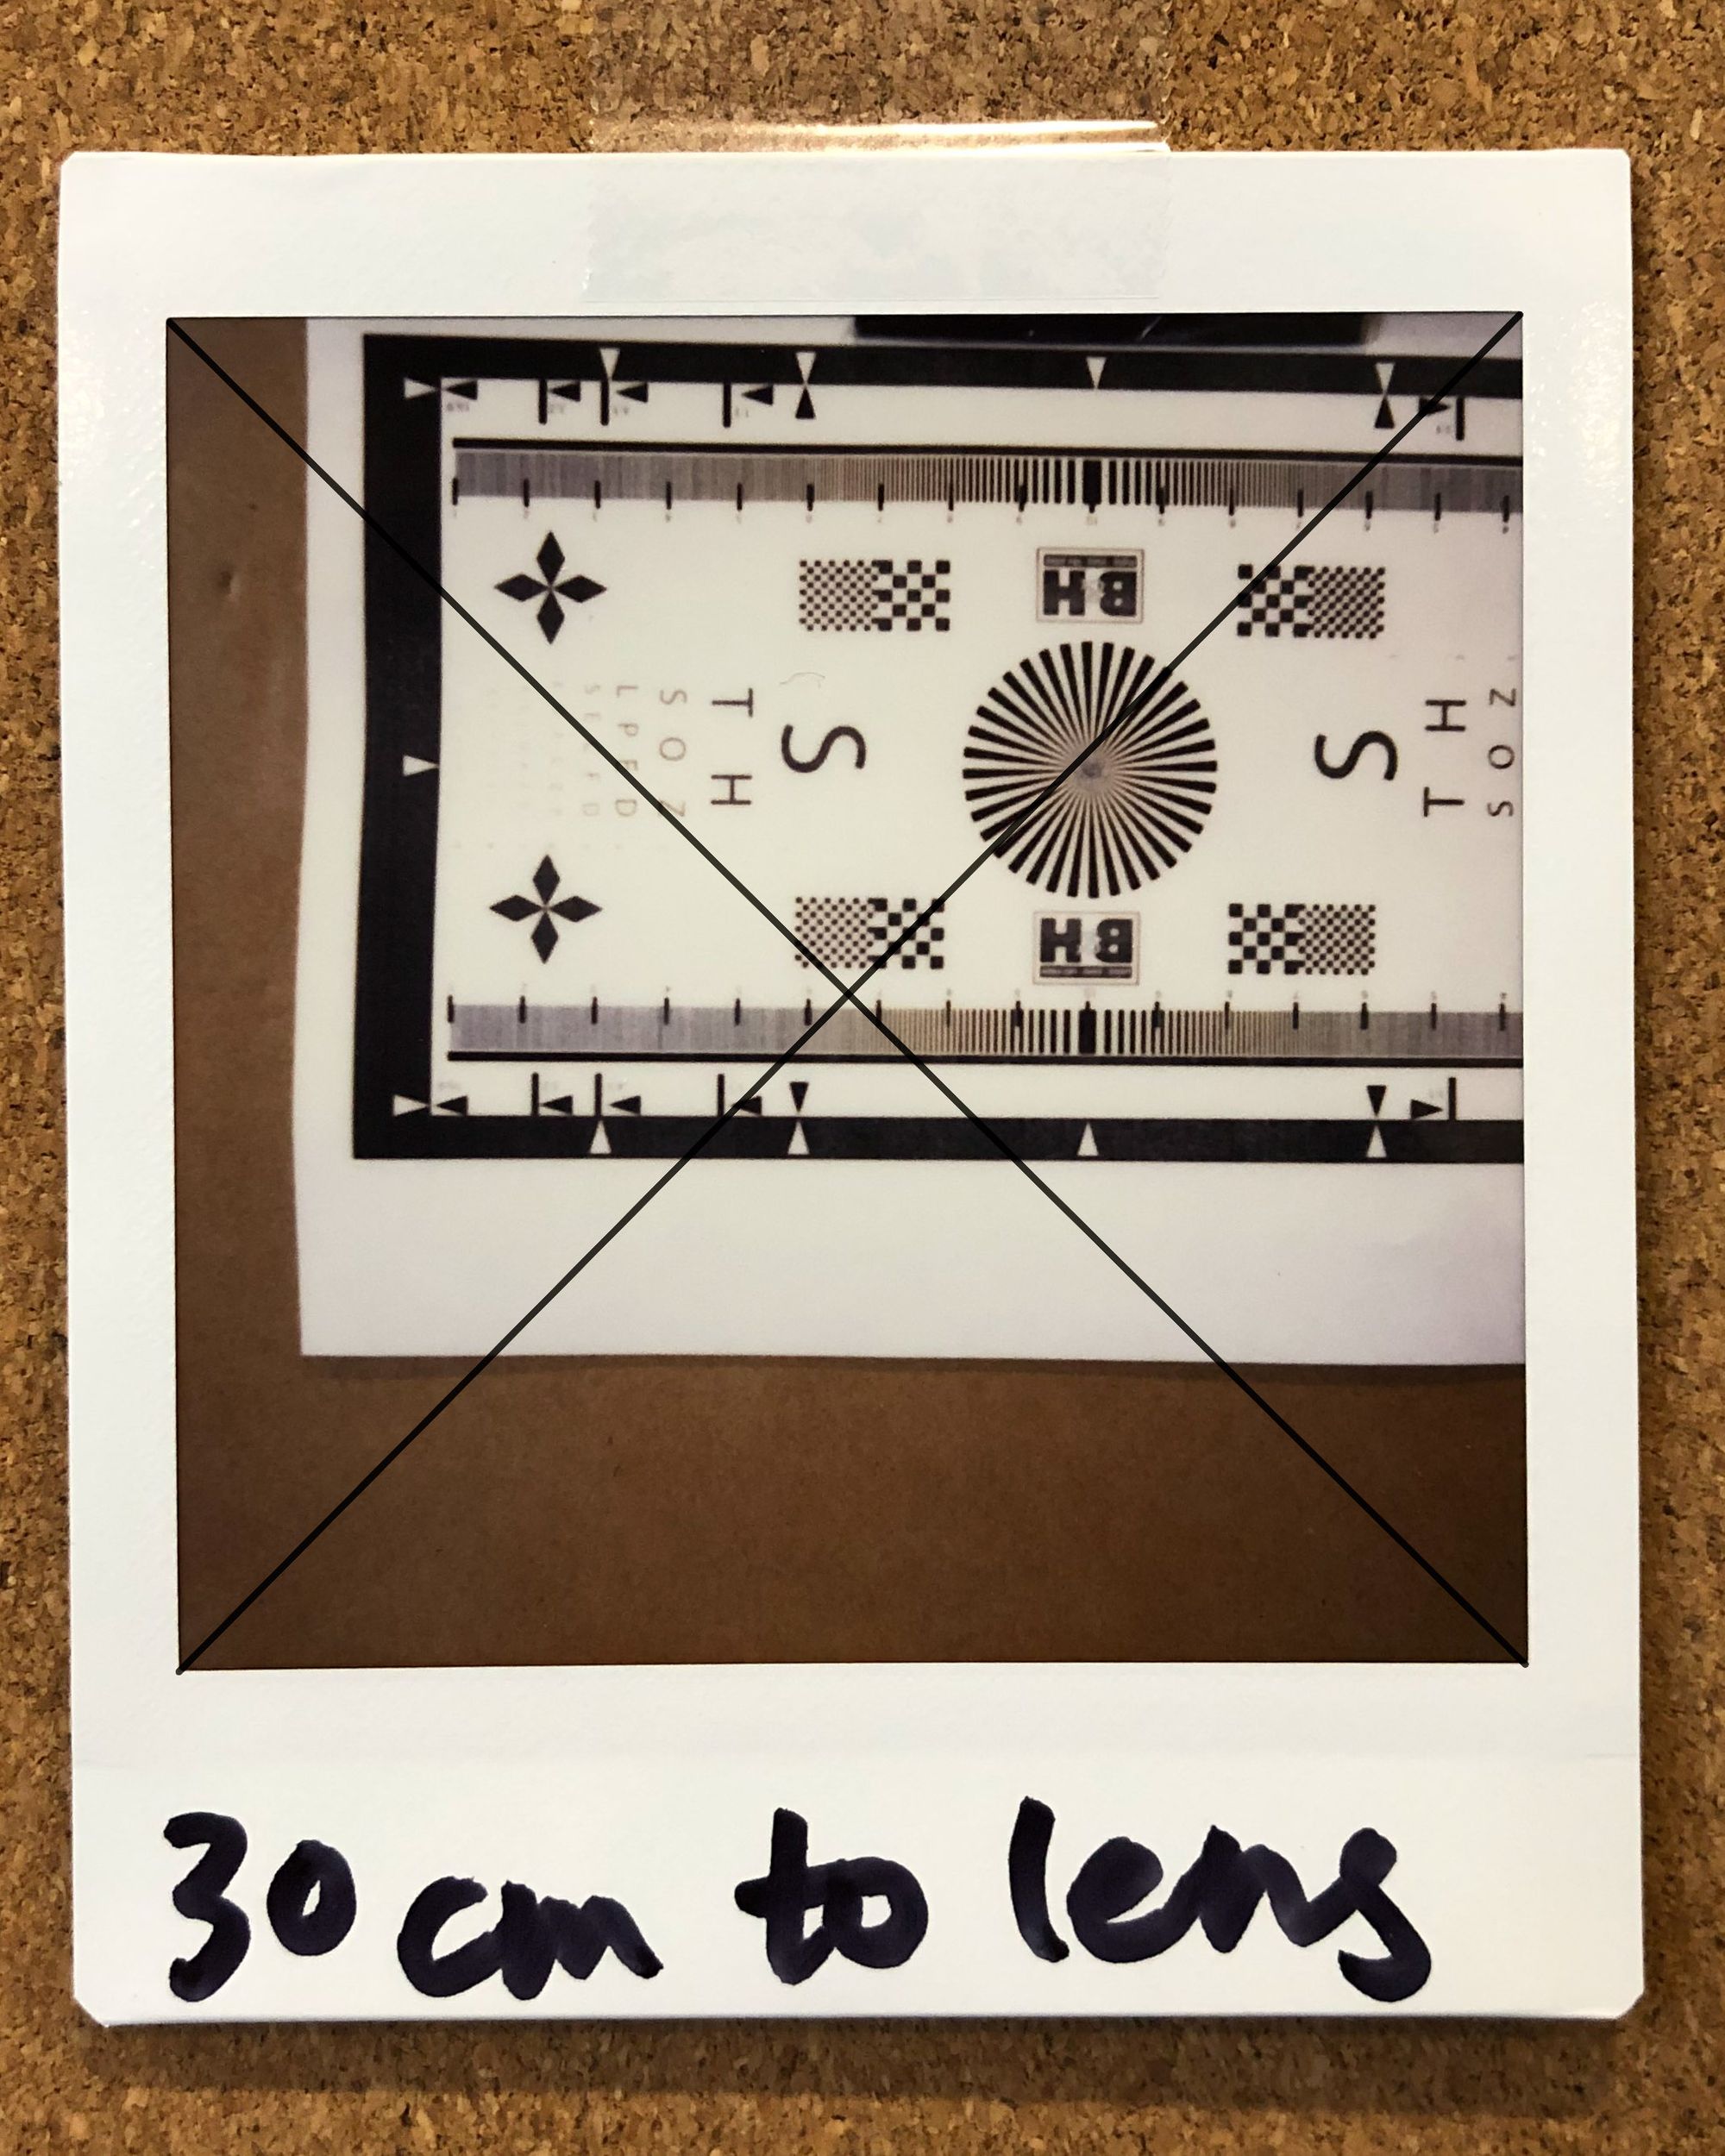
After reading specs from the Fujifilm official website, I first wanted to figure out what 0.3m focus distance meant. Is it 0.3 m from the tip of the lens? Or, is it 0.3m from the camera body? This is especially important for the macro mode because the lens itself is a few centimeters in length, which means there's a few centimeters of error. In macro mode, that's the difference between blurry and sharp. As we can see from the sample shots, 0.3m from the body results in a blurry photo whereas 0.3m from the tip of the lens is much sharper. Thus, all the rest of the measurements for focus distance is the distance from the paper to the tip of the lens.
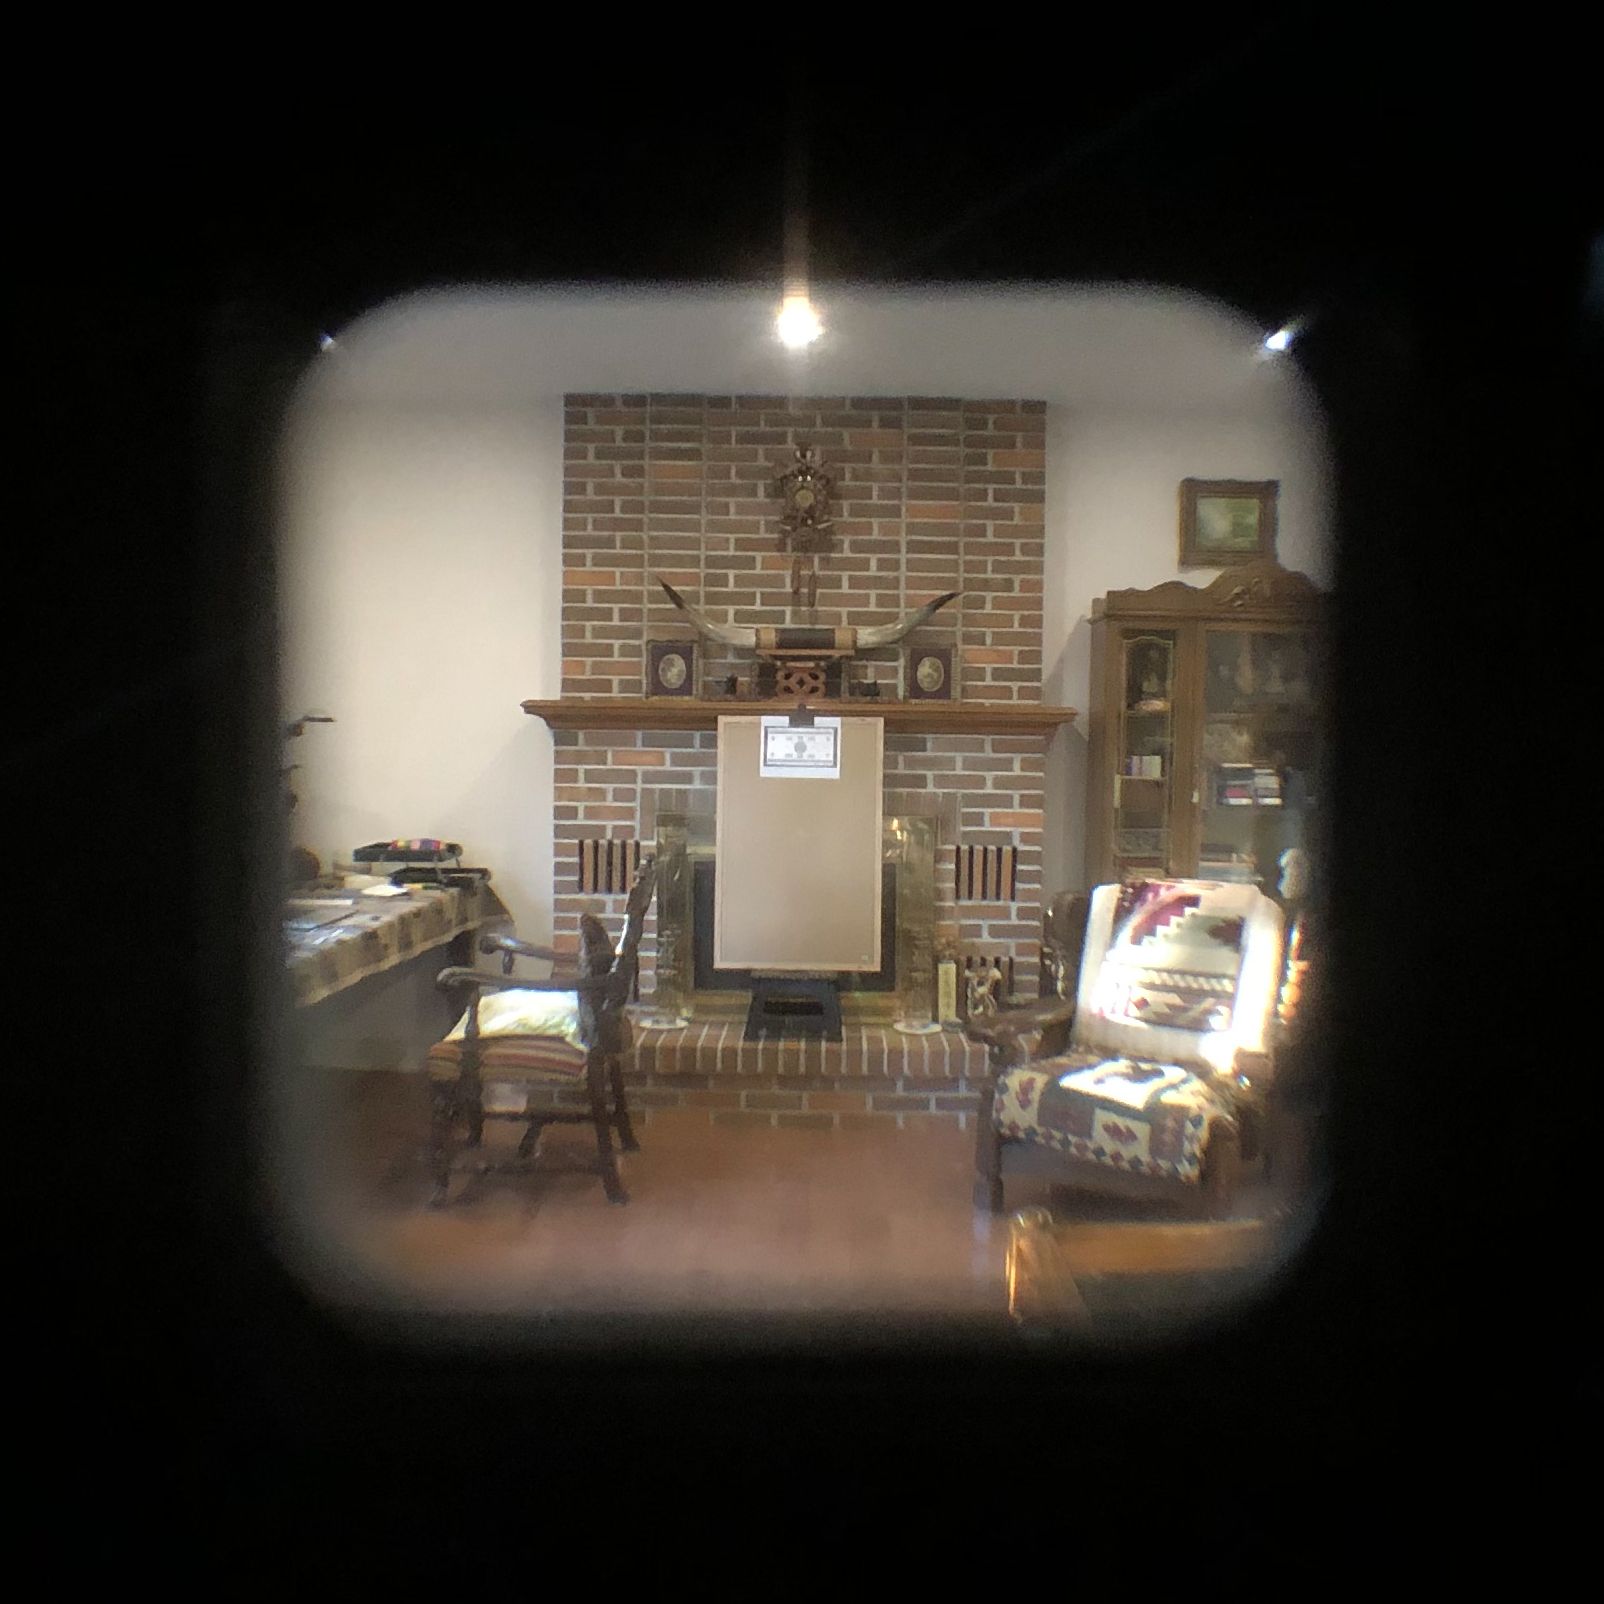
Next, let's talk about parallax at 0.3m. First, we can see that what we see inside the viewfinder was slightly shifted to the left (operator error on my side). The final photo taken has the center point shifted along the diagonal. Combining the viewfinder error and the parallax, we can expect the center to be shifted approximately a little less than 3/8 along the diagonal.
At 0.3m focus distance, we learn that we need to compensate quite a bit for parallax, a magnitude of almost 1/4 of the frame on the diagonal.
0.5m
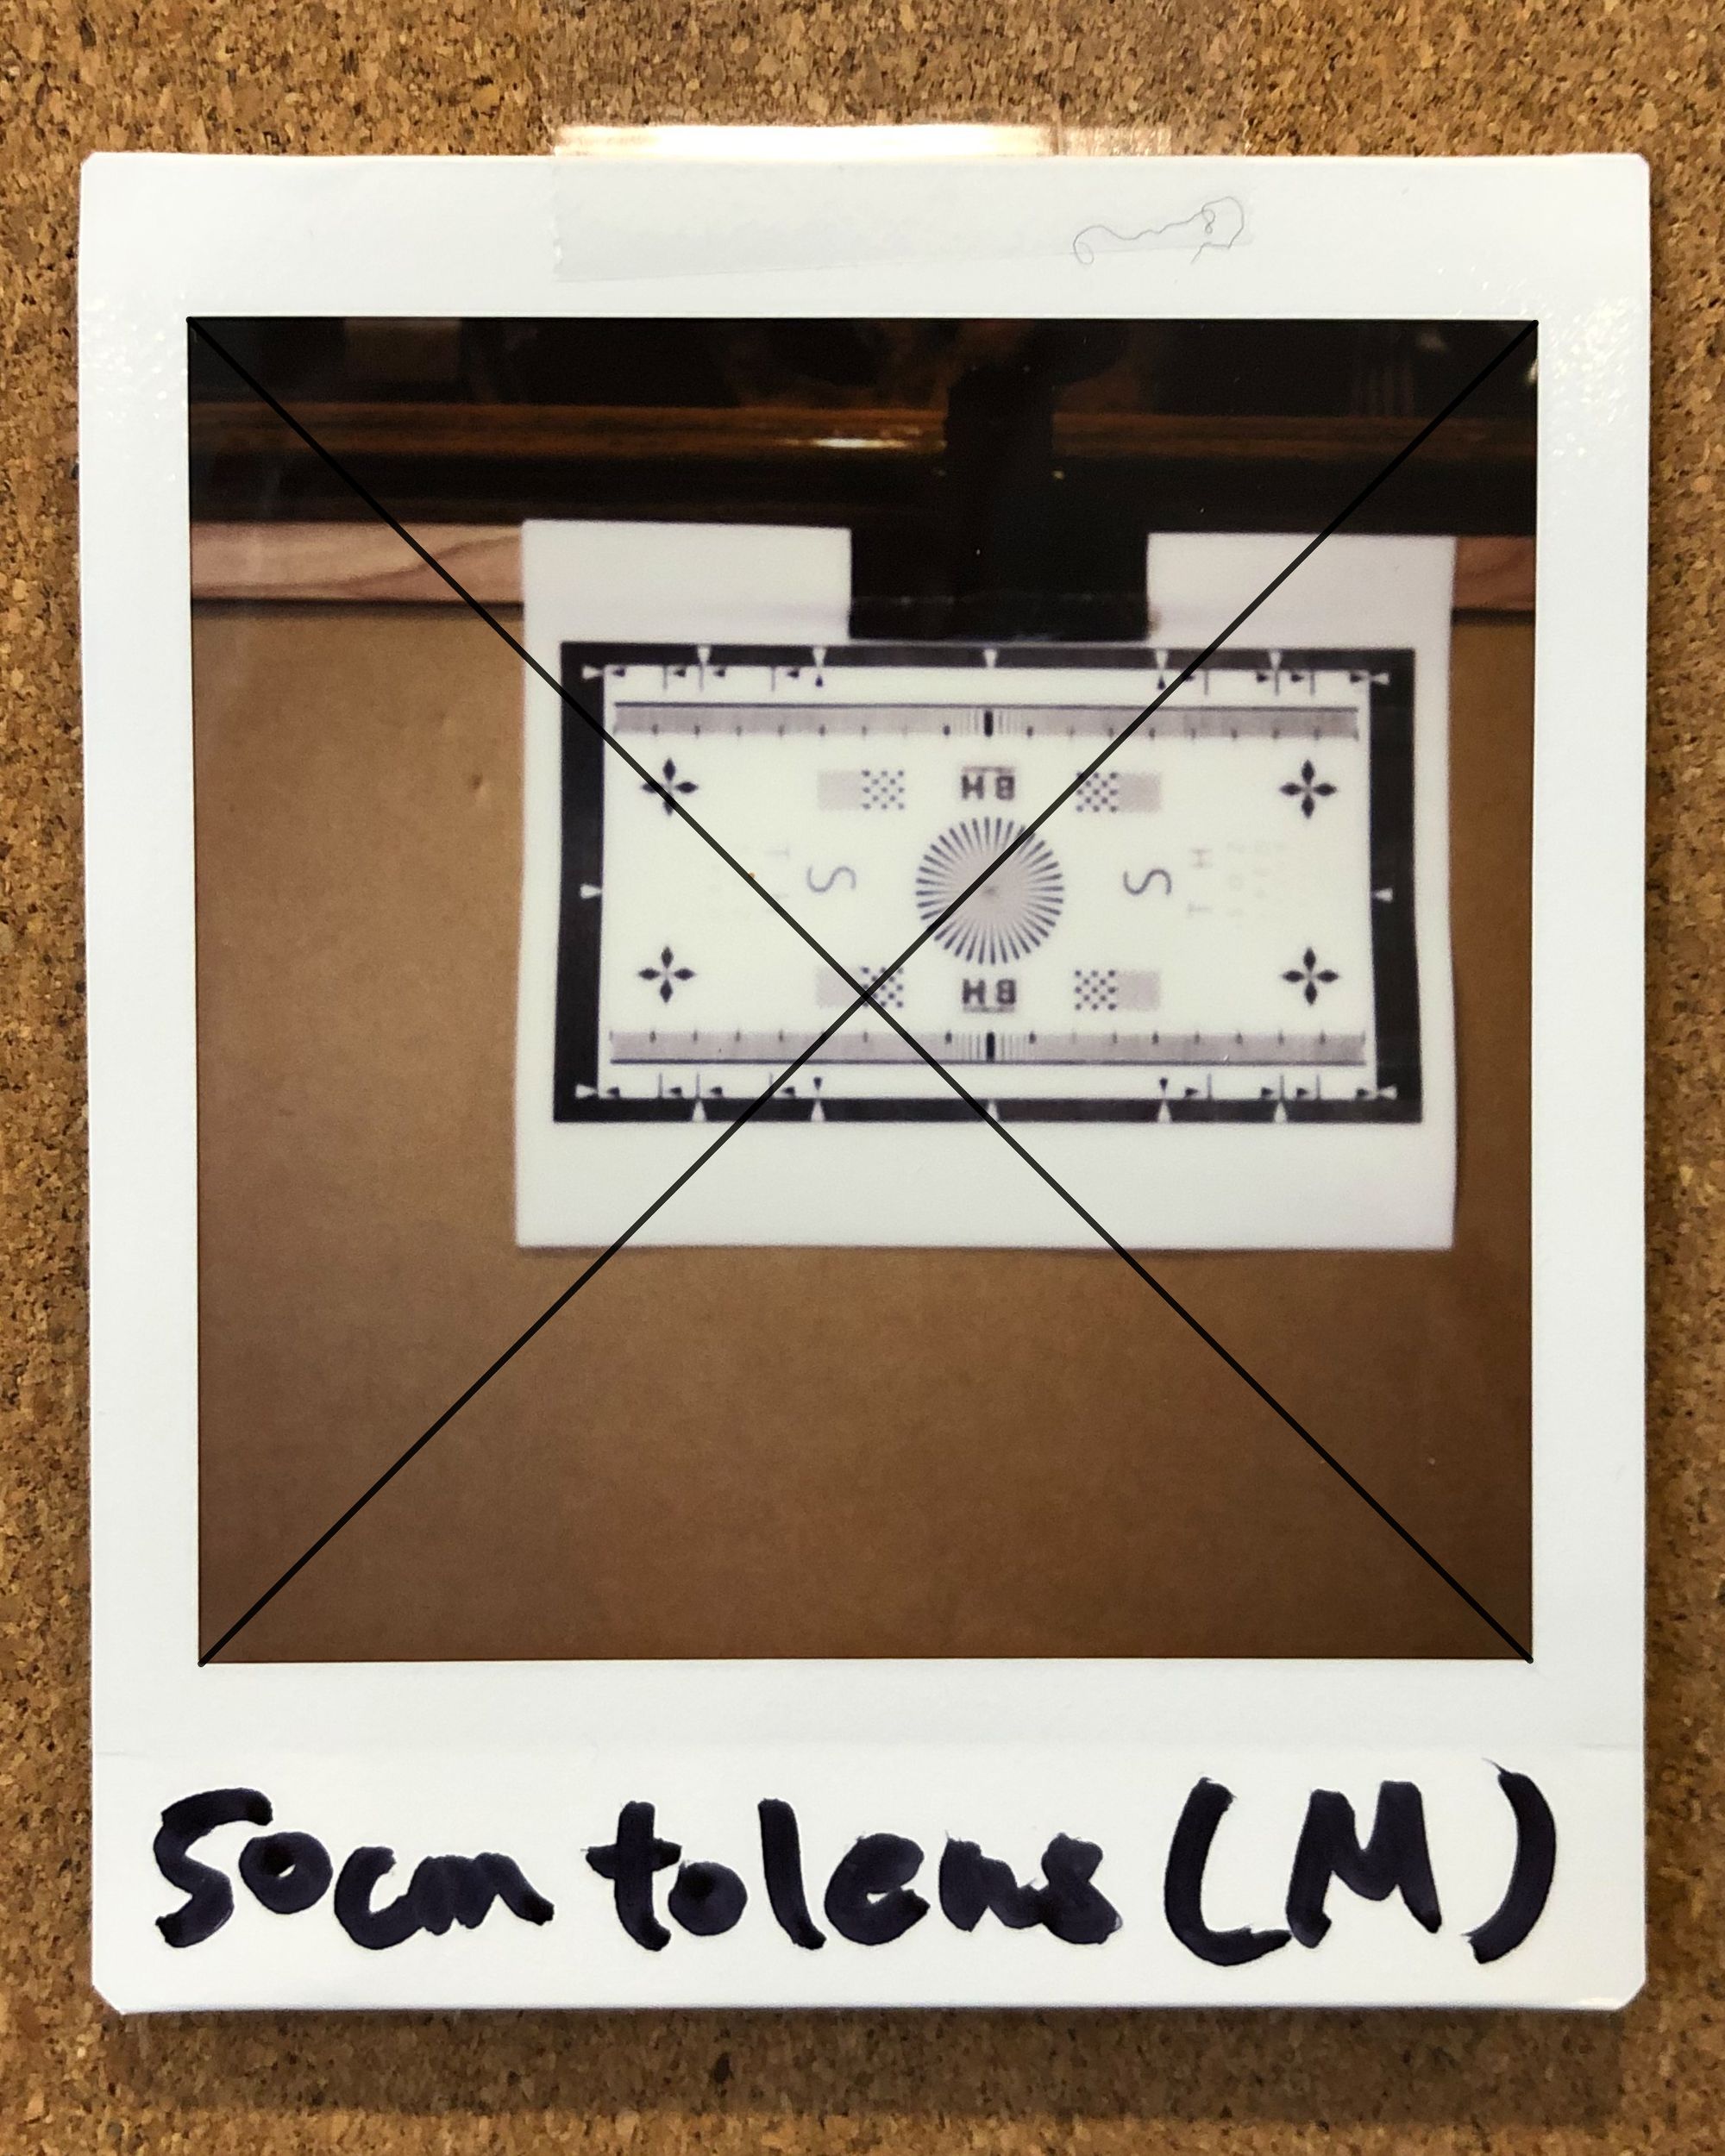
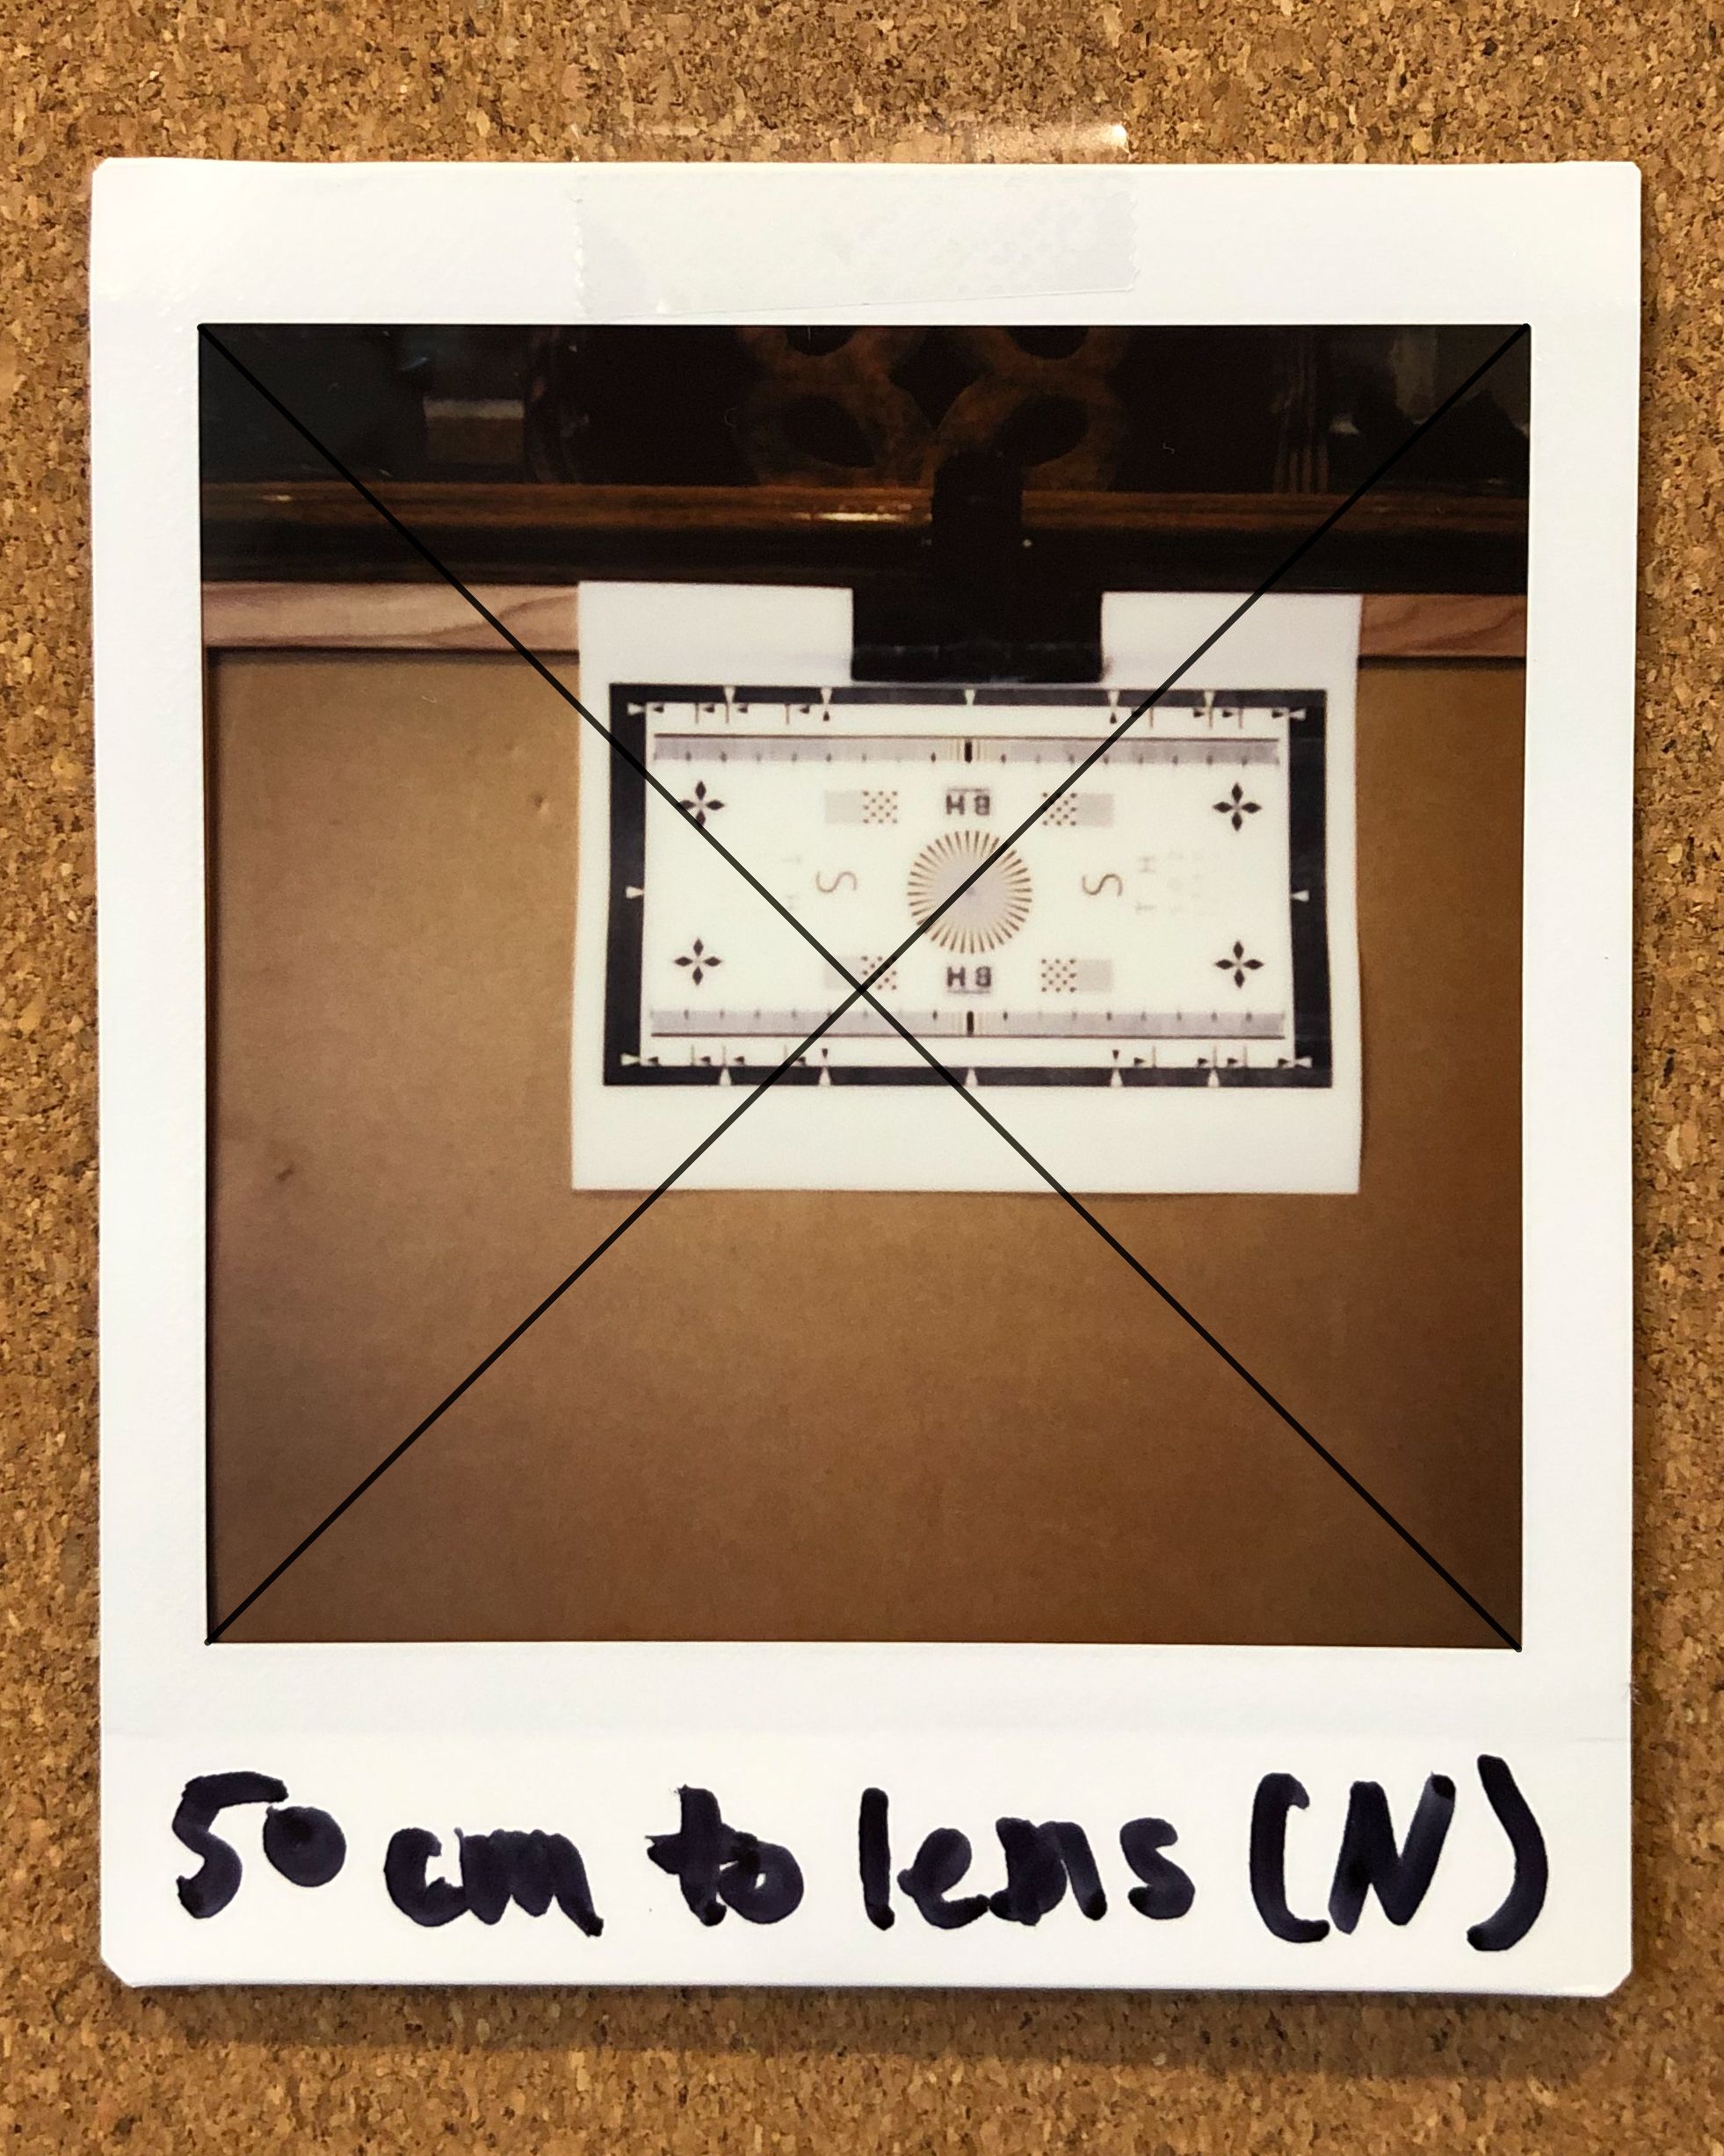
At 0.5m, we start to see the effects of parallax starts to decrease and the subject moves closer to the real center of the film. At this focus distance, the focus point is offset a little over 1/16 along the diagonal. What's more interesting is when we compare the result at 0.5m in macro mode versus 0.5m in normal mode.
There are two major differences between these two shots - focus and perspective. It might be a little hard to tell on these iPhone photos, but the normal mode at the same distance is a lot sharper. The perspective change very noticeable. Most consumer camera lenses have this issue - different focus distances result in minor changes in focal length, which is called focus breathing*. Based on the results, focus breathing for the SQ6 is very noticeable. Lastly, if we look closely at what is seen in the viewfinder vs what's on the film, we can also see the perspective of the film is wider than that of what we see in the viewfinder. Thus, if I framed the photo purely based on what I see in the viewfinder, I should expect surrounding elements to creep into the final film.
At 0.5m, we see that we should use normal mode for better sharpness. For this focus distance, we should compensate approximately 1/16 of the diagonal. Finally, make sure to be mindful of the edge elements that could creep into the film.
*In movies, you often see a change of focus between different parts of the scene, but the field of view stays the same. This is because cinema lenses maintain focal length across all focus points and solved the focus breathing problem, which is why cinema lenses are way more expensive.
1.0m

At 1.0m we can see that parallax is almost non-existent. I'm guessing the engineers of Instax SQ6 optimized the parallax to be minimal at "portrait" distances. Although there's still a minor shift along the diagonal, it's not that significant. There's not much to talk about at this focus distance.
However, we can still observe edge elements creeping into the frame. We'll soon see that this effect will persist through all focus distances and even magnified at larger focus distances.
1.5m
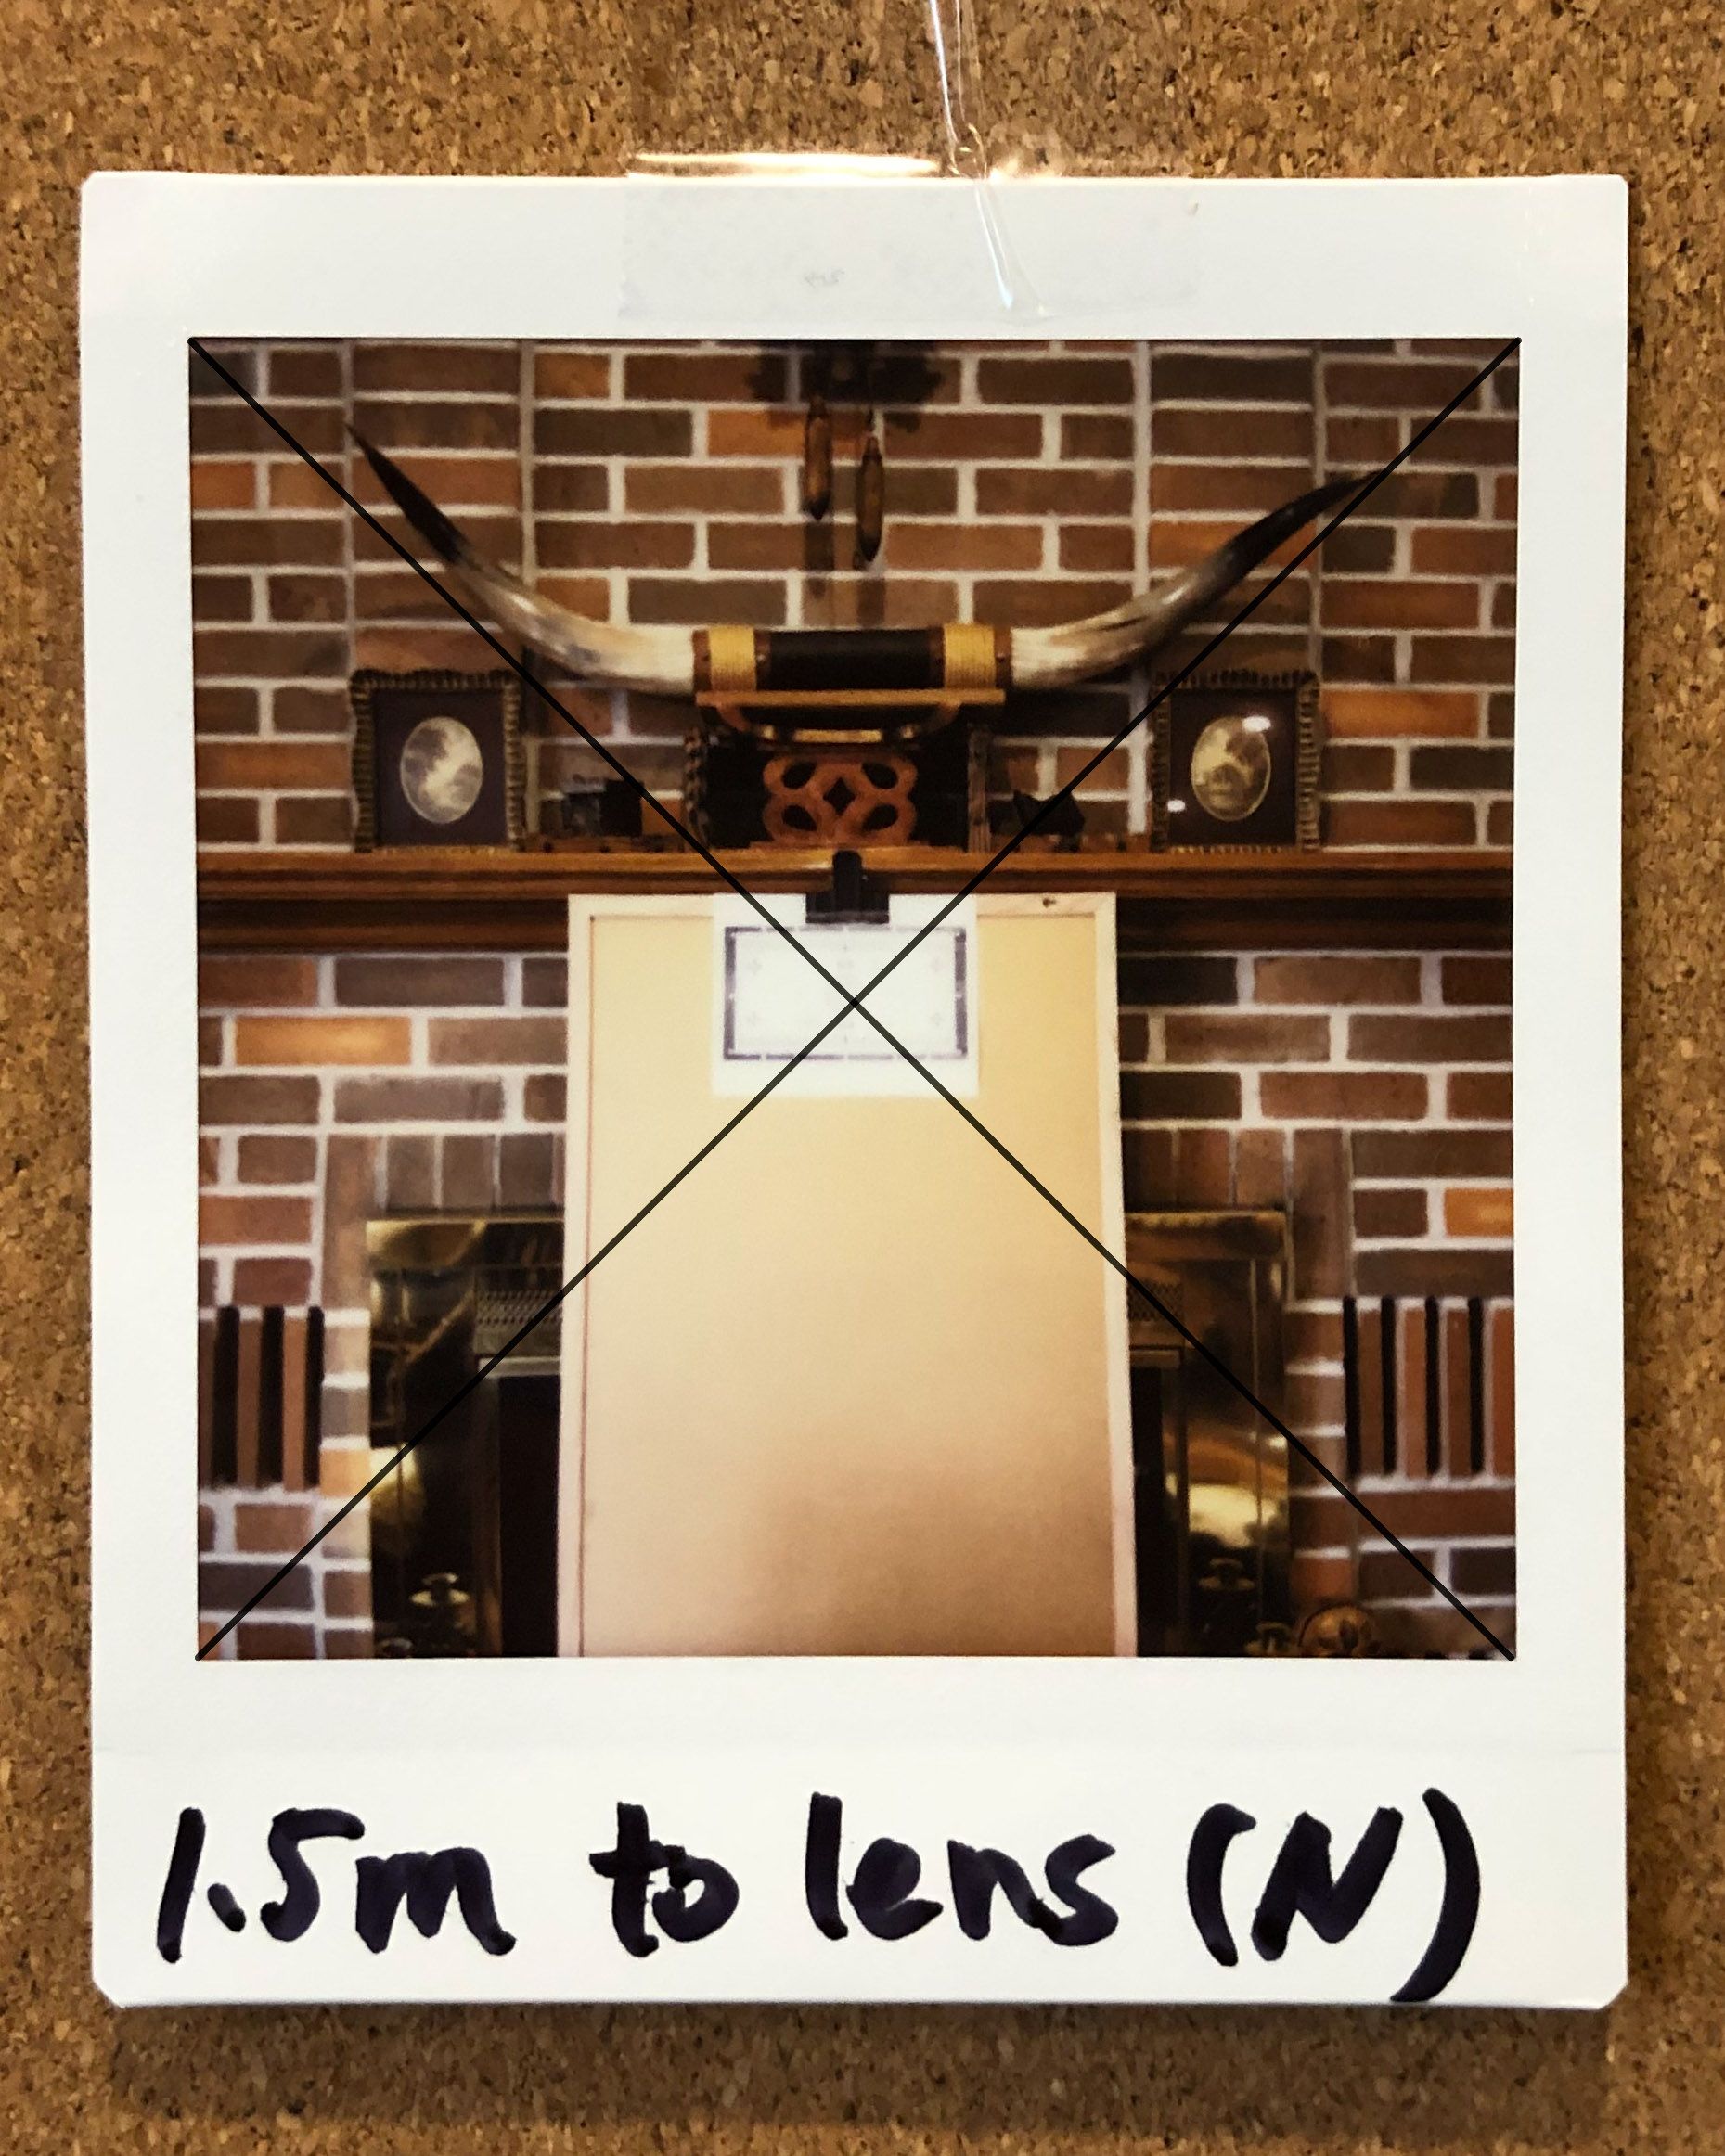
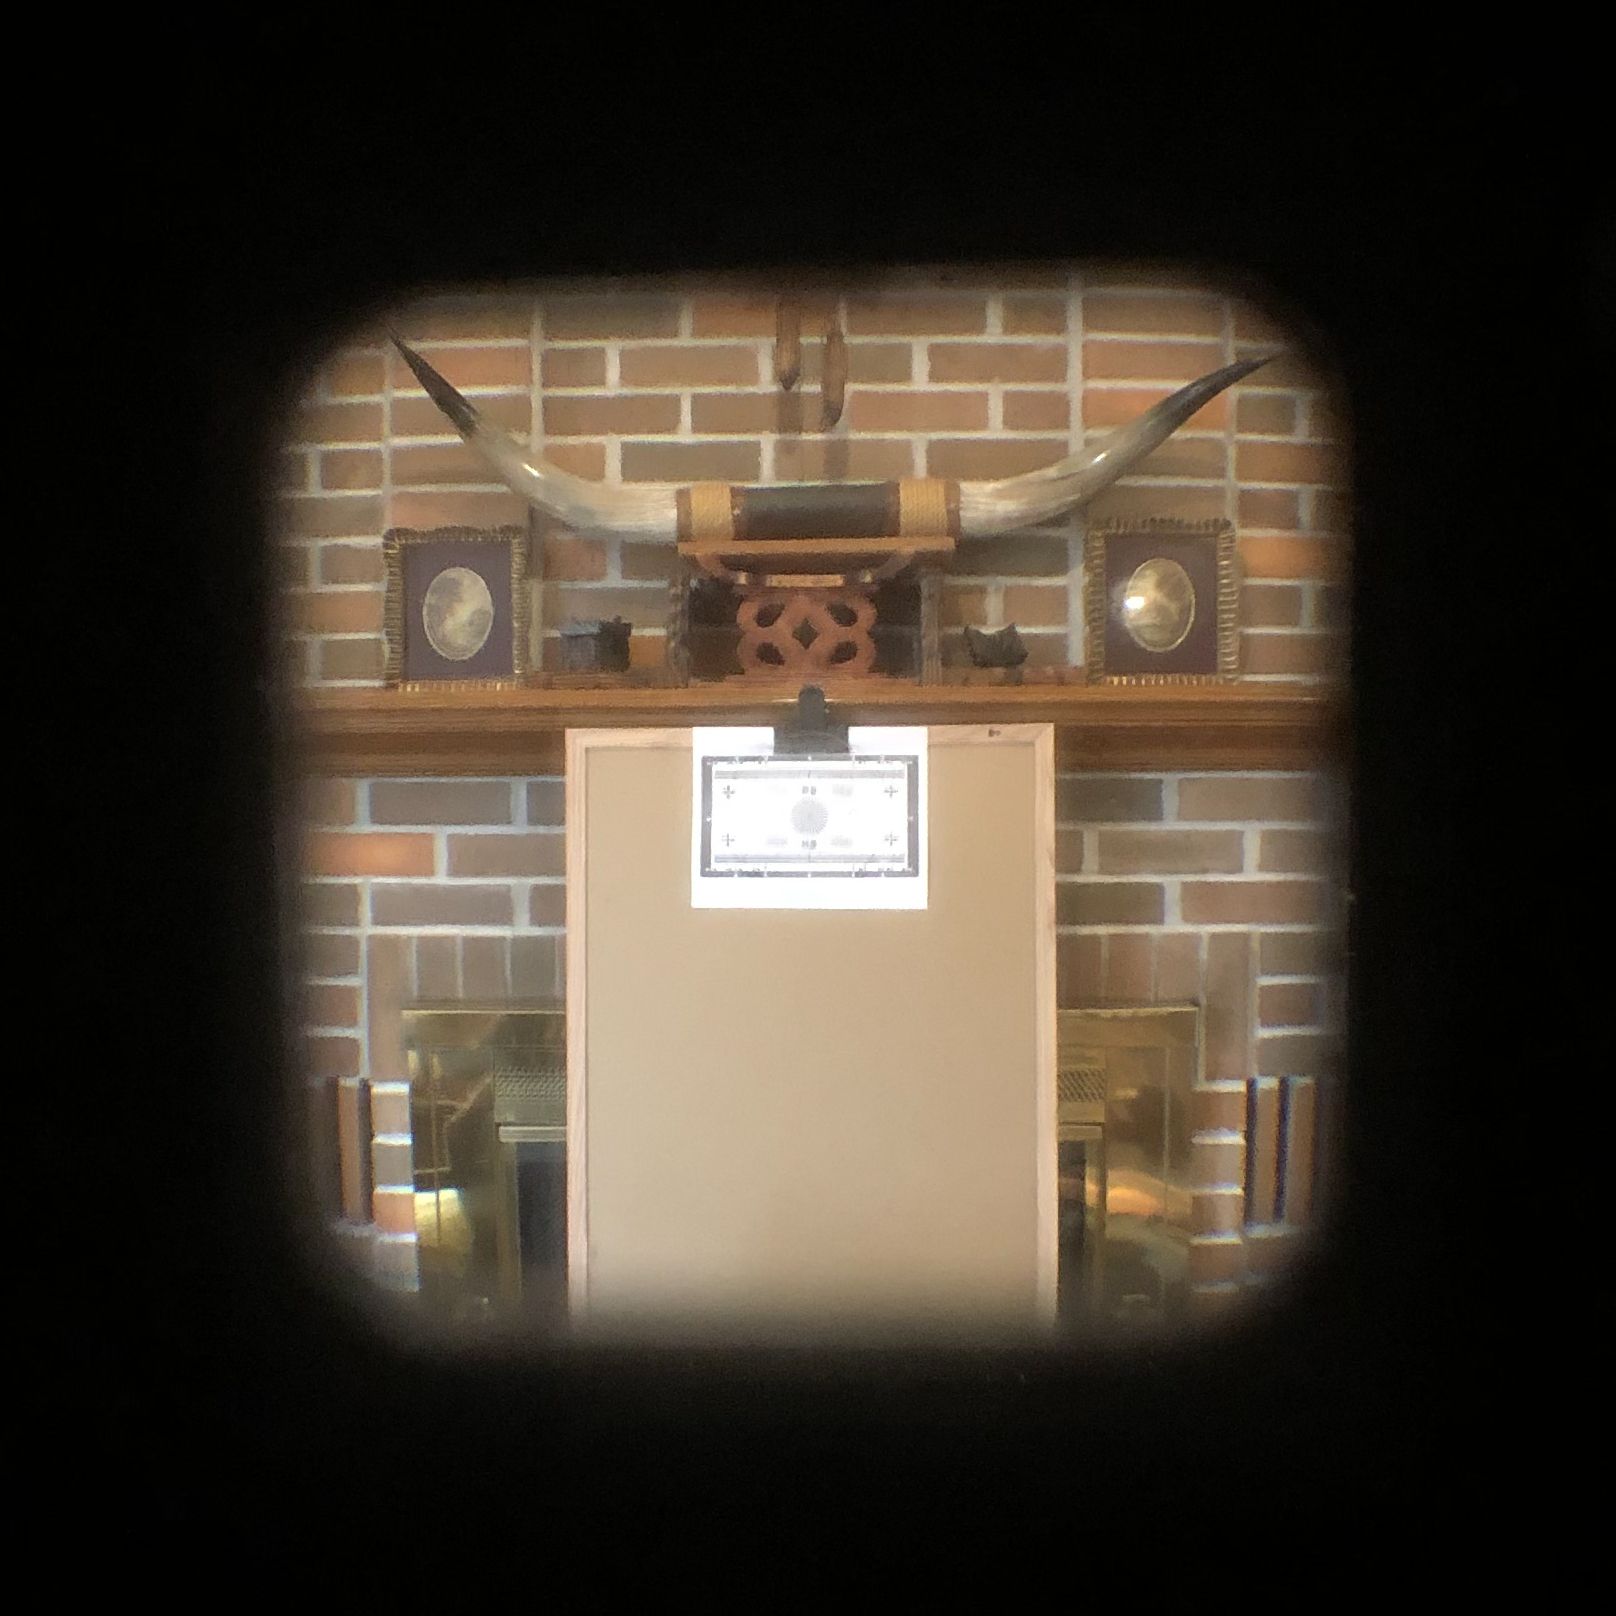
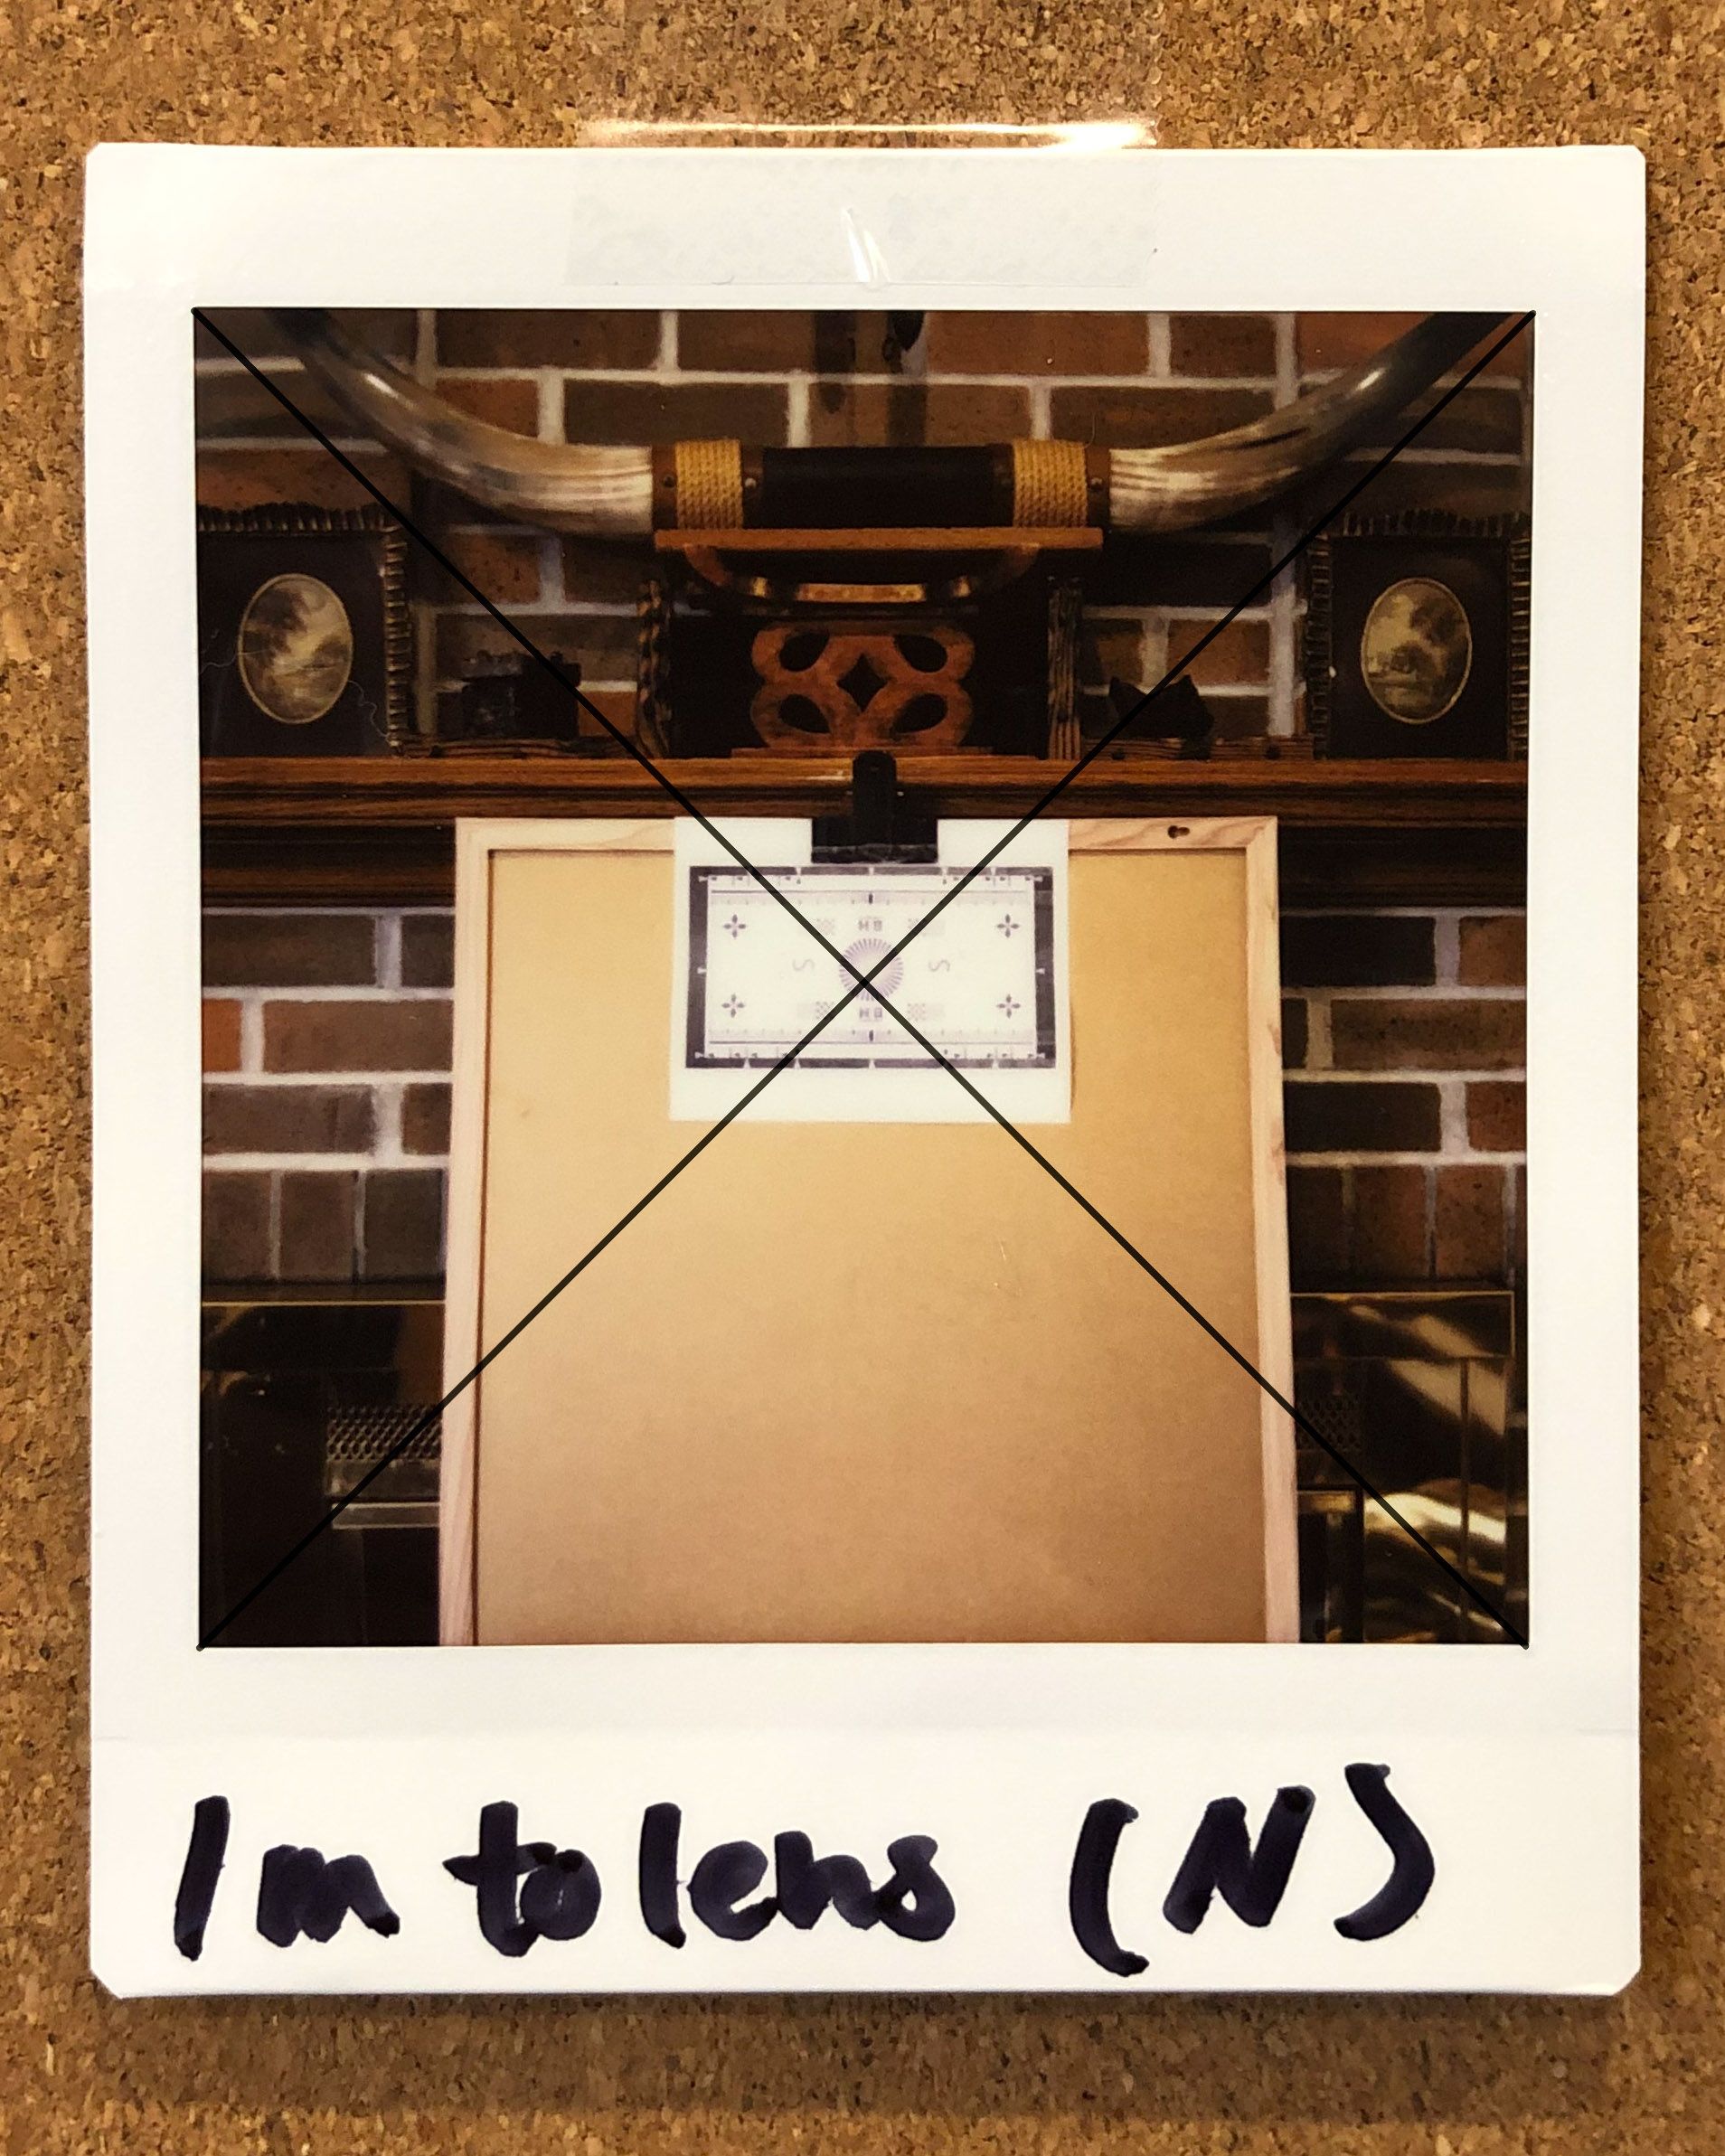
At 1.5m I would say the effects of parallax almost don't exist. This distance is the optimal shooting distance for SQ6 if you don't want to think about parallax. Apart from that, there's not much to discuss for this distance.
2.0m
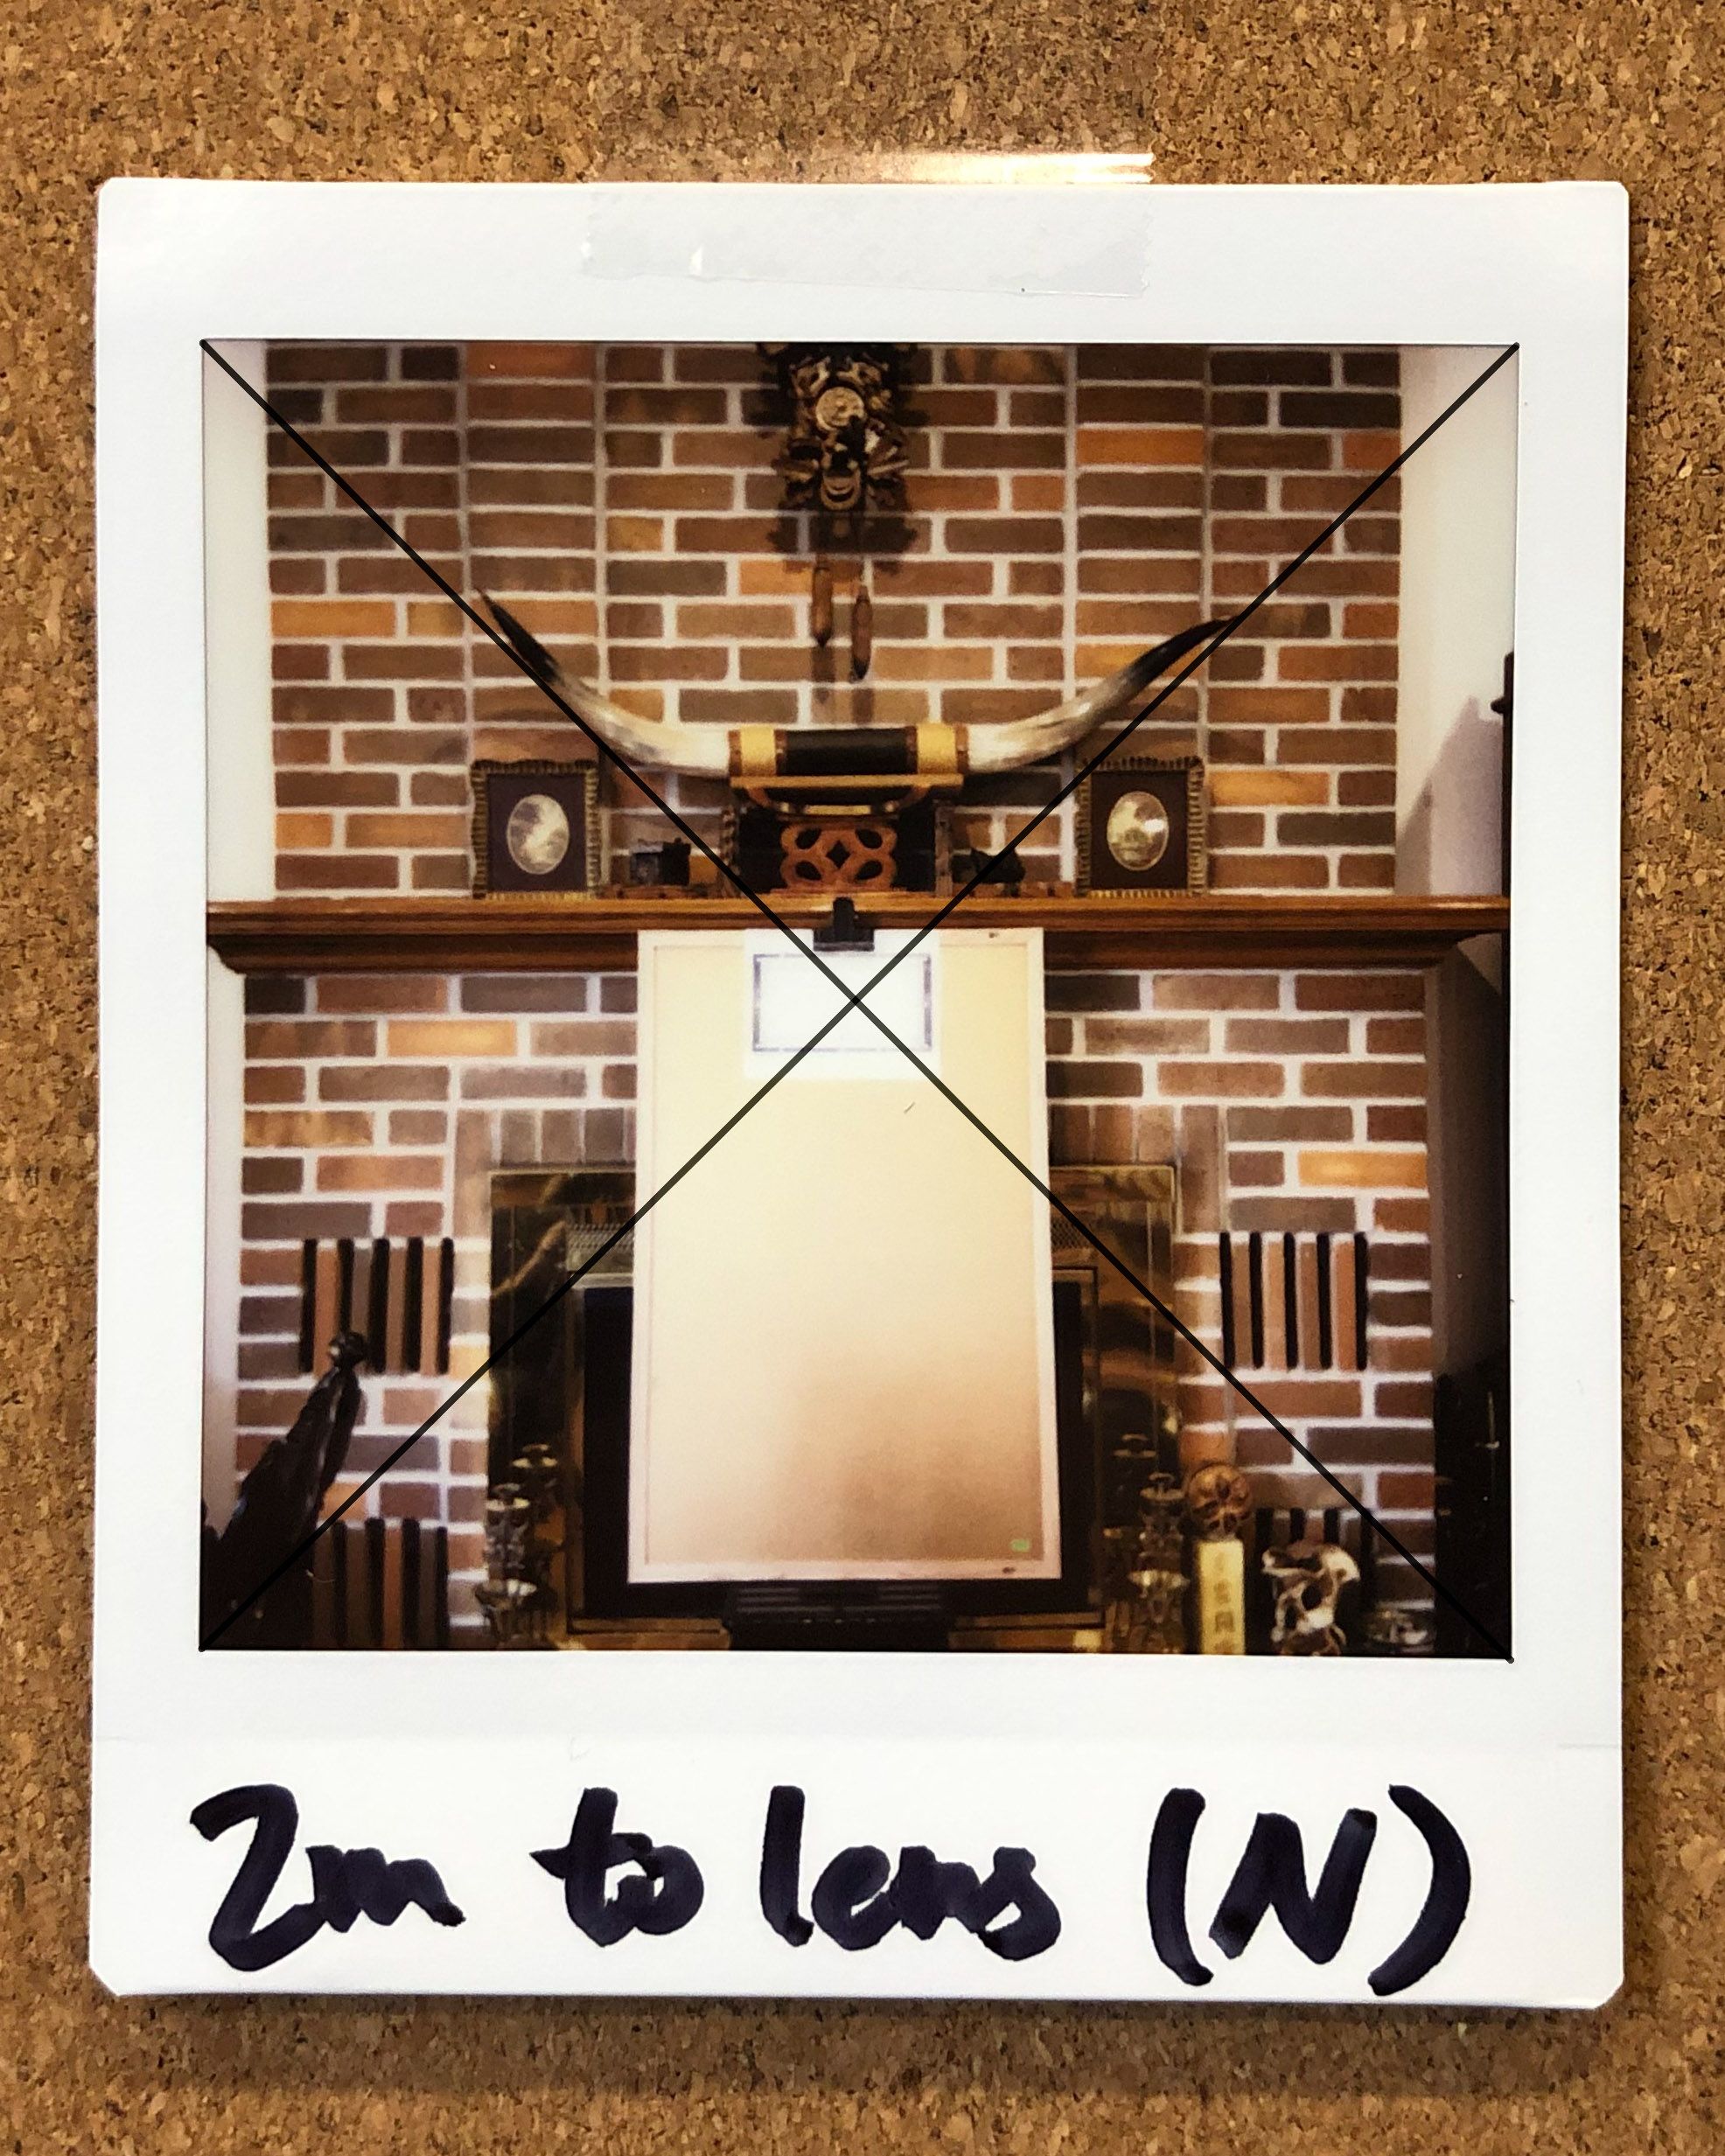
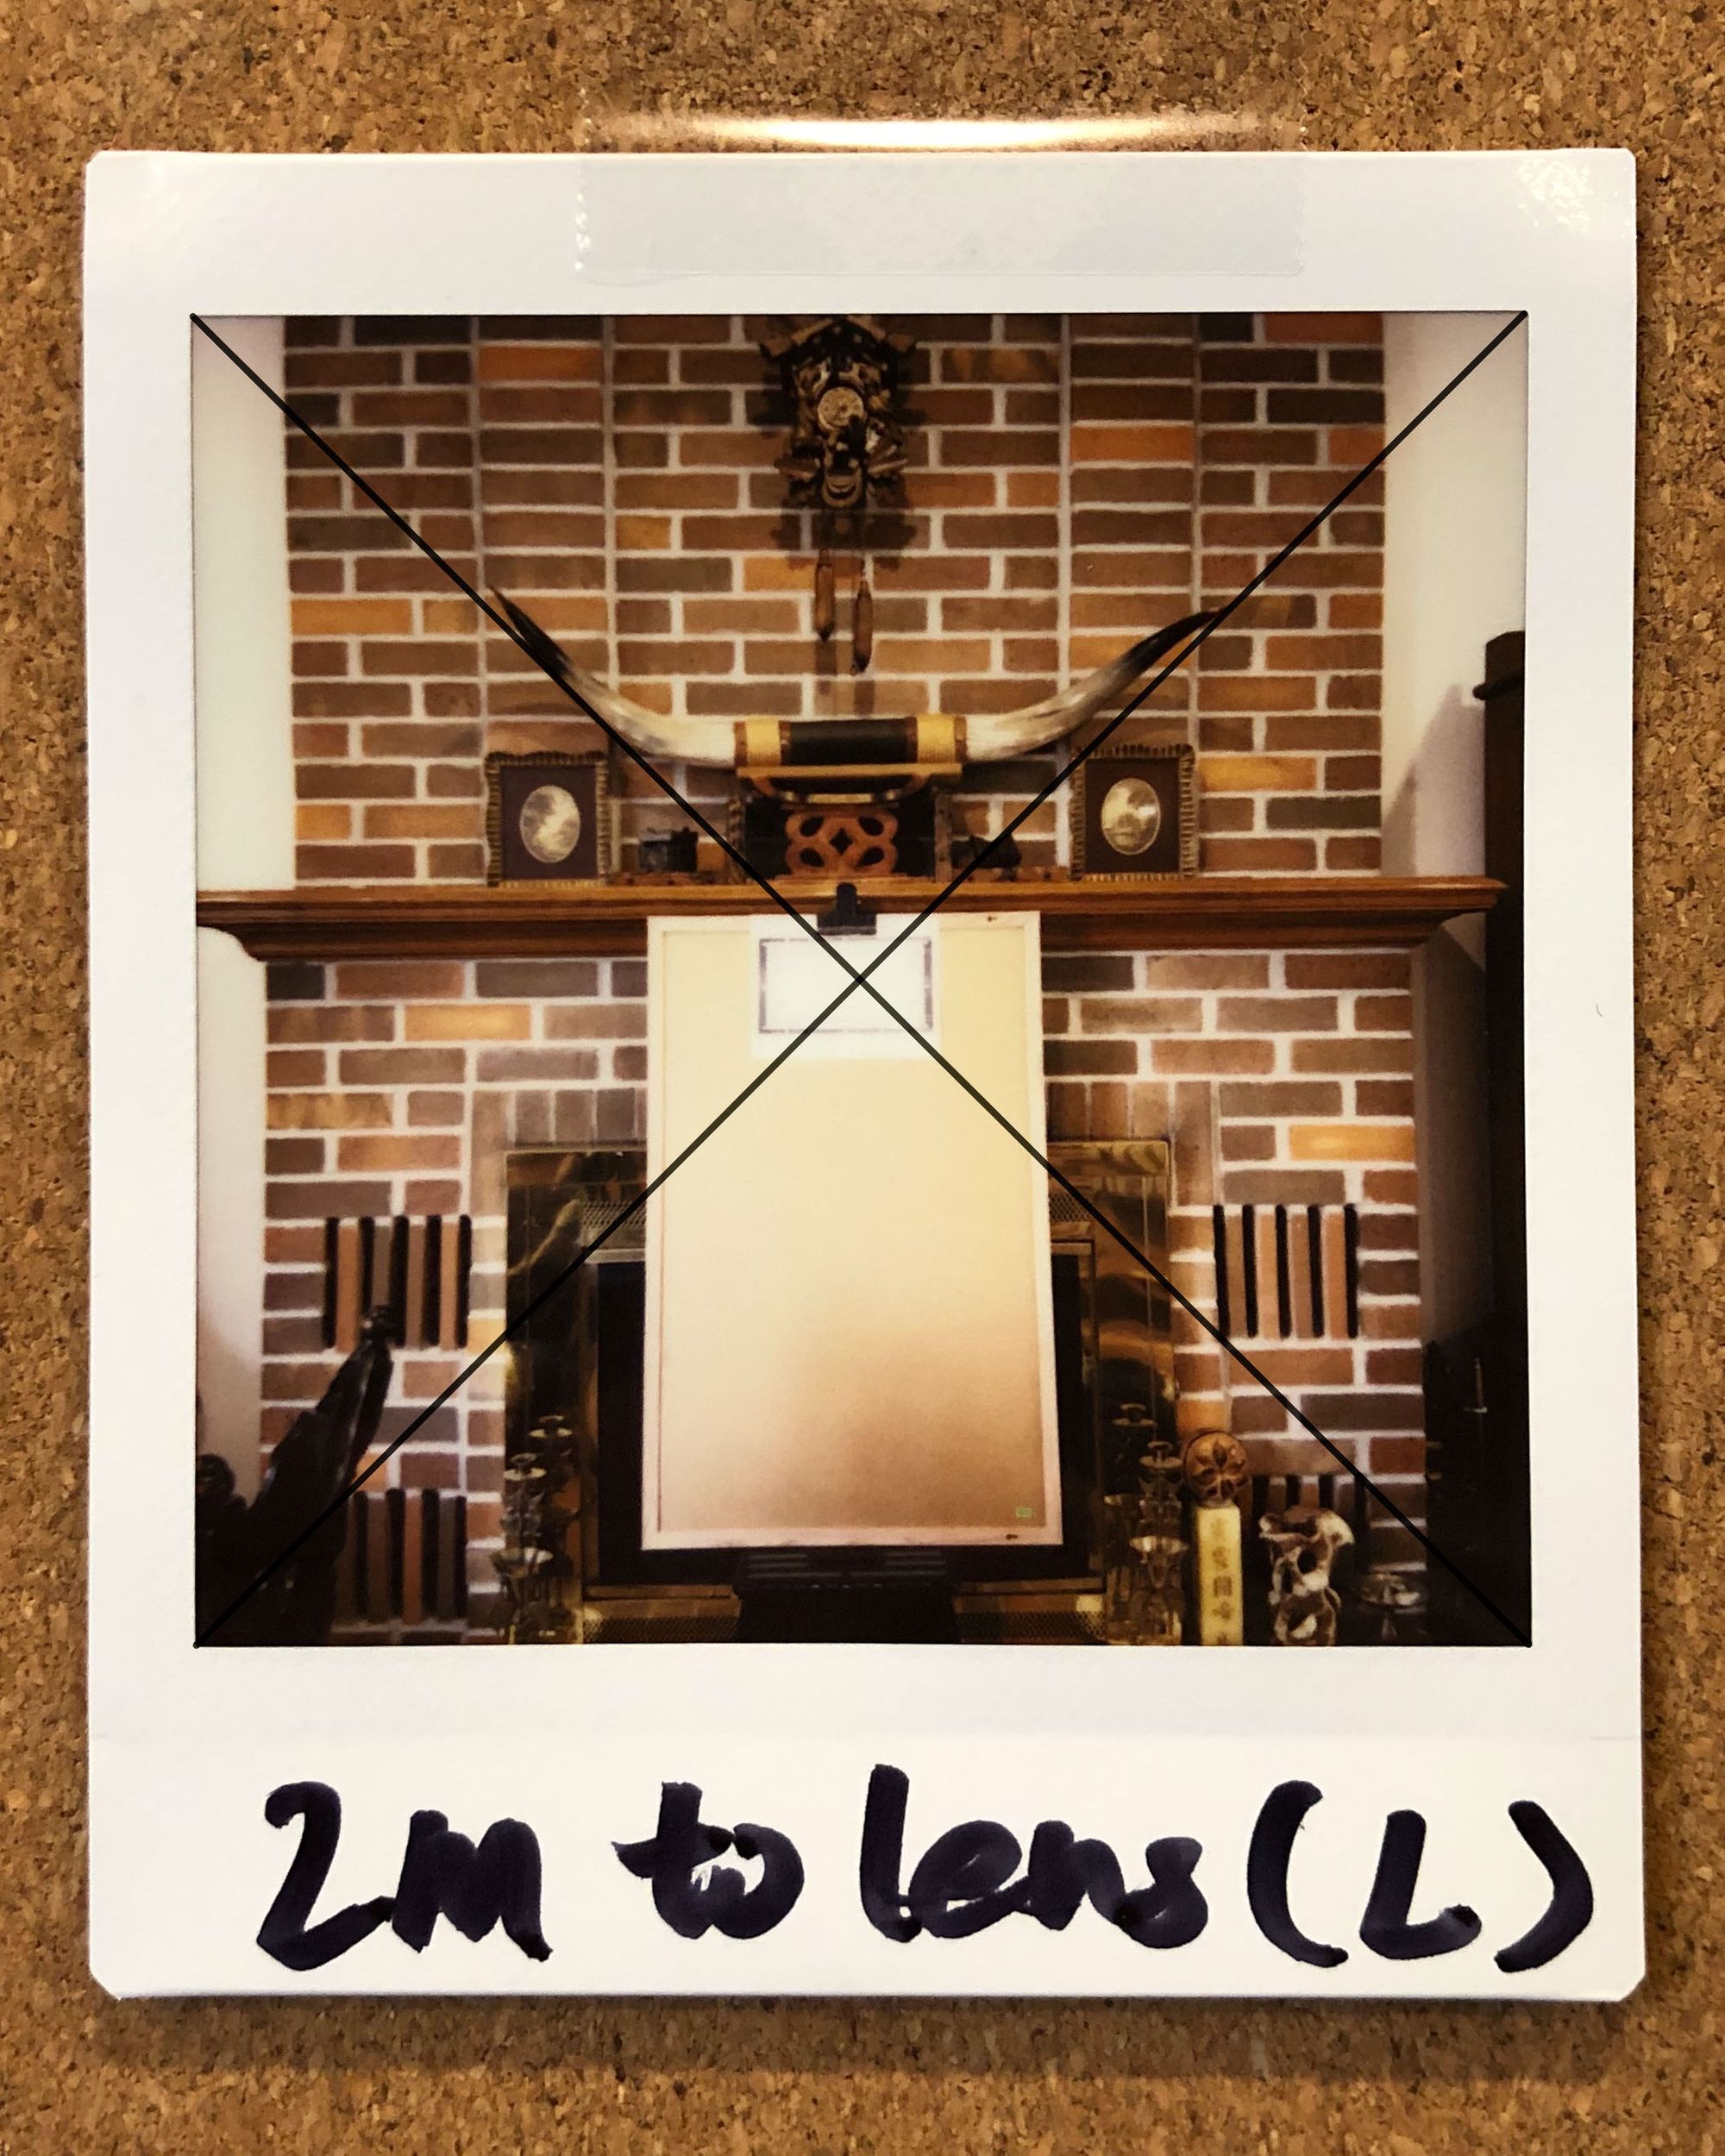
For 2.0m we have the option of using normal mode or landscape mode. Similar to the mode switch at 0.5m, we can see that there's focus breathing when the SQ6 is switched from normal mode to landscape mode. The perspective is even wider in landscape mode which means even more edge elements will creep into the frame. I'd say in landscape mode you would need to compensate almost an additional 1/5 of the viewfinder for edge elements.
Interestingly, once we start going into the longer focus distance, we see that the parallax starts to shift towards the opposite direction. Starting at 2.0m and beyond, the center point seen in the viewfinder starts to shift bottom left along the diagonal of the film. Although it's not quite noticeable at 2.0m, it's something to keep in mind.
Beyond 3.0m
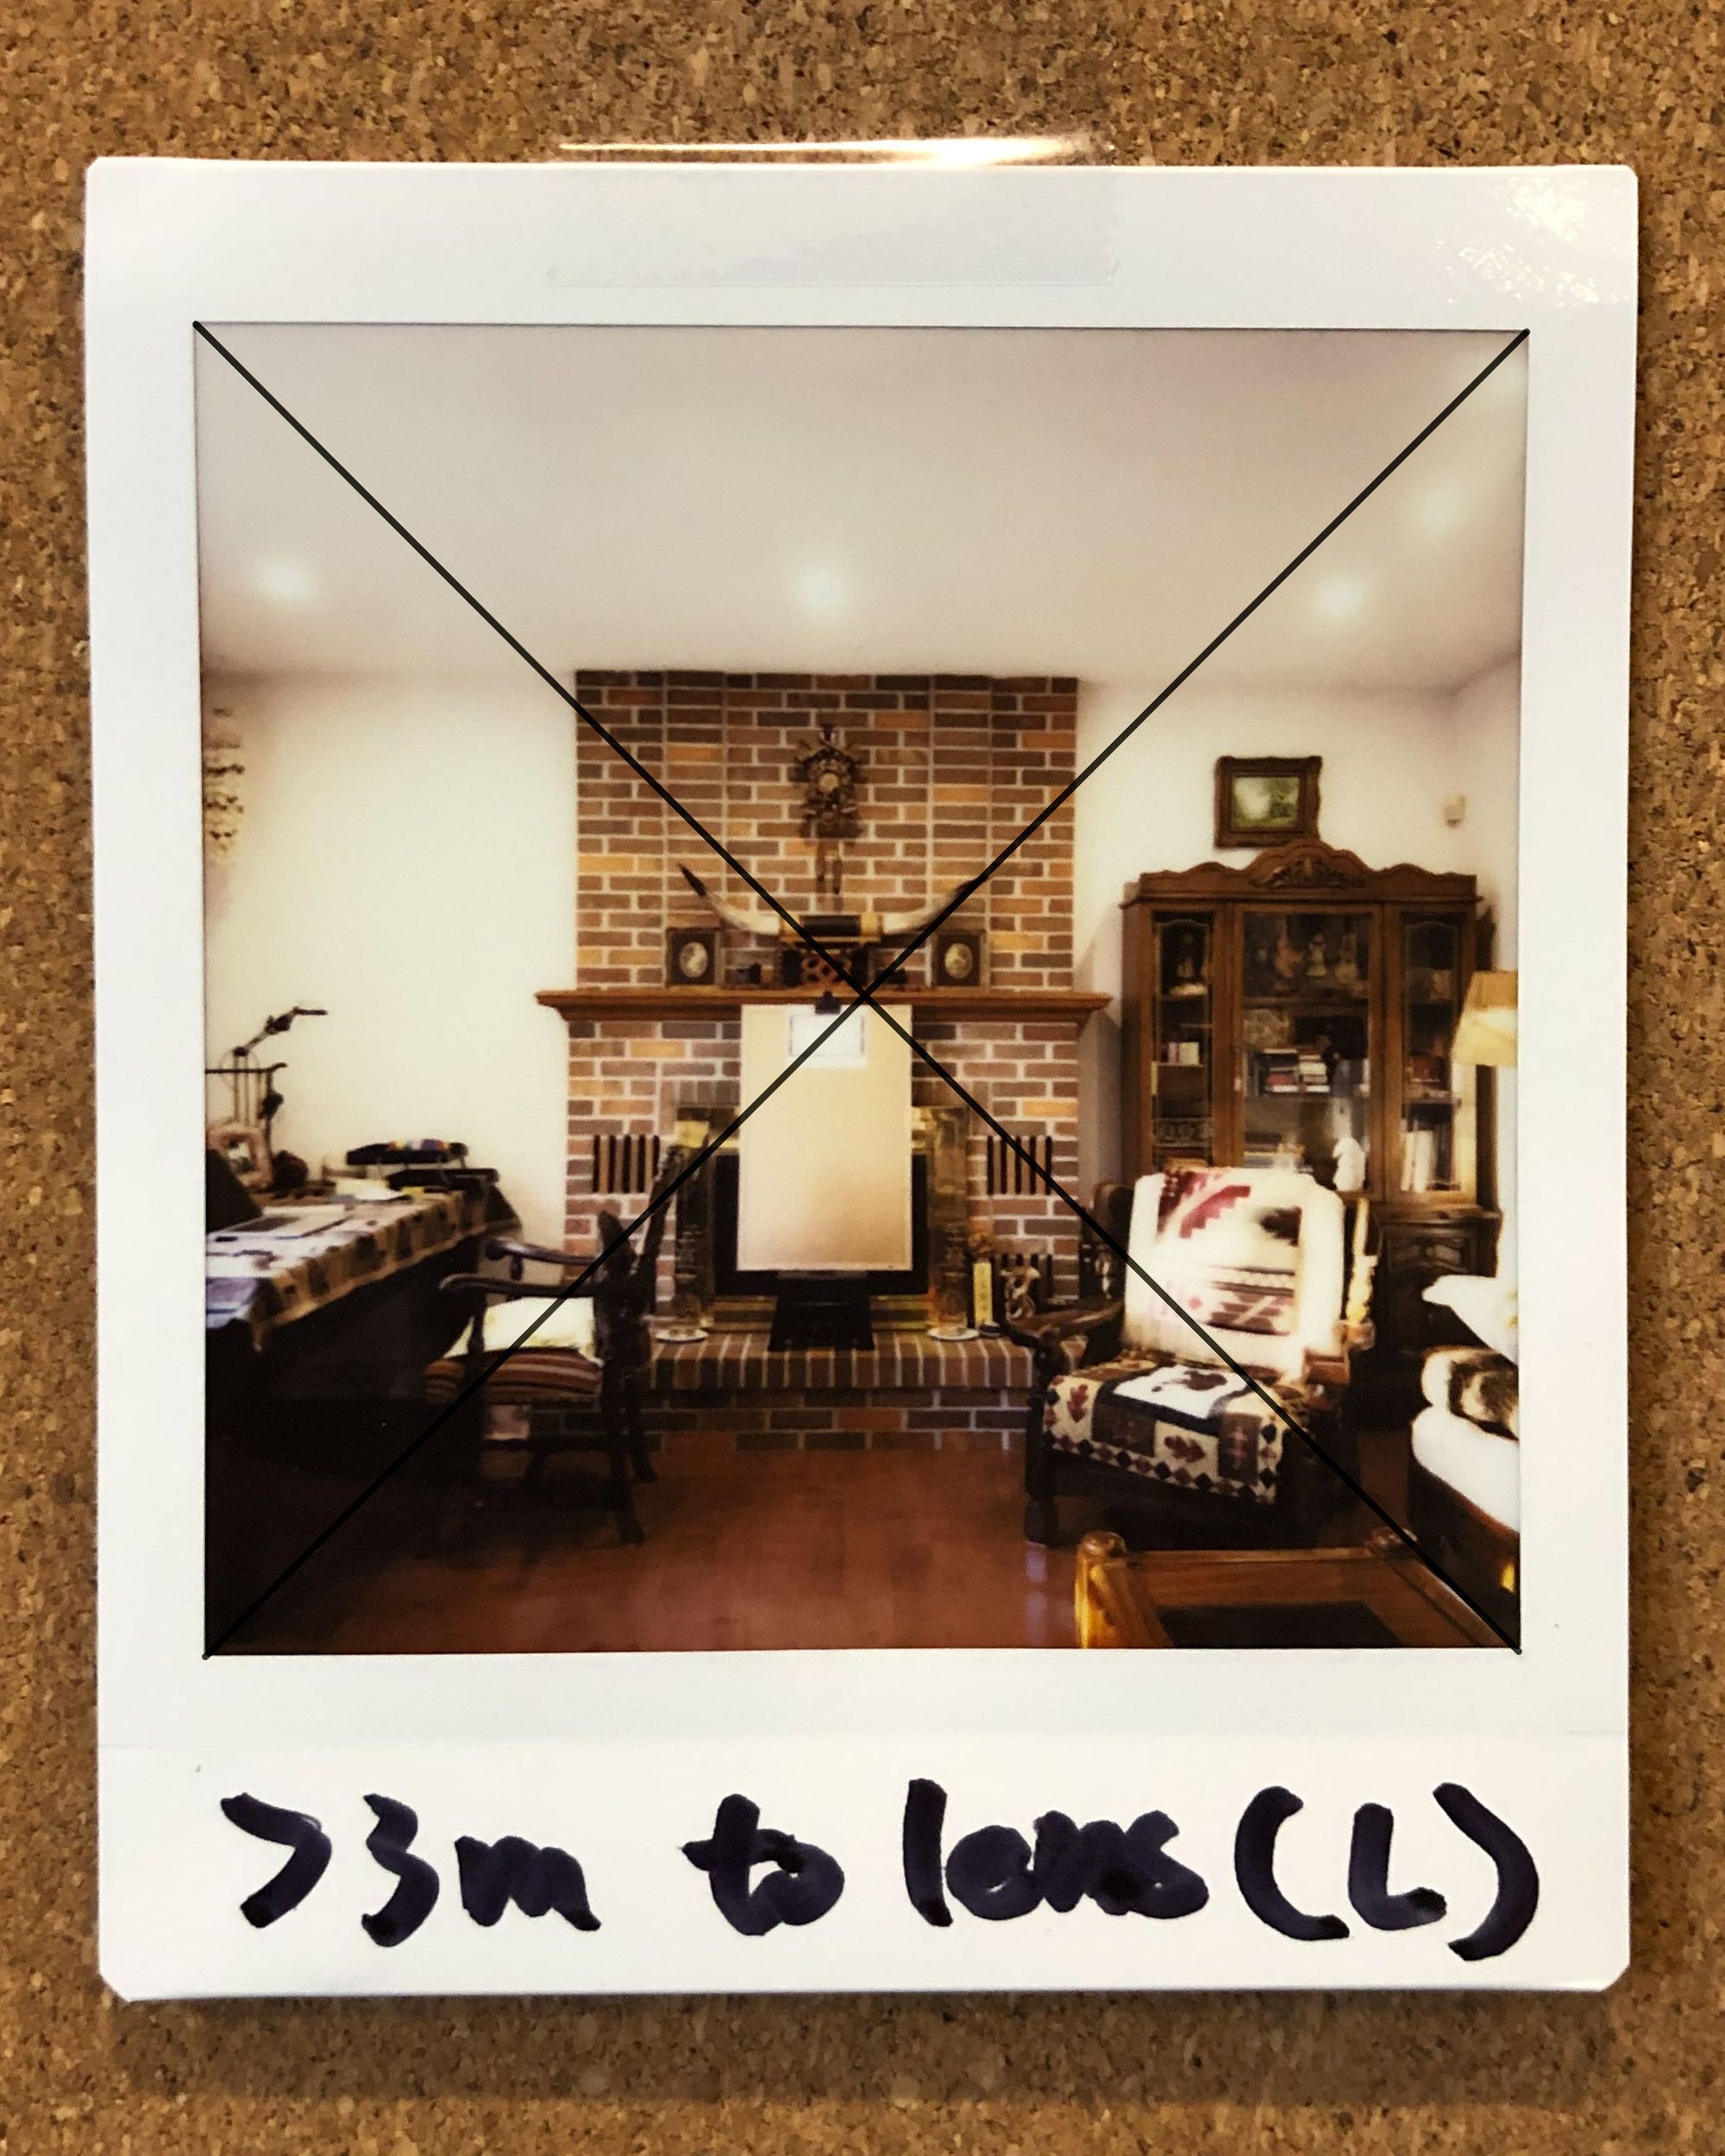
For the last set, I did 3.0m and stopped at that. Just look at the perspective difference! The final shot has a much wider field of view. I would say 1/4 of the film (if not more) contains elements that are not viewable in the viewfinder. This is incredibly important to remember for framing shots as this property ruined countless shots I've taken.
In terms of parallax, I would estimate this to be 1/2 of the parallax at 0.5m, which would approximately be 1/32 shifted across the diagonal.
I hope you found this guide useful! Hopefully, all this information will give you more confidence in using your SQ6 to the maximum potential.
In summary, keep these guidelines in mind so you can adjust your composition accordingly:
- When switching from smaller focus distance to larger focus distances (Macro -> Normal; Normal -> Landscape), focus breathing will make the focal length wider. Expect more edge elements unobservable in the viewfinder to creep into the final film.
- At 0.3m macro mode, shift down the center point along the bottom left to top right diagonal approximately 3/8 to compensate for parallax.
- At 0.5m, it's recommended to use normal mode for better sharpness. Shift down the center point along the bottom left to top right diagonal approximately 1/8 to compensate for parallax. Normal mode has wider focal length due to focus breathing
- At 1.0m - 1.5m is the optimal focus distance. Parallax is almost non-existent at these distances.
- At 2.0m, both normal mode and landscape mode works well. Landscape mode has a wider focal length due to focus breathing. Shift up the center point along the bottom left to top right diagonal just a tiny smidge compensate for parallax.
- At 3.0m and beyond, shift up the center point along the bottom left to top right diagonal around 1/32 to compensate for parallax.
- Exposure will always be calculated to be 50% gray, be mindful of that when shooting high contrast scenarios. Scenes that contain lots of shadows could be overexposed.
- In general, avoid shooting compositions that require perfect symmetry and perfect center point. It's incredibly difficult to get the parallax perfect.