
Now that you've decided that you want to print some photos, what do you do next? I talked about the motivation for printing in the previous post. For this post, I'll talk about my personal experience with printing and my printing set up.
The cost of printing naturally is dependent on the quality that's desired. When I first looked into printing, I tested the waters with a cheap local printer called Oscars Photo Lab. I picked out a couple of colored photos, a couple of black and white photos, and printed them on two different types of paper. It was $1 for a 4x6 print ($6 for 8x10), which was dirt cheap compared to other options in the area, and even online.
When I received the prints, I was quite disappointed with the print quality. Based on what I've seen, Costco prints are far superior. The color prints felt flat and the black and white prints exhibited banding (even though the digital file had smooth gradients). Additionally, the black and white prints weren't pure black and white. There were visible hints of magenta - a common issue with cheap printers. In all the prints, if inspected closely, show tiny white dots (probably cheap print head and ink) which make the print feel discontinuous and spotty. In retrospect, I just didn't have my expectations straight. I mean, what can one expect from such cheap prints?
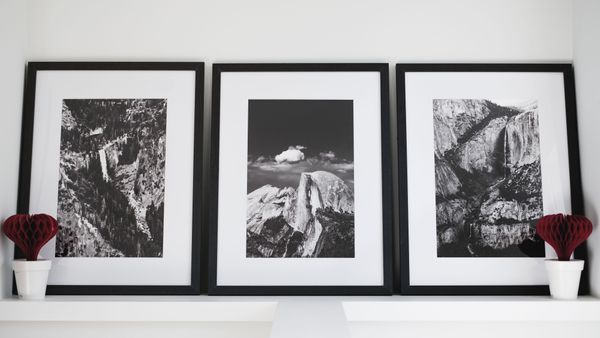
After looking into more expensive local printers, I found a printer in the Dogpatch area with stellar reviews called LightSource SF. For the same sized print, LightSource was charging over 3x the price ($20 for 8x10). They advertised that they work with reputable artists and produce museum-grade prints with great longevity. They also had a small gallery where they showcased their work and the quality definitely spoke for itself. I was highly curious and decided to give it a try.
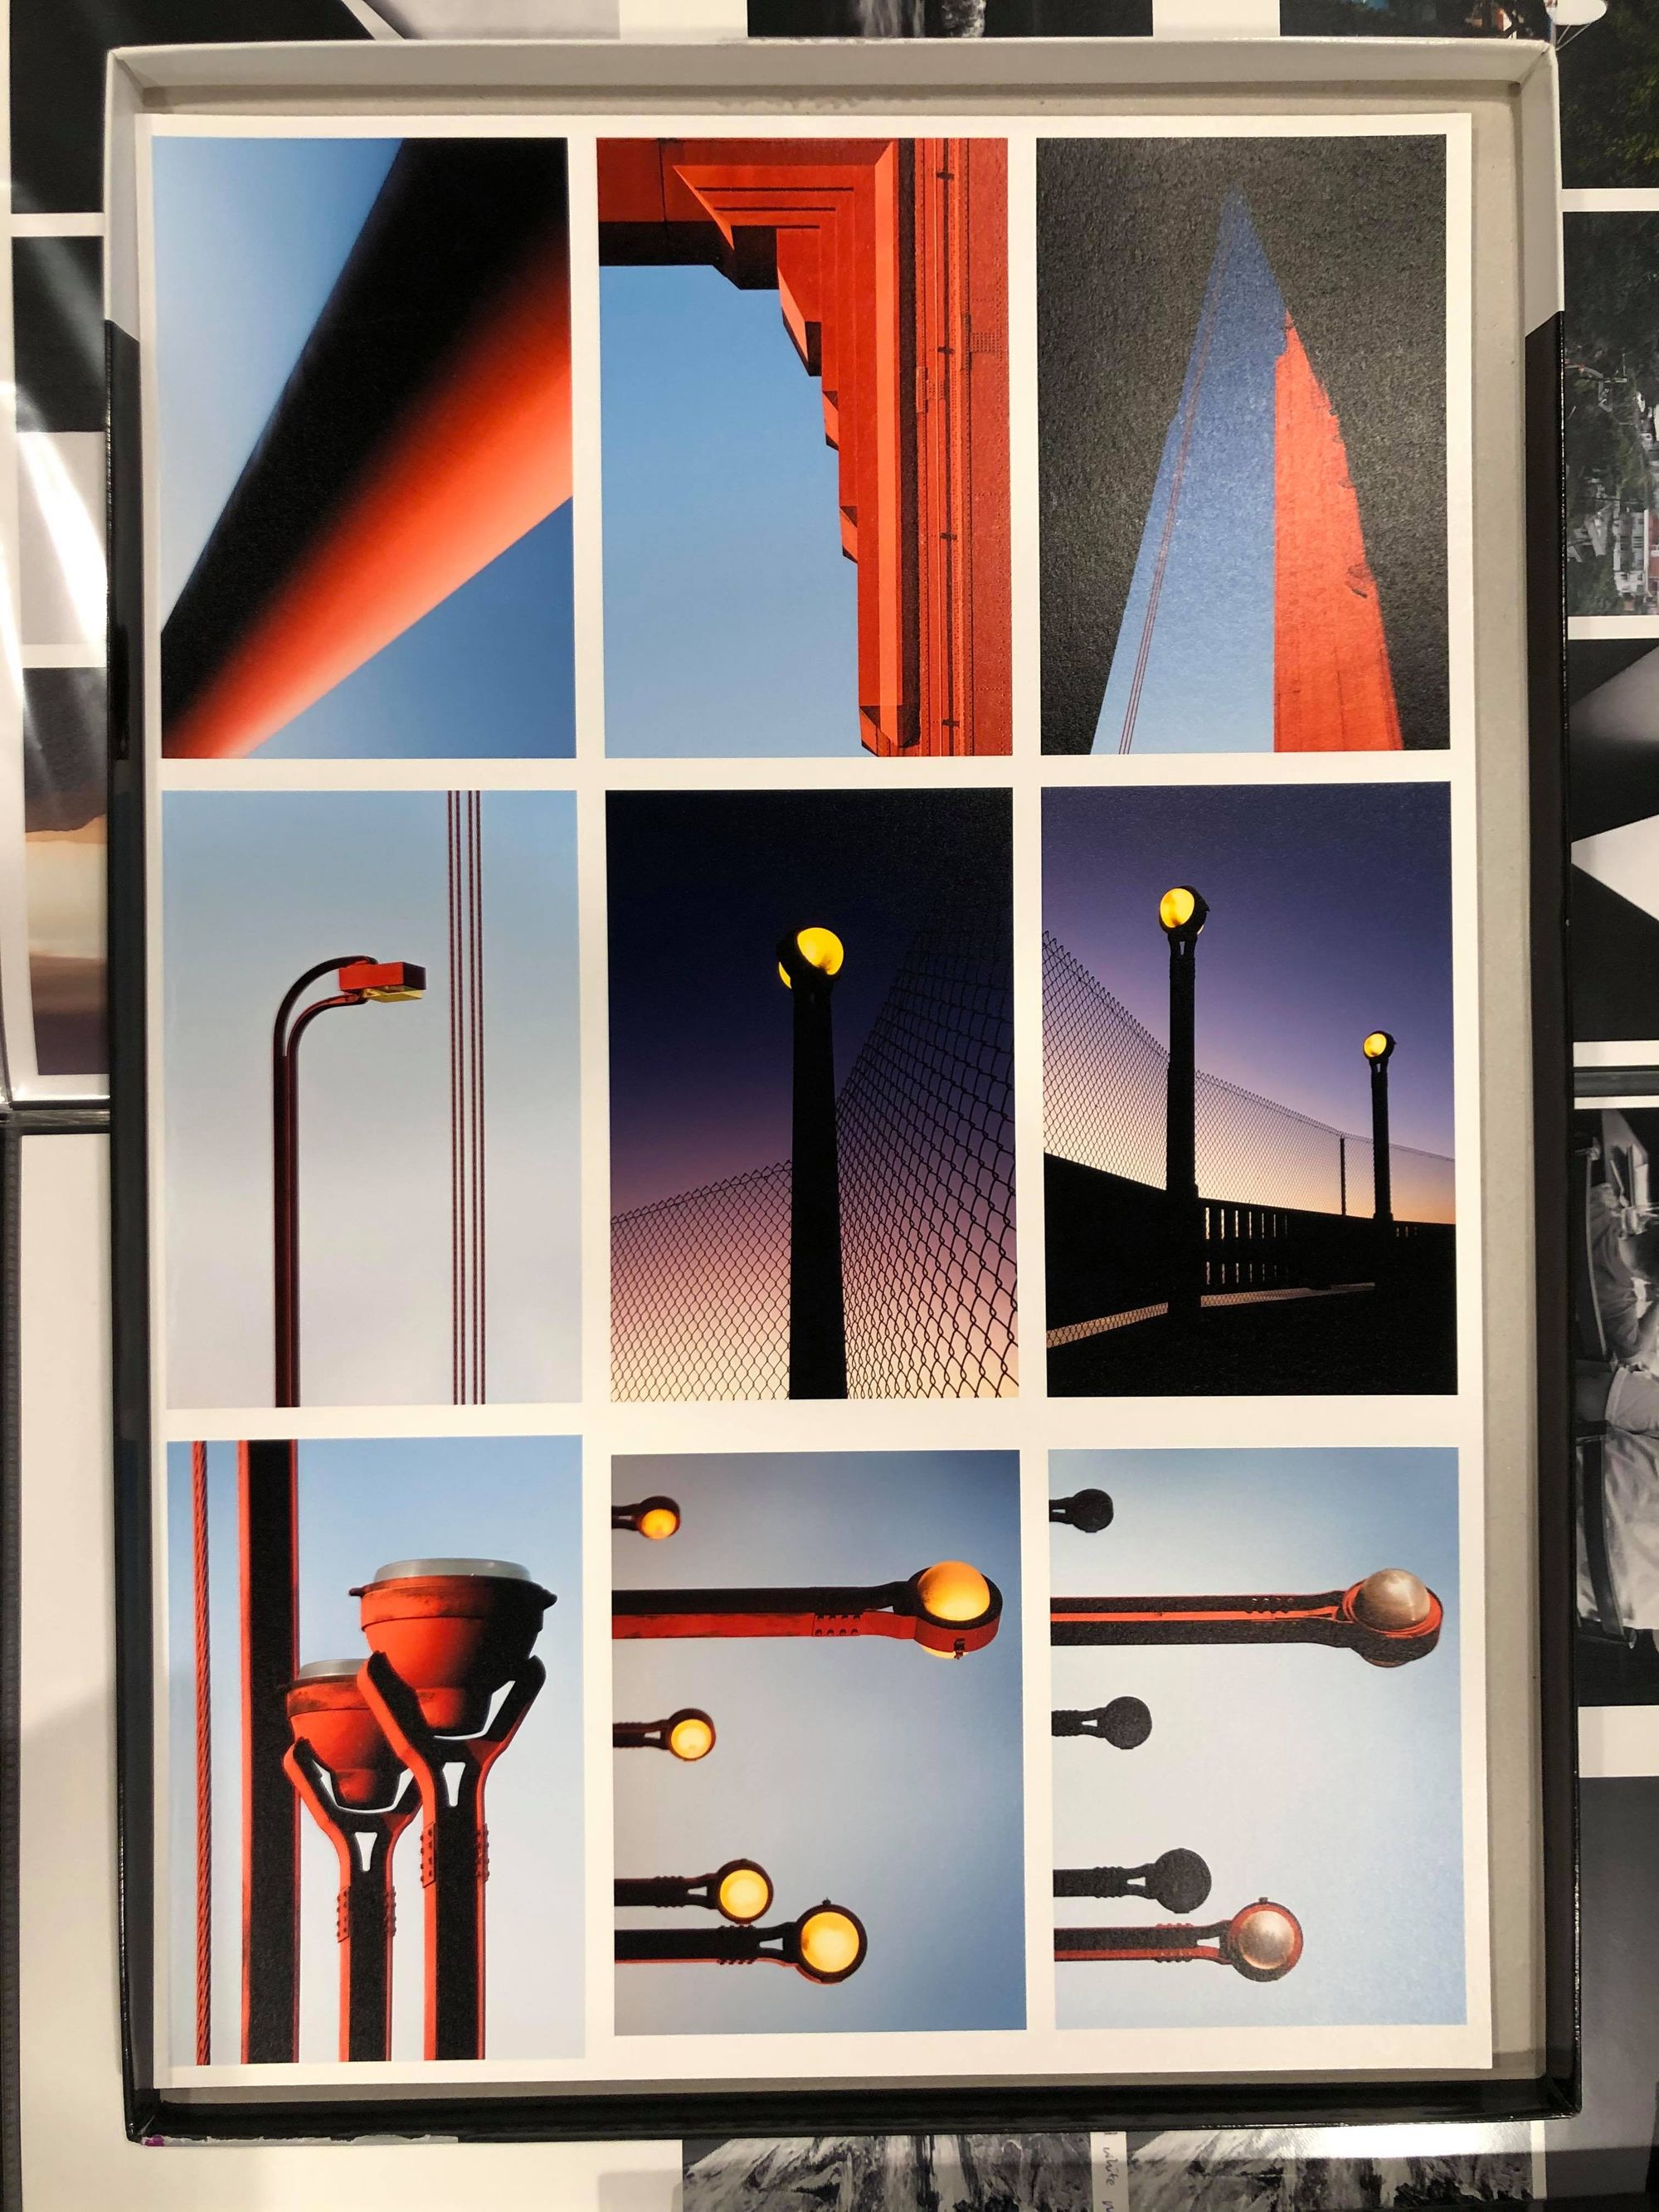
I was impressed, to say the least. The print made me excited - the quality was leagues beyond the first print and indeed felt similar to what I've seen in museums. For this print, it was printed on 300gsm+ cotton based Hahnemühle paper (the company has some pretty interesting history and has been around for over 400 years). The ink on the print was silky smooth with rich color depth, and there was no banding at all.
From testing these two printers, there are a few key takeaways. The reality is that you definitely get what you pay for. I also noticed that the paper was critically important for the final look of the print. If you're looking for the highest quality print, find a printer with professional-level technology that prints on high gsm cotton archival paper. If you want a decent quality print with low costs, go with Costco. It's a shame Costco doesn't print on museum grade paper, their value for printing is unbeatable. I looked into online printers who use similar grade paper and printers. Unfortunately, the pricing is comparable to that of the local printer and I'd rather support the local printer in that case.
Even though I want high quality prints, the reality is that I'm no established artist and I don't want to be blowing so much personal money on printing. It gets especially expensive since I would also like to print proof copies. I looked into the material cost of printing and the price to print at home and it turns out that one sheet of 13x19 Hahnemühle paper (Hahnemühle Photo Rag Pearl, the good German stuff) costs around 5 USD with ink costing up 10 USD per sheet. Of course, as you print larger sizes, the cost of paper and ink will start going down. But realistically 13x19 prints should fulfill 95% of all my printing needs. After doing some research, many people online recommended the Canon PIXMA PRO-100 - it was a good balance of quality and price, especially when there's often a 250 USD mail-in rebate deal.
Let's do some math here. Assuming I bought the printer at 150 USD (which means I got the 250 USD rebate) and it costs 15 USD to print 13x19. The 13x19 paper can be split into two 8x10 prints, in other words, it would cost 7.5 USD to print a single 8x10. Then, I would need print 150 / (20 - 7.50) = 12 photos for this to be financially worth. For my scenario, I thought it would be quite easy printing 12 or more photos over the course of the year since there are plenty of things I want to print.
Thus, I waited till the 250 USD rebate deal came up (luckily, it was up when I wanted to buy it), and bought the printer.
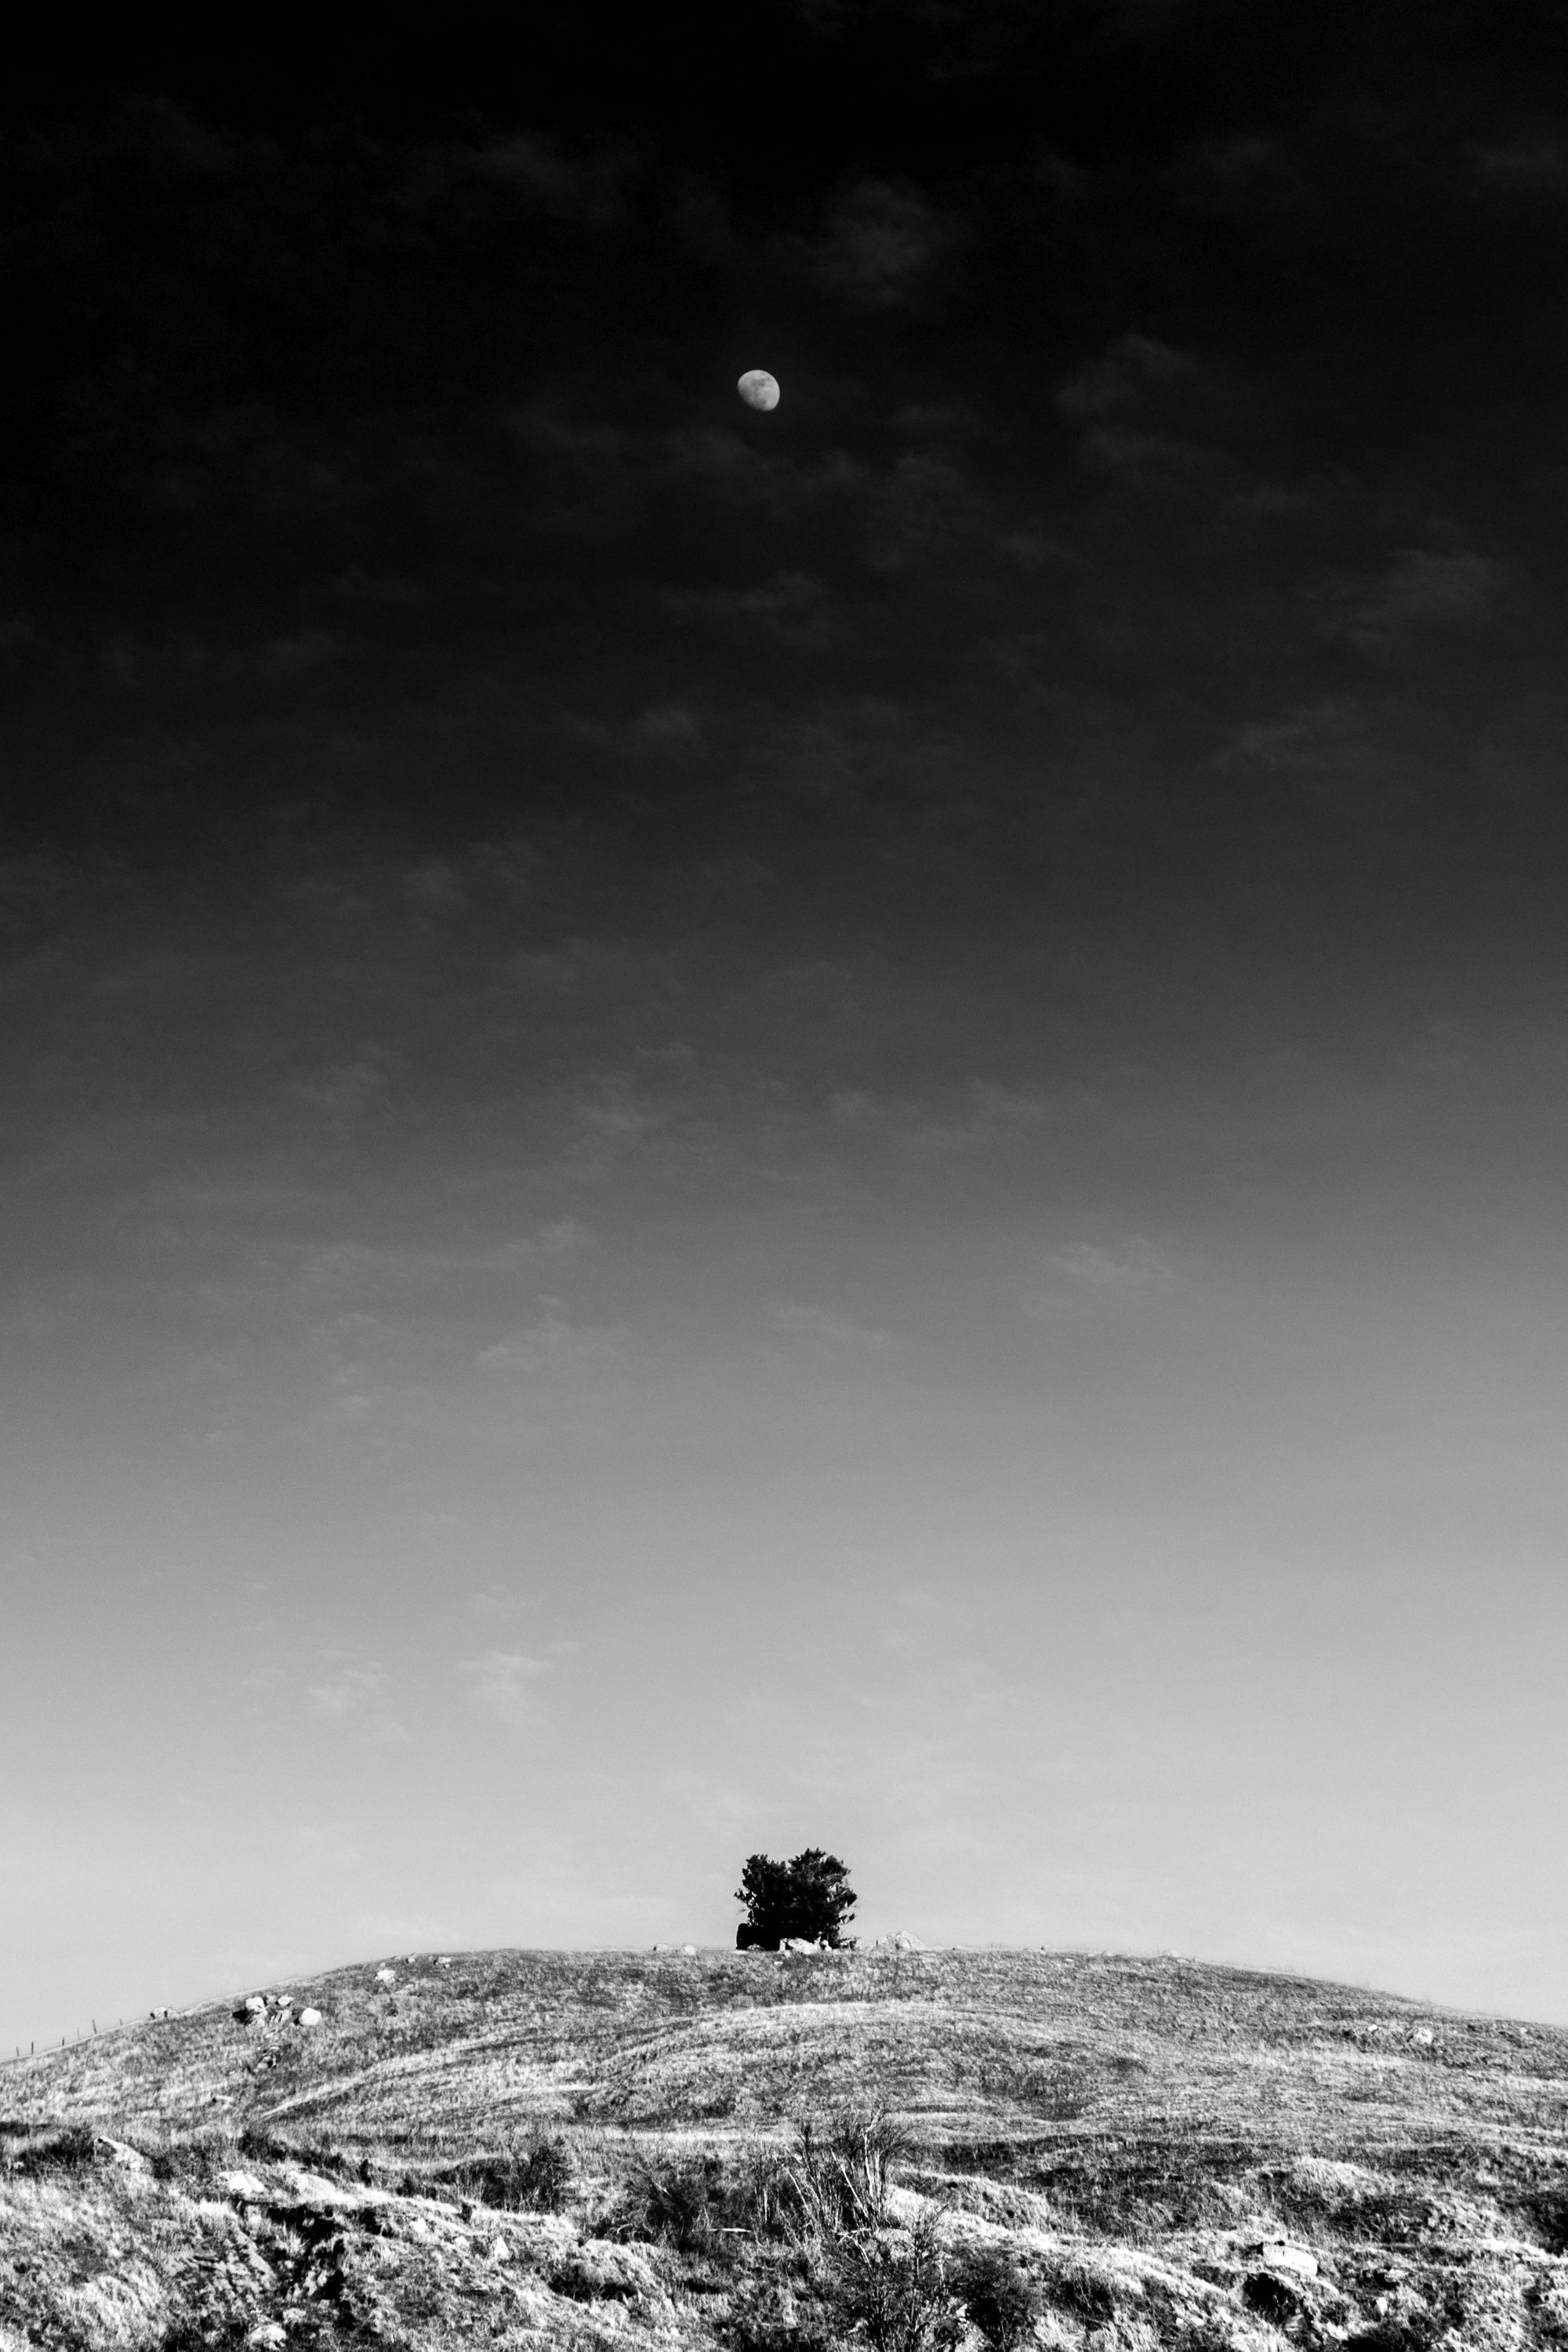
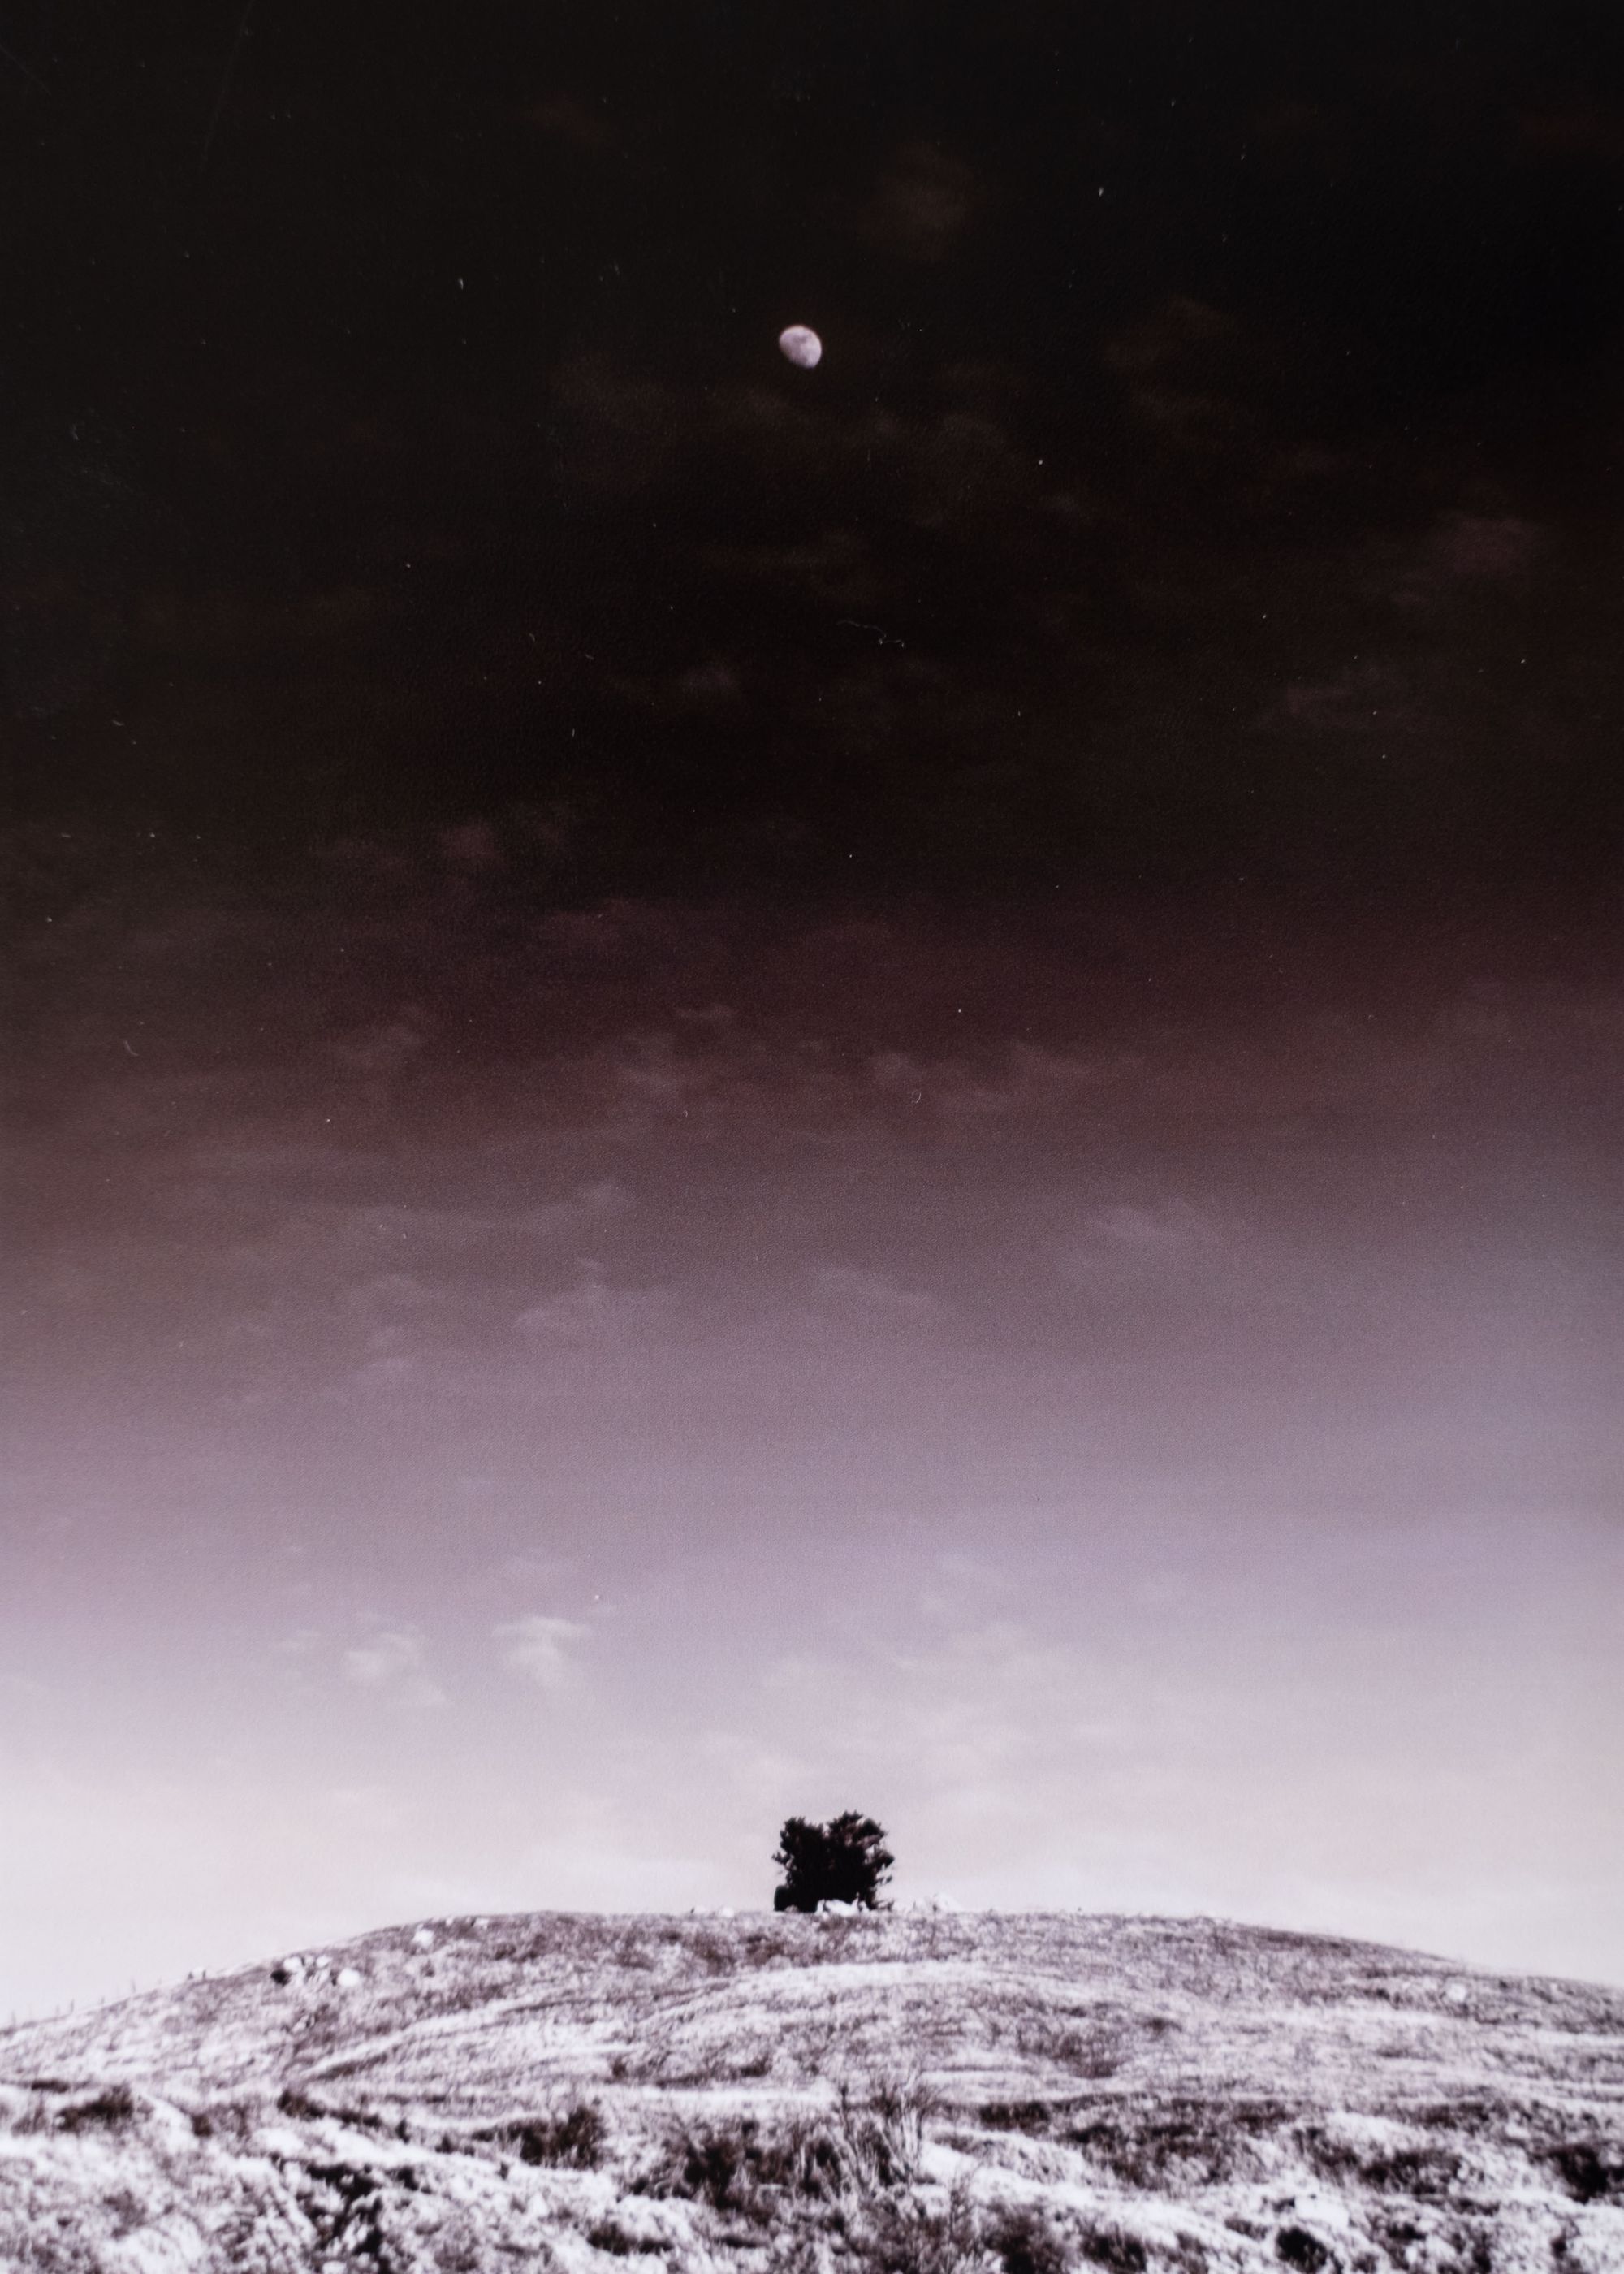
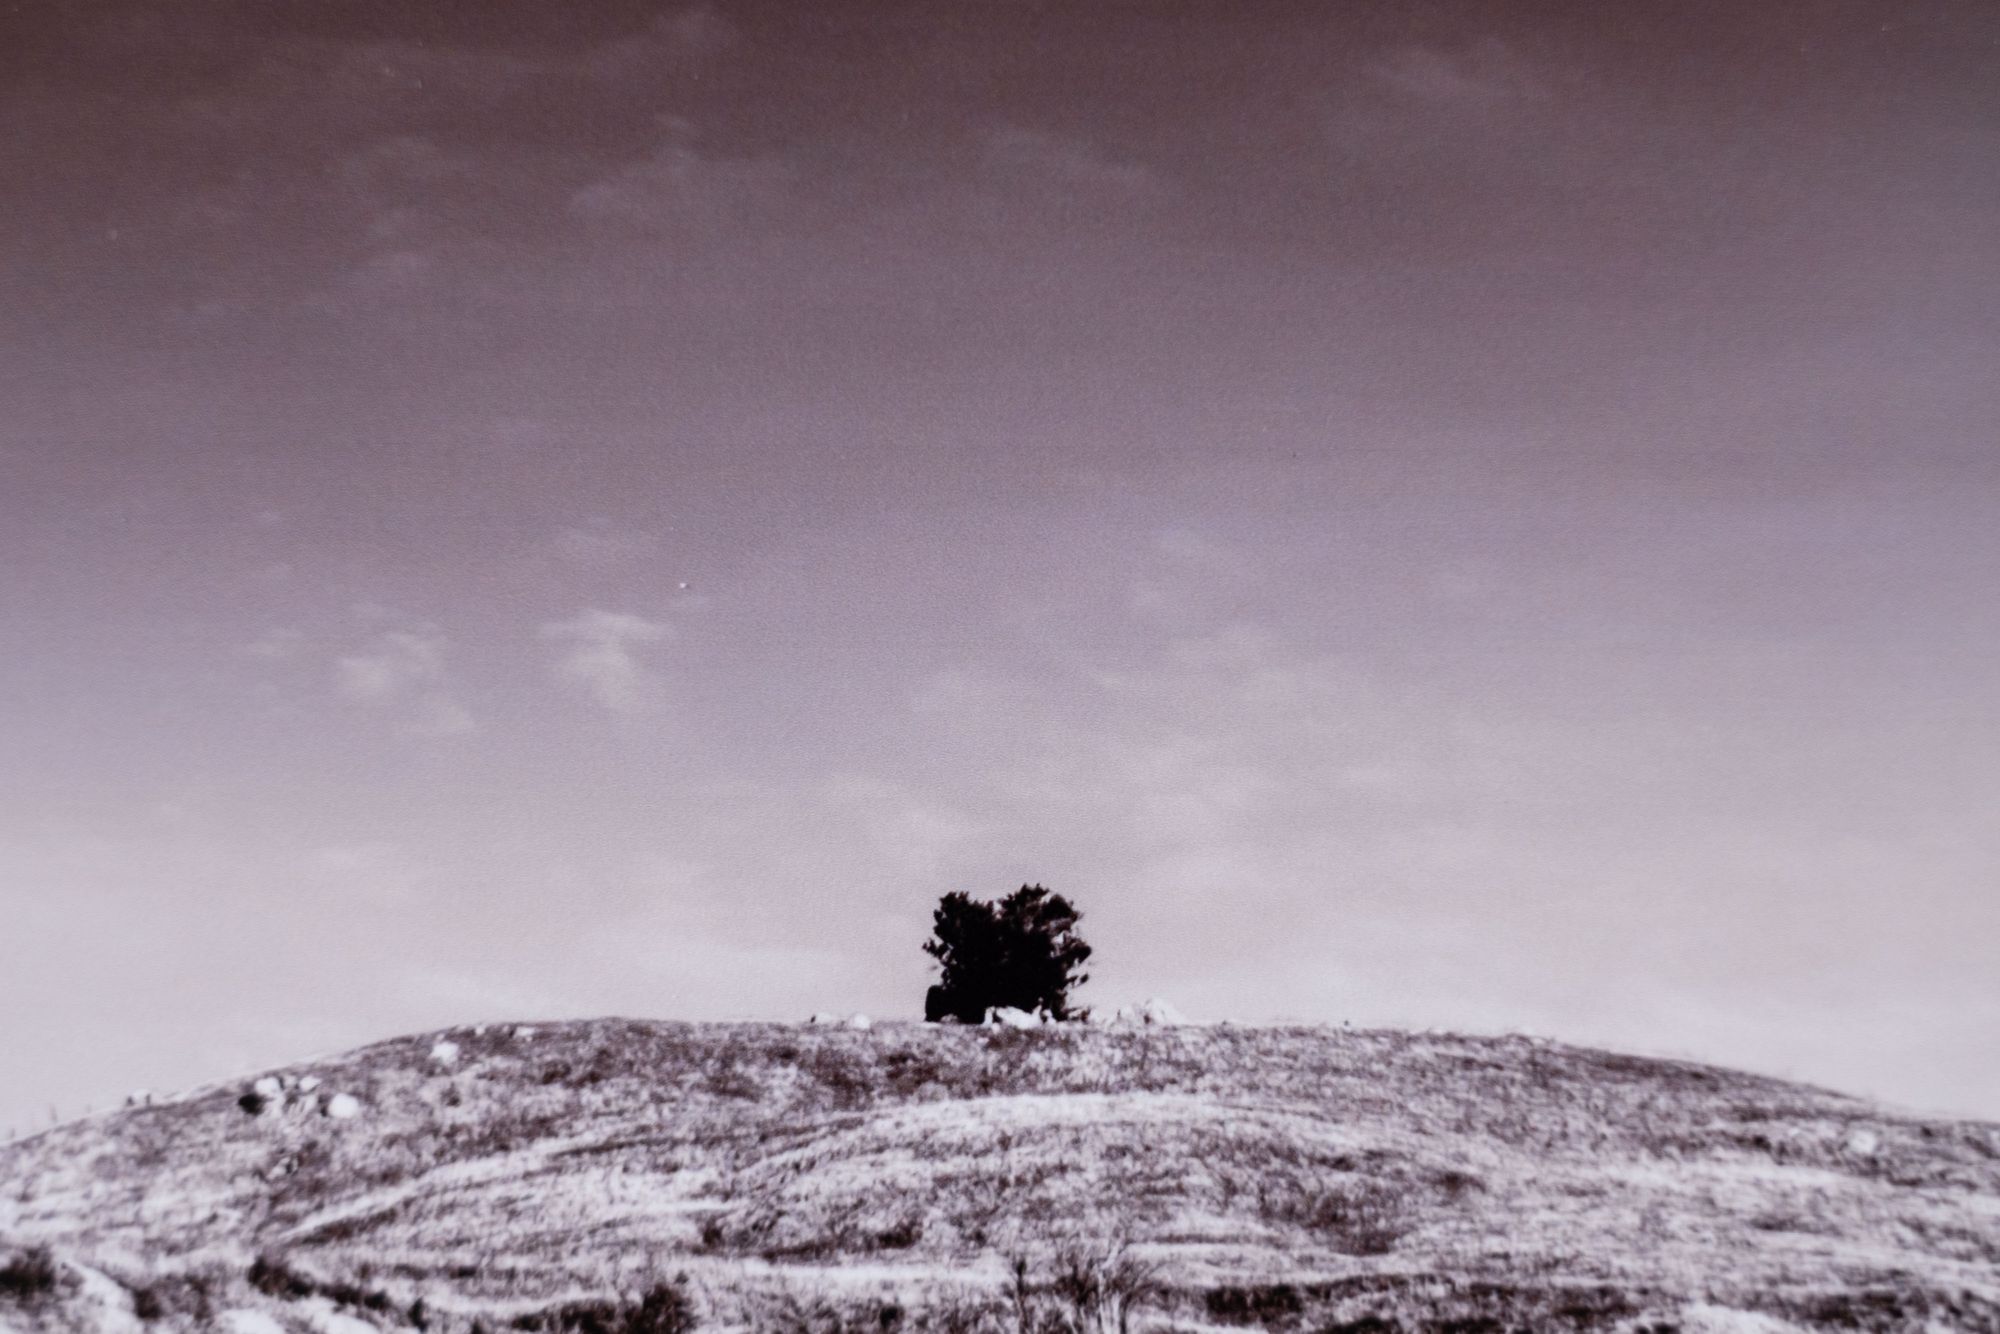
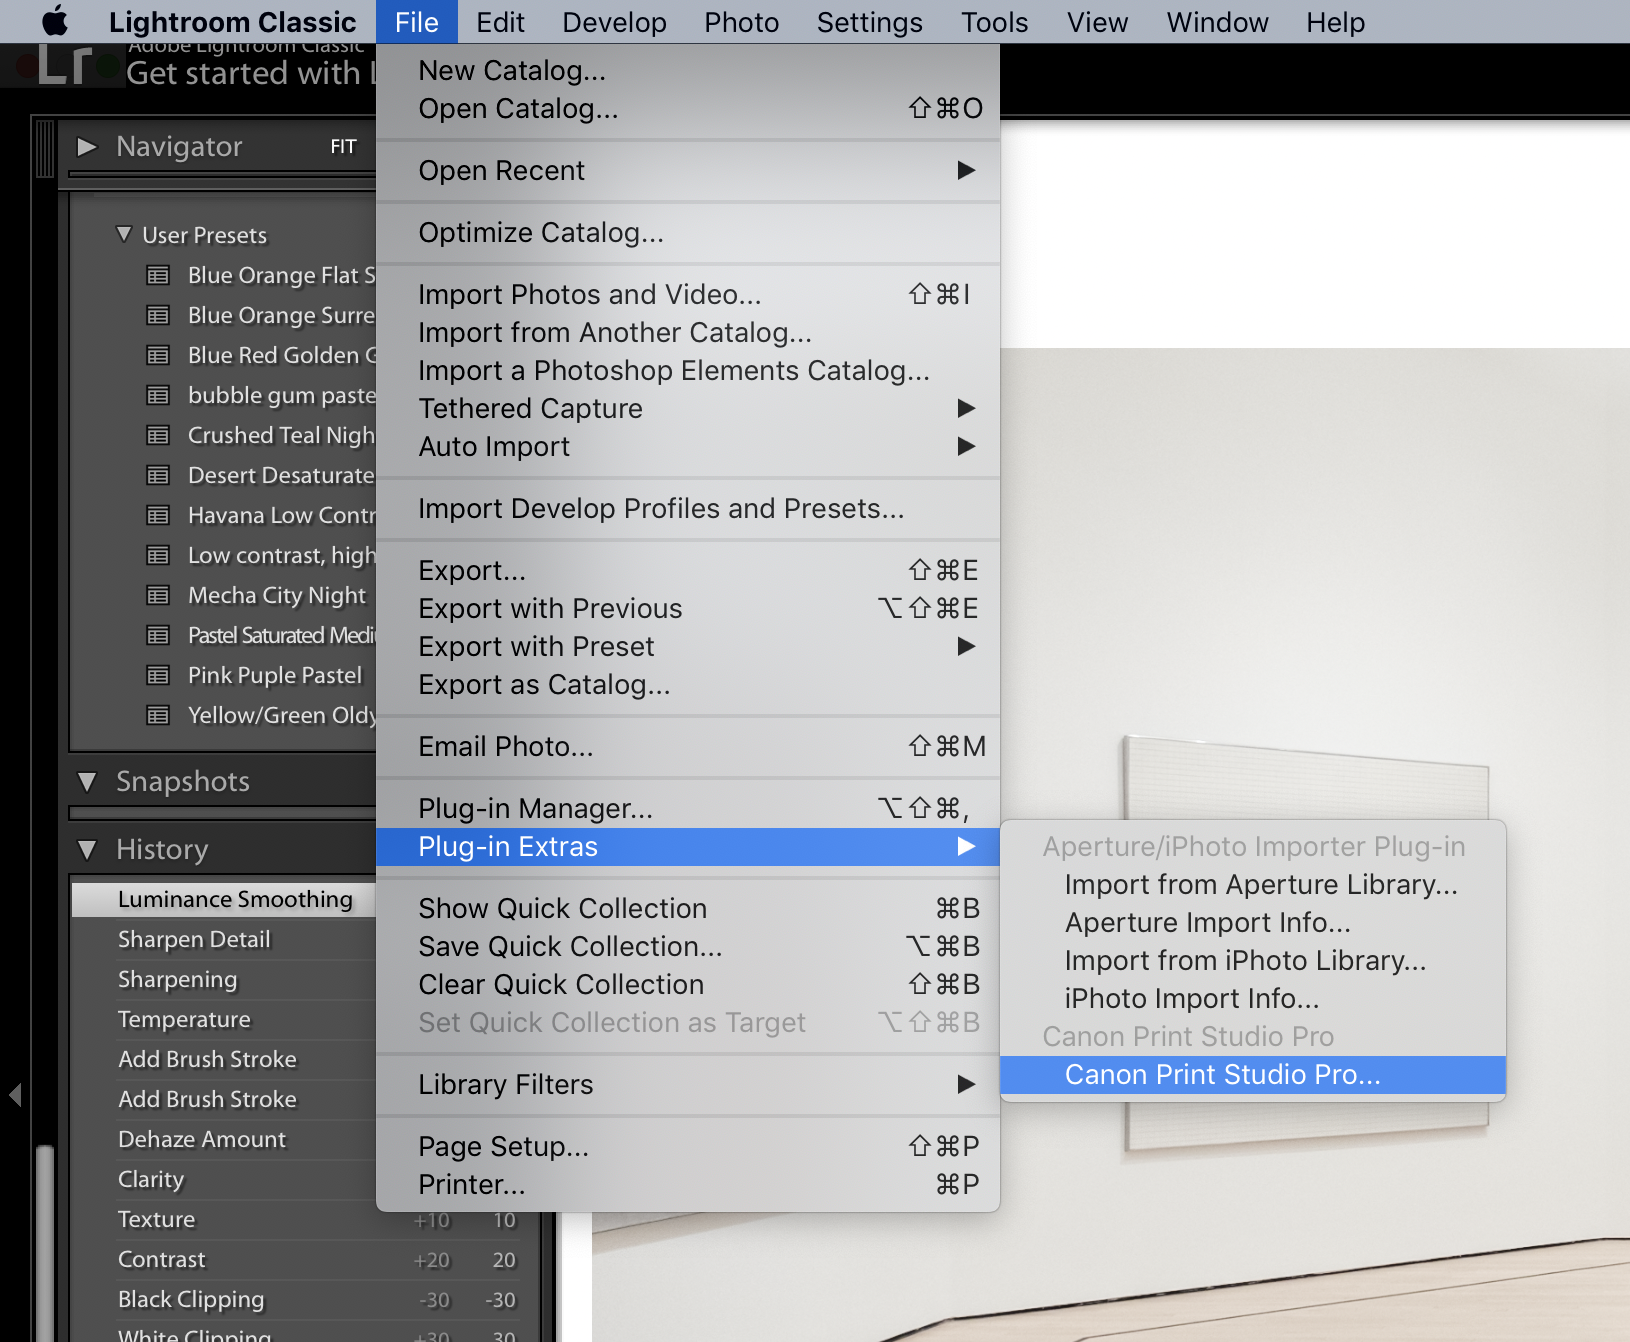
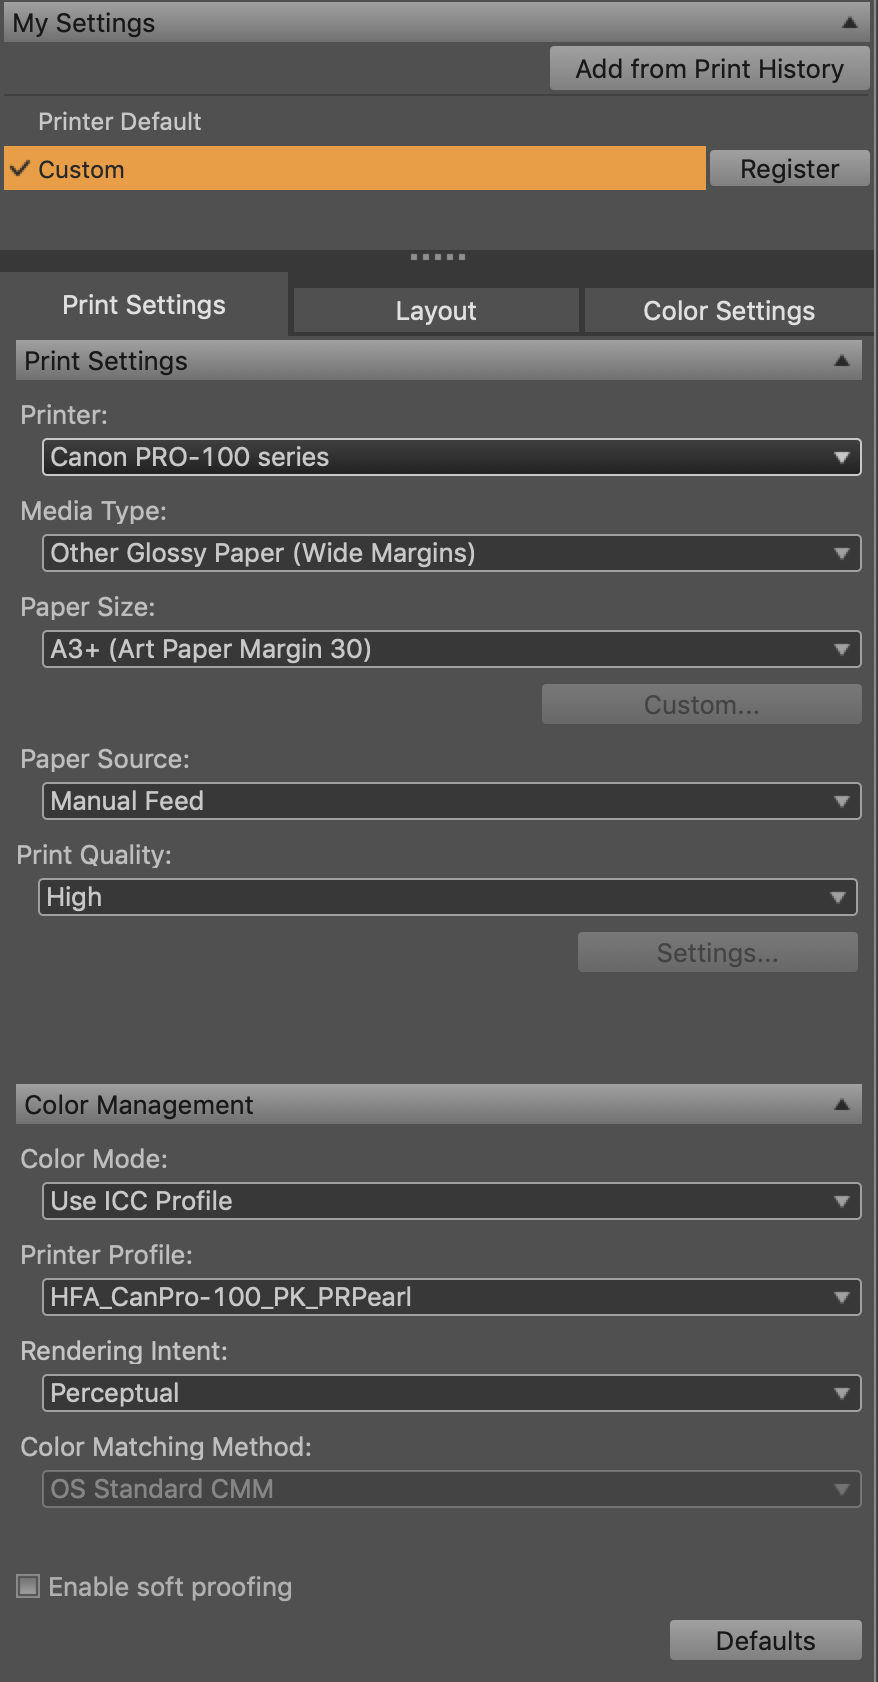
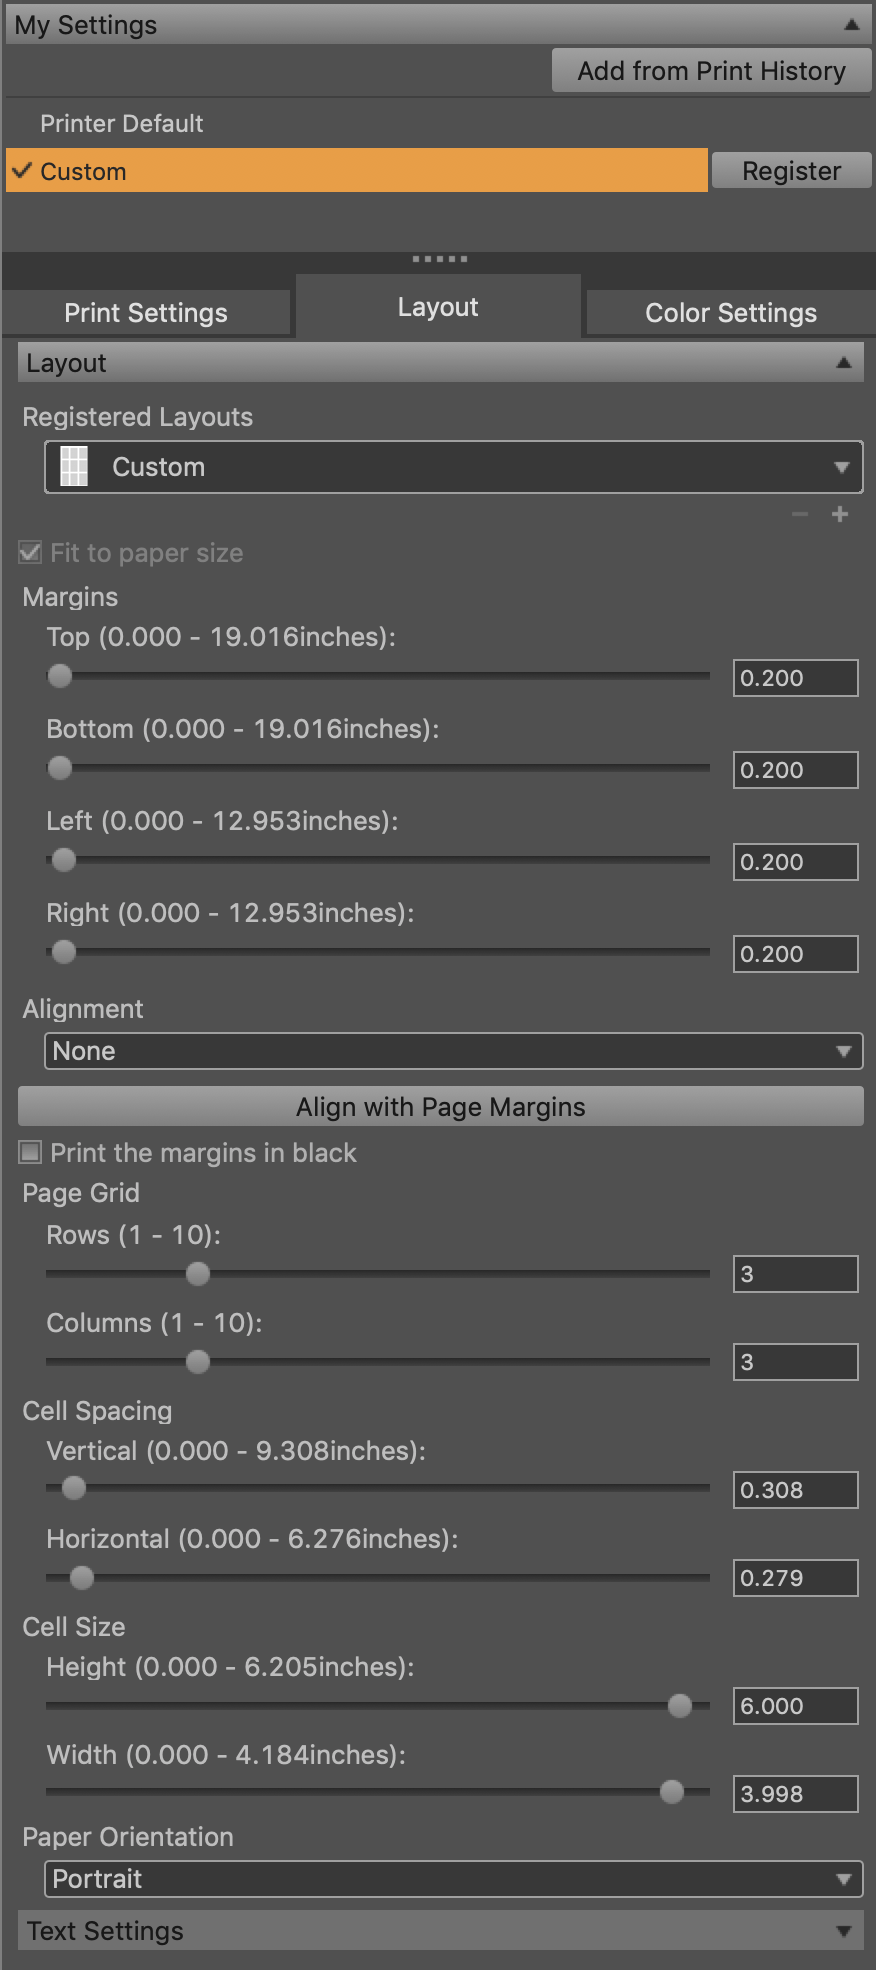
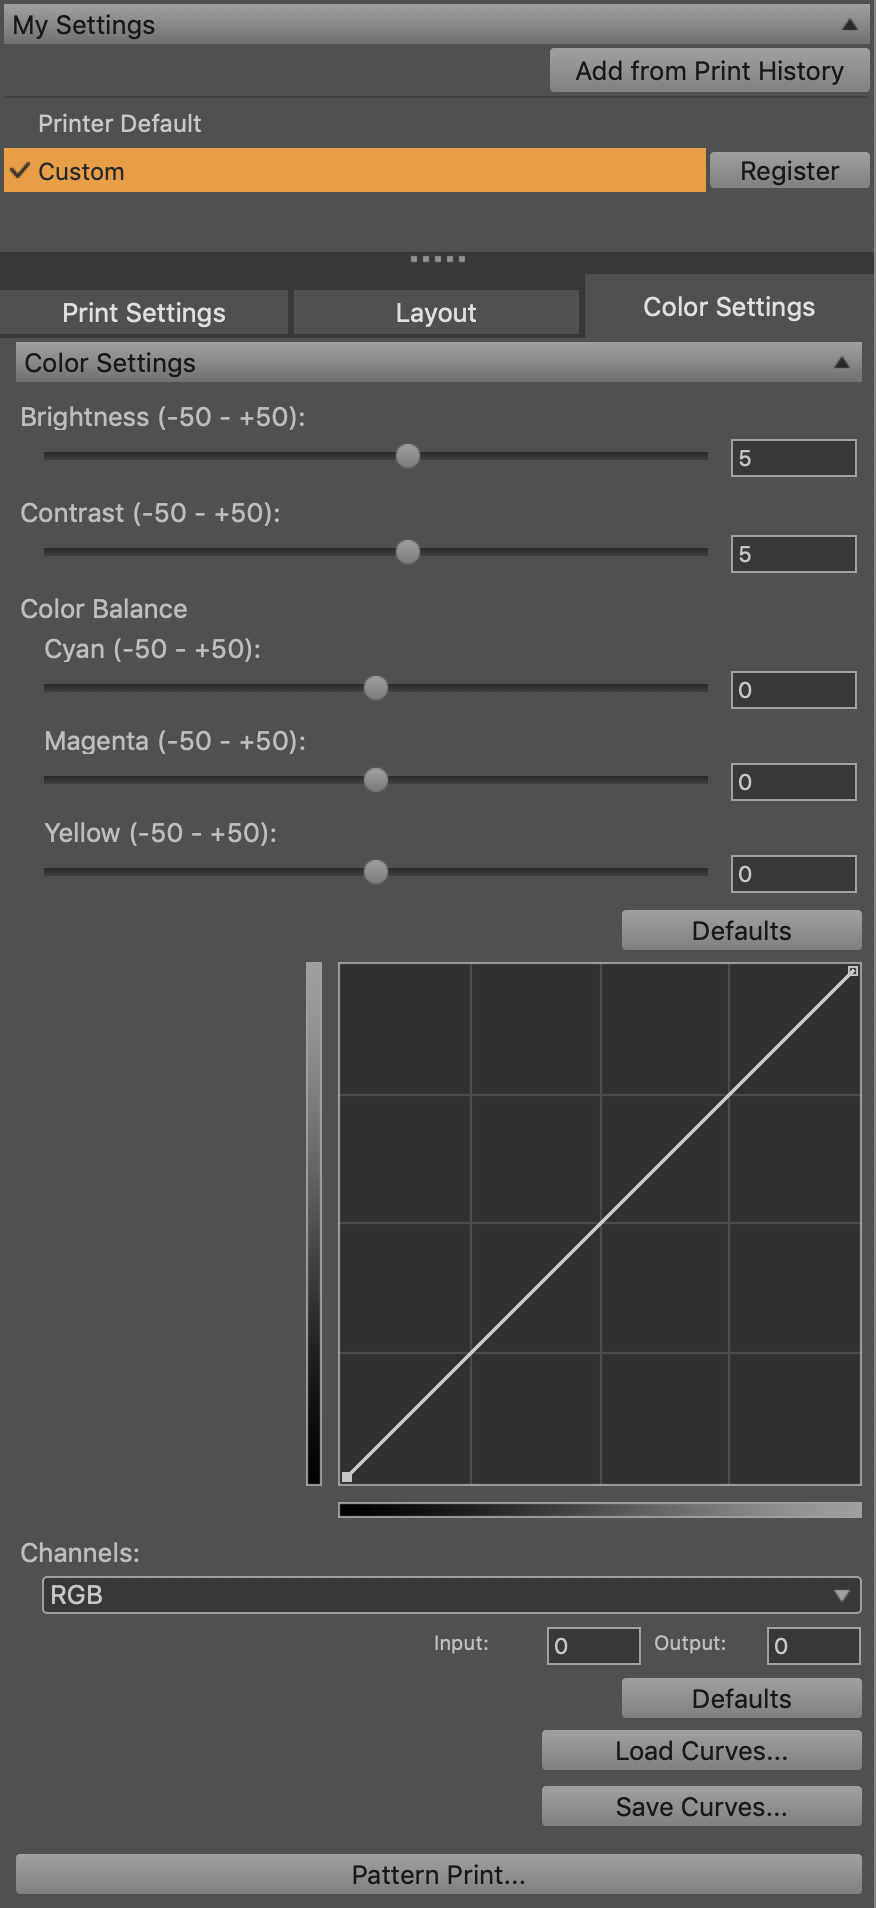
After receiving the printer and paper, I was excited to start printing. However, I soon realized that one "cost" factor I didn't consider was printing knowledge. There's actually a lot of nuance in tweaking settings to print the digital file accurately. On top of applying the official color profile (ICC profile) for the paper and printer combination, there are minor corrections that need to be done in terms of brightness, contrast, and color. There are also a ton of different printing software that you can install which actually yields quite different results. For example, you can print from Lightroom directly, or print using Canon's custom printing software called Canon Print Studio Pro (CPSP).
I did some testing and found that printing through CPSP performed much better than printing directly through Lightroom (especially for black and white photos), even though I used the ICC profile for both. I also started compensating for contrast and brightness as I noticed prints on my specific paper are a little darker and lose a little contrast. Every few prints, I also need to clean the rollers from any lint or paper to prevent banding in future prints. With these steps, I was able to produce prints I'm happy with which achieve close to the quality of the print I received from LightSource SF.
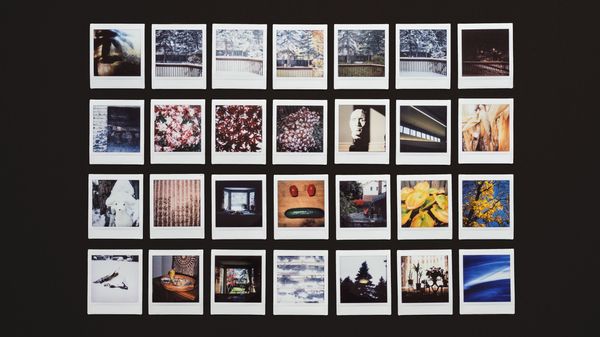
Over the past year and half of owning the printer, I've been very happy with my decision. I've printed a handful of 12x18 large prints, some 8x12 medium size prints, and many 4x6 proof prints. I've probably saved around 100-200 USD in printing costs so far. That being said, I don't think home printing is for everyone since there's a learning curve to it and it's a hassle to set up. You could probably argue I didn't really save money considering how much effort I had to get everything running smoothly.
To summarize the findings:
- You pay for what you get when you print photos
- Print at Costco for a balance between price and quality
- Home printing is financially cheaper after a few prints
- When you pay for expensive printing, you're also paying for the service aspect of printing, which includes corrections such that the printer accurately translate digital image to physical print

Below, I'll provide some general technical information and research for anyone that wants to use my set up (and also for personal reference).
My setup:
- Macbook Pro 2018, MacOS Mojave 10.14.6 (as of writing)
- Lightroom Classic + Canon Print Studio Pro Lightroom Plugin
- Canon PIXMA Pro-100
- Hahnemühle Photo Rag Pearl, 320gsm
Tips:
- Print with CPSP
- Photos printed on paper are generally a little darker
- Make test prints to learn printing nuances (even though it's expensive)
- When printing black and white, just stick to the ICC profie, don't select any black and white option
Installation and usage:
- Download the Canon PIXMA Pro-100 driver here.
- Install driver by following instructions
- Download the CPSP image and install following the instructions here (as of writing, 2.2.4 is the newest version).
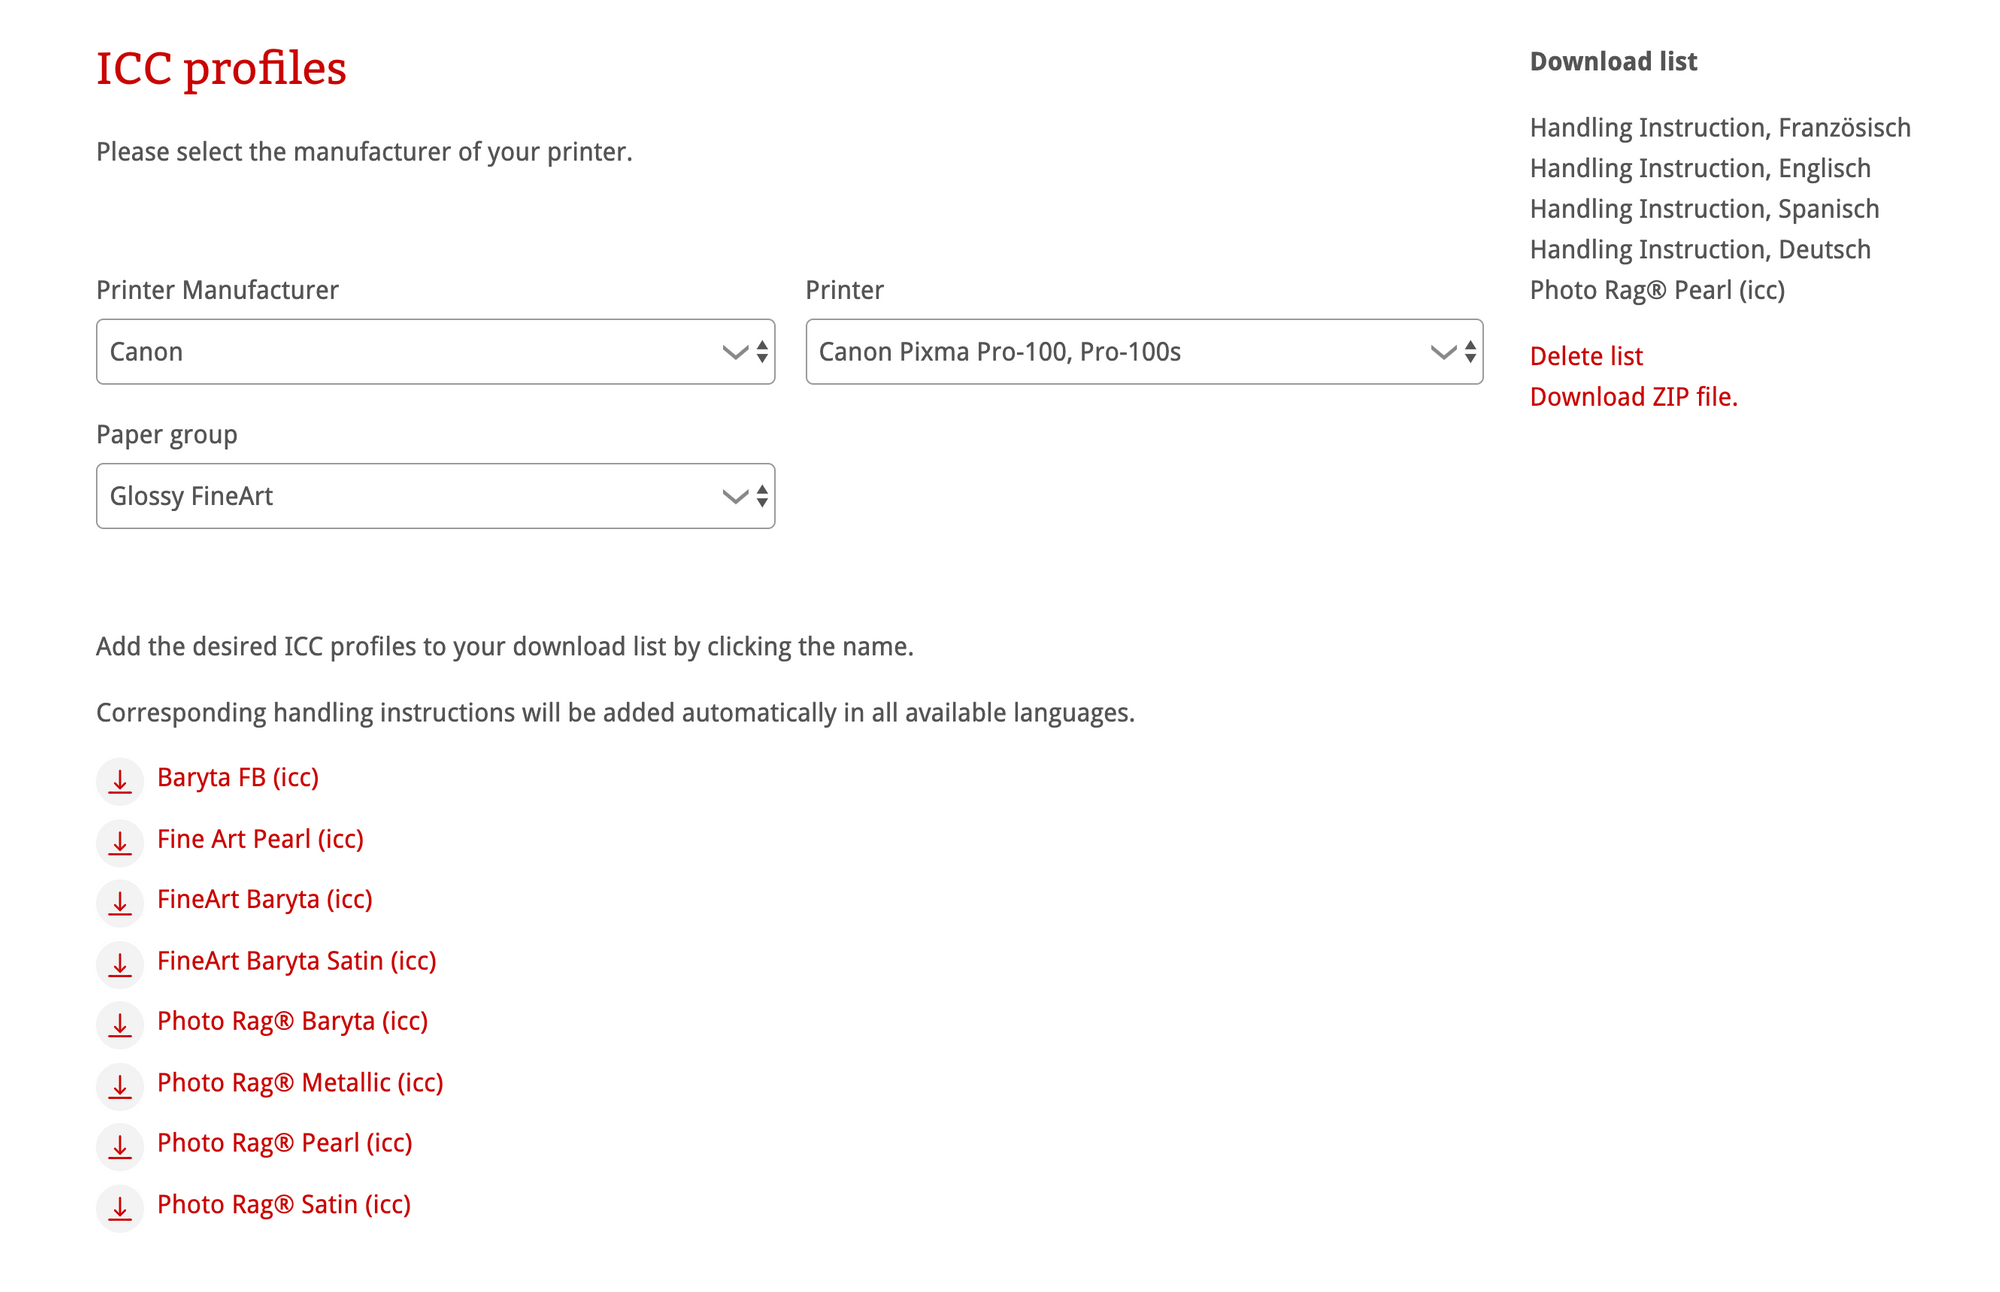
- Download the relevant ICC profile. The Hahnemühle ICC profiles can be found here.
- Install ICC profile by dragging and dropping the .icc file to
/Library/ColorSync/Profiles - Select the photos you want to print in Lightroom, print using CPSP by going to: File > Plug-In Extras > Canon Print Studio Pro...
- Print!
